
Handydads knows that a humid bathroom is a recipe for mold and structural damage over time. Proper ventilation is essential for maintaining a healthy indoor environment and preserving your bathroom fixtures from moisture. Installing a new exhaust fan might seem like a daunting task for many homeowners but it is quite manageable with the right guidance. This project will help you eliminate stubborn steam and odors while protecting your home from excess humidity. Let us walk you through the process of upgrading your bathroom ventilation system to ensure a more comfortable living space for everyone.
Project Snapshot
- Difficulty: Intermediate
- Time: 3 to 4 hours
- Tools Required: Basic hand tools and a drill
- Impact: High for air quality and moisture control
- Focus: Ventilation and electrical connection
Tools and Materials
- New bathroom exhaust fan unit
- Flexible ducting and vent cap
- Aluminum foil tape for sealing
- Wire nuts and electrical cable
- Cordless drill with various bits
- Drywall saw or reciprocating saw
- Safety glasses and a dust mask
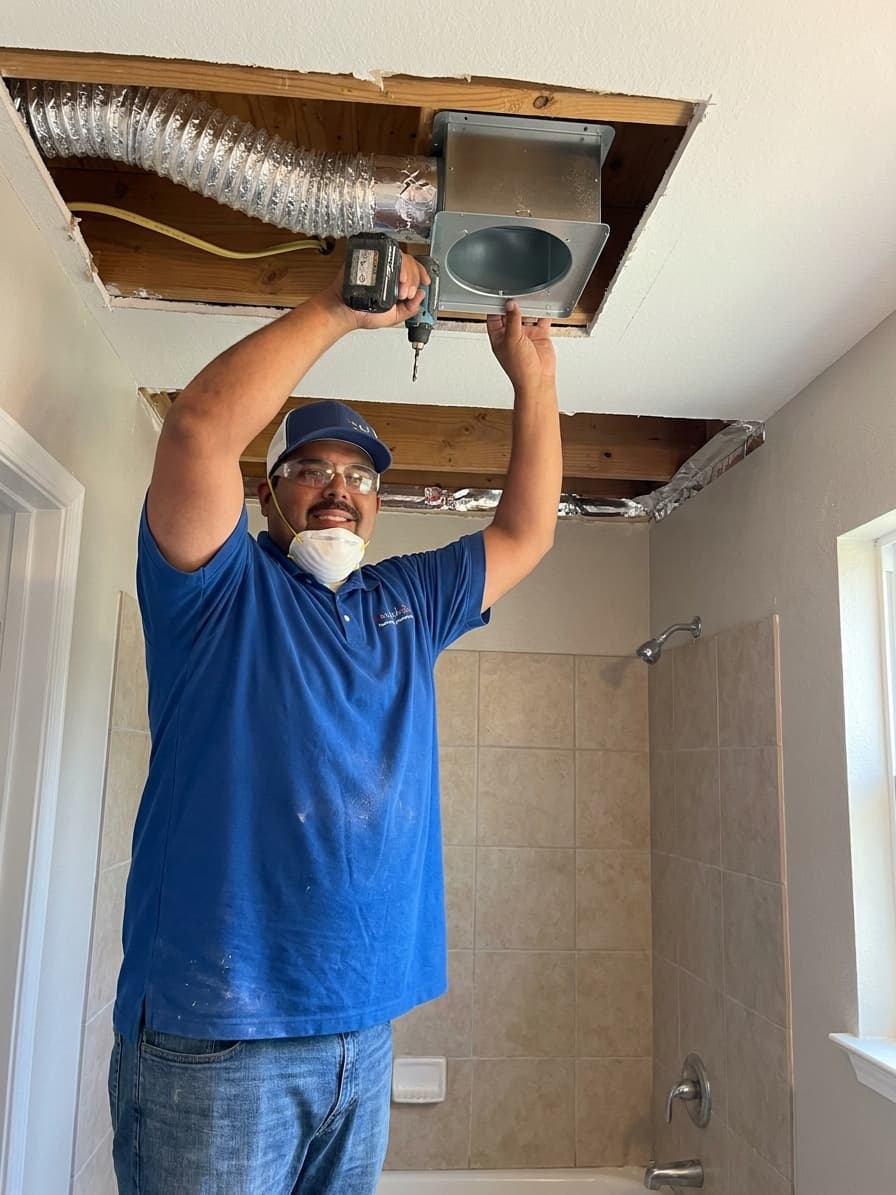
Step-by-Step Instructions
First you need to turn off the power at the main circuit breaker to ensure a safe working environment. Use a stud finder to locate the ceiling joists so you can determine the best placement for the new fan unit. Trace the housing of the fan onto the ceiling and use a drywall saw to cut out the opening carefully. Secure the fan housing to the ceiling joists using the provided brackets and screws while ensuring it sits flush against the drywall. Connect the flexible ducting to the fan exhaust port and run it to the nearest exterior wall or roof vent. Complete the electrical wiring by matching the colored wires from the fan to your home electrical supply and securing them with wire nuts. Attach the decorative grille and restore power to test the unit for proper suction and quiet operation.
From the Toolbox
One of the team members at Handydads once visited a home where the owner had accidentally vented their bathroom fan directly into the attic. Over several years the accumulated moisture had caused significant wood rot and a massive colony of black mold on the rafters. It was a classic example of why proper exterior venting is the most critical part of this specific project. We spent several days remediating the mold before we could even begin installing the correct ductwork to the outside. This story serves as a reminder that taking shortcuts with ventilation can lead to very expensive repairs down the road. Always ensure that your fan pushes the moist air completely outside of your home structure.
Top 5 Mistakes
- Venting the moist air into the attic space instead of outside.
- Using the wrong size fan for the square footage of the room.
- Failing to seal the duct connections with professional grade foil tape.
- Overlooking the importance of turning off the electricity before starting work.
- Installing the fan too far away from the shower or bathtub area.
Tool and Material Recommendations
Look for a fan with a high CFM rating to move air effectively in larger bathrooms. Choose a model with a low sone rating if you prefer a quiet operation during your morning routine. High quality insulated flexible ducting is better for preventing condensation in colder climates. Always use aluminum foil tape rather than standard duct tape because it handles heat and moisture much better. A reliable non-contact voltage tester is a must have tool for verifying that the power is truly off.
Quick Tips and Hacks
Use a vacuum attachment while cutting the drywall to keep the dust from spreading across the entire bathroom. If your attic access is limited you should look for a "room side" installation fan that can be mounted entirely from below. Check the damper on the exterior vent cap frequently to make sure it is not stuck shut by debris or bird nests. You can test the suction of your new fan by holding a single square of toilet paper up to the grille. If the fan holds the paper in place then you know the airflow is sufficient for the room size.