
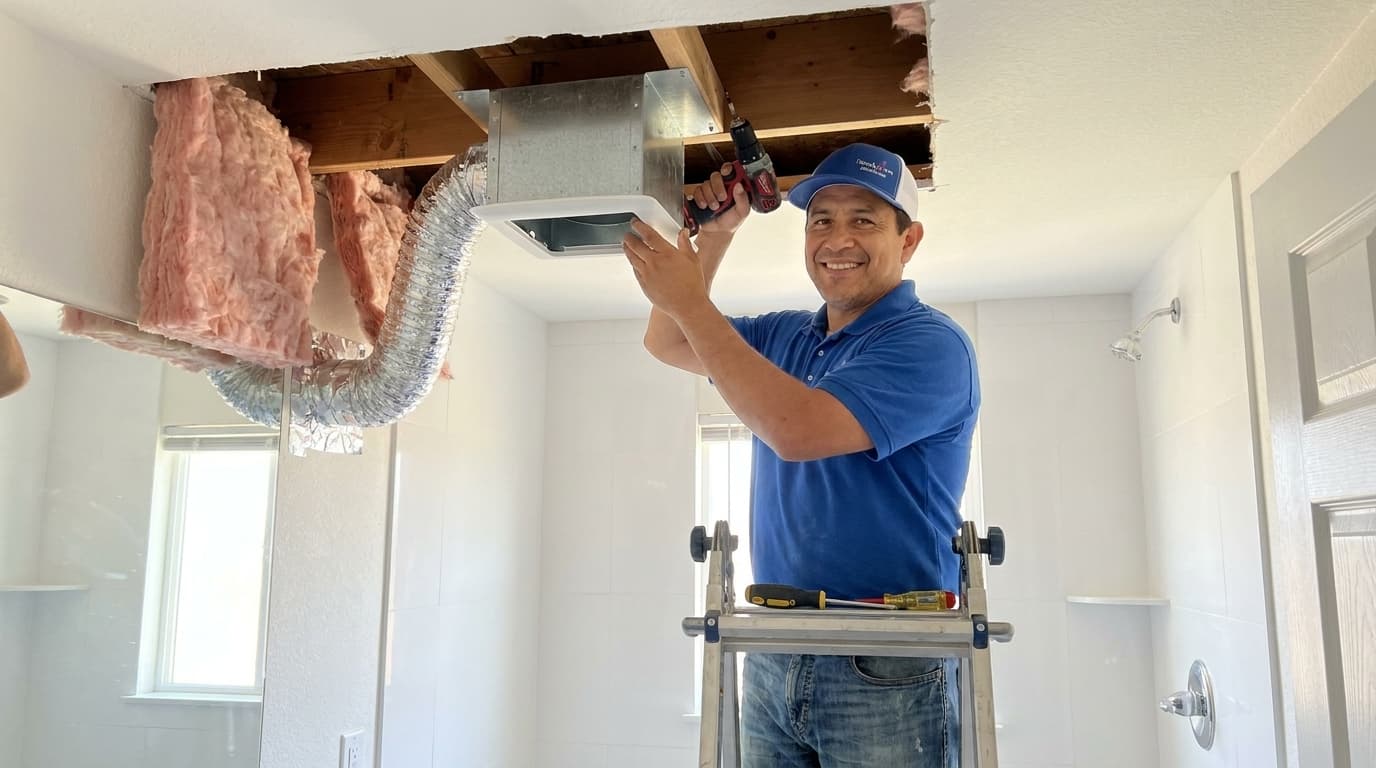
Installing a bathroom exhaust fan with a built-in humidity sensor is one of the smartest upgrades you can make for your home. Excess moisture in the bathroom often leads to mold growth and peeling paint if it is not managed correctly by a powerful ventilation system. Handydads recommends these smart fans because they automatically activate when they detect rising humidity levels during a shower. This ensures that the fan runs exactly when needed and shuts off once the air is dry enough to prevent damage. You will find that this project provides peace of mind while protecting the structural integrity of your bathroom walls and ceilings.
Project Snapshot
Preparing for this installation requires a bit of planning to ensure everything fits perfectly in your ceiling. Handydads suggests setting aside a full afternoon to complete the process safely and correctly. You will need to access your attic to properly vent the air to the exterior of your home. If you do not have attic access this project may require a different approach involving side wall venting. This upgrade is considered an intermediate task because it involves both electrical wiring and minor structural adjustments to your ceiling.
Tools and Materials
You will need a variety of common hand tools to complete this installation without any unnecessary delays. Handydads recommends having a drywall saw, a power drill with various bits, and a reliable voltage tester on hand. You will also need to purchase flexible ducting, a roof or wall vent cap, and high quality foil tape for the connections. Wire strippers and a screwdriver set are essential for making the electrical connections inside the fan housing box safely. Make sure you have a sturdy ladder that allows you to reach the ceiling comfortably and safely during the entire work process.
Step-by-Step Instructions
First you must turn off the power to the bathroom at the main circuit breaker to avoid electrical hazards. Handydads suggests using a non-contact voltage tester to verify that no electricity is flowing to the old fan unit before you touch any wires. Remove the old cover and disconnect the wiring from the previous fan to clear the space for your new humidity sensing model. Use the provided template to mark the new opening on the ceiling if the new fan housing is larger than the old one. Carefully cut the drywall with your saw and clear out any debris or insulation that might interfere with the mounting brackets. Secure the fan housing to the ceiling joists using the screws provided by the manufacturer to ensure it remains stable. Connect the electrical wires according to the color codes and wrap them tightly with wire nuts for a secure connection. Attach the flexible ducting to the fan discharge port and seal the joint completely with metallic foil tape. Finally install the decorative cover and restore the power to test the sensor functionality by running a hot shower nearby.
From the Toolbox
We once visited a client who had a beautiful new bathroom that was already showing signs of mildew only three months after a full renovation. The homeowner admitted they often forgot to turn the fan on or turned it off too early to save electricity. Handydads suggested replacing the standard switch with a humidity sensing fan unit to take the guesswork out of the equation entirely. After the installation was complete the bathroom stayed perfectly dry without any manual intervention from the family. It was a simple fix that saved their expensive wallpaper and kept the air smelling fresh every single day.
Top 5 Mistakes
Avoiding common pitfalls will ensure your new fan lasts for many years and performs its job effectively. Handydads has seen many DIY projects go wrong when homeowners take shortcuts with the venting or the electrical connections. One major error involves using the wrong type of tape which leads to air leaks and reduced efficiency over time. Another common issue is failing to calculate the correct room size which results in an underpowered ventilation system that cannot remove moisture. Choosing a fan with a high noise level can make the bathroom unpleasant to use while venting into an attic can cause structural rot. Finally forgetting to seal the gap between the housing and the drywall allows air to bypass the fan entirely.
Tool and Material Recommendations
Selecting the right components is just as important as the installation process itself for a successful outcome. Handydads suggests looking for a fan with a low sone rating so that it operates quietly without disturbing your peace. You should choose a model that offers adjustable sensitivity for the humidity sensor to fit your specific environment. It is also wise to invest in high quality insulated ducting to prevent condensation from forming inside the pipes during winter months. Always check that the fan you select is UL listed for use over a bathtub or shower if that is where you plan to install it.
Quick Tips and Hacks
You can make the installation process much smoother by following a few simple tricks used by the pros. Handydads recommends using a piece of cardboard as a template if the manufacturer does not include one in the box. You should always wear safety goggles and a dust mask when cutting into the ceiling to protect yourself from falling debris. If you find it difficult to pull the wires through the ceiling then using a bit of electrical fish tape can save you a significant amount of frustration. Testing the fan with a single sheet of toilet paper is a great way to verify that it has strong suction once everything is connected properly.