
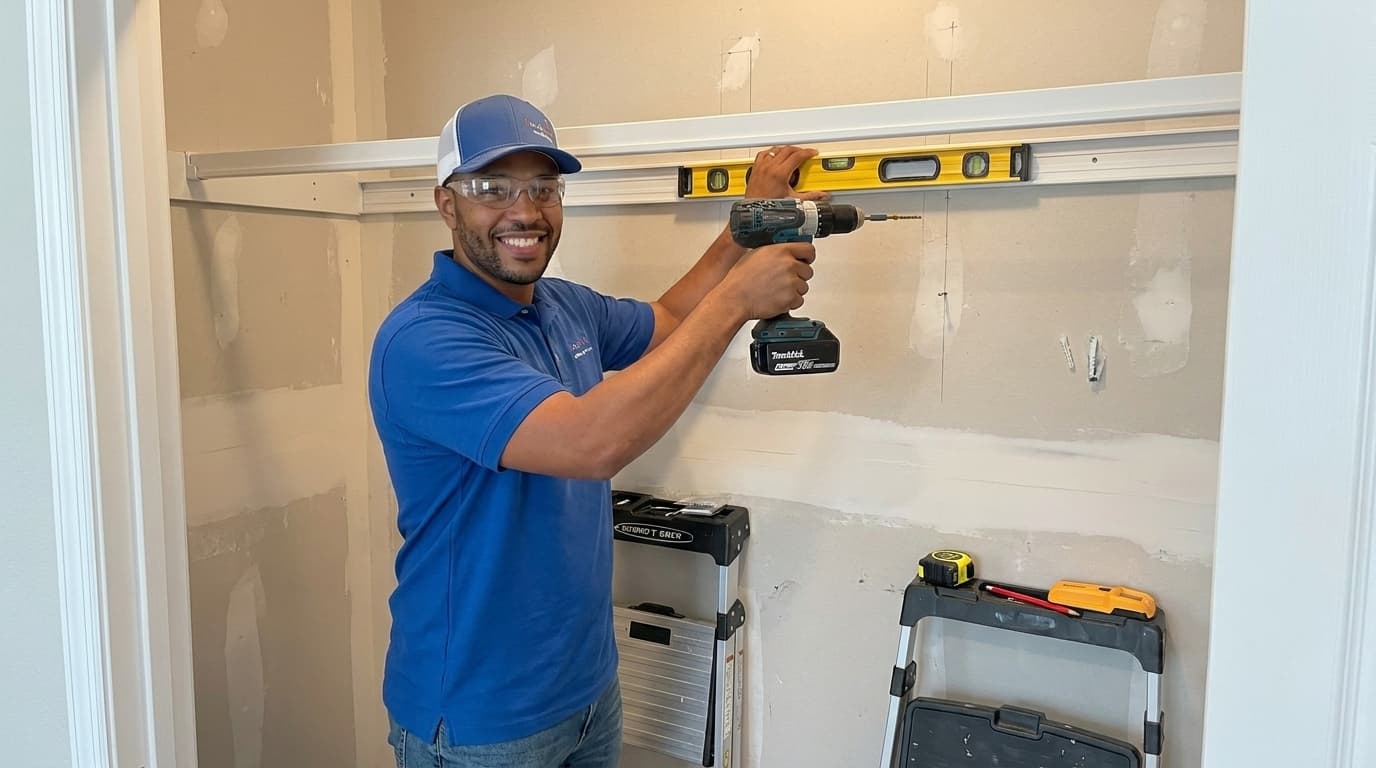
Closets are often the most cluttered spaces in any home because they lack efficient structure for modern storage needs. By upgrading to a built-in organizer system, you can maximize every square inch of vertical and horizontal space available to you. Handydads understands that a well organized closet can transform your daily routine and reduce the stress of getting ready each morning. This project allows you to customize the layout specifically for your wardrobe, shoes, and accessories while adding significant value to your property. Learning how to properly anchor and level these systems ensures they remain sturdy and functional for many years of heavy use.
Project Snapshot
This project typically takes a full weekend afternoon depending on the size of the closet and the complexity of the kit you choose. You should expect to spend about four to six hours from demolition of the old rod to the final shelf adjustment. Most DIY enthusiasts with basic drill skills can complete this task without professional assistance. You will need a clear workspace and a helper for some of the longer shelf installations. Handydads recommends clearing out all clothing and personal items at least a day before you begin to save time during the actual installation process.
Tools and Materials
You will need a high-quality cordless drill with a variety of bits and a reliable stud finder to locate support beams. A four-foot level is essential for ensuring your vertical supports and horizontal shelves are perfectly straight across the span. You should also have a tape measure, a pencil for marking wall studs, and a hacksaw if you need to trim any metal rods. The materials list includes the closet organizer kit itself, wall anchors, wood screws, and potentially some touch-up paint. Always wear safety glasses when drilling into drywall or cutting metal components to prevent injury from flying debris.
Step-by-Step Instructions
Begin by removing all existing shelving and rods then patching any holes left behind in the drywall to create a clean surface. Use your stud finder to mark every vertical stud location along the back and side walls of the closet space. Follow the manufacturer instructions to install the top horizontal track which serves as the primary support for the entire system. Handydads suggests using a level during this step to ensure the track is perfectly horizontal before driving in the final mounting screws. Once the track is secure, hang the vertical standards and space them according to your specific design plan for shelves and drawers. Attach the shelf brackets and rods into the slots of the vertical standards then double-check that everything is locked into place firmly before loading it with weight.
From the Toolbox
I remember helping a homeowner who had a massive pile of shoes and tangled hangers in a small reach-in closet. We spent the morning tearing out a single sagging wooden rod that was barely holding onto the wall with a few nails. After installing a modular Handydads approved system with dedicated shoe racks and tiered hanging rods, the space looked twice as large as it did before. The homeowner was amazed at how much easier it was to find their favorite jacket without digging through a dark corner. It really goes to show that the right structure makes all the difference in a functional home environment.
Top 5 Mistakes
Many people fail to use a stud finder and rely solely on drywall anchors which can lead to the system pulling out of the wall. Another common error is neglecting to use a level which results in slanted shelves and sliding clothes hangers. Some homeowners forget to measure the height of their longest coats and end up placing the rods too low to the ground for effective storage. Skipping the wall patching and painting phase before installation often leads to an unfinished look that is very hard to fix later. Finally, overloading a single shelf beyond its weight capacity can cause the entire track system to warp or fail over time.
Tool and Material Recommendations
A laser level is a fantastic investment for this project because it projects a straight line across the entire wall for easy alignment. We also recommend using high-quality toggle bolts if you absolutely cannot find a stud in a critical support location. Impact drivers are often better than standard drills for driving long screws into wall studs with minimal effort or stripping. Consider purchasing extra shelf end caps to give the finished project a professional and polished appearance. A sturdy step ladder is also vital for reaching the top track and upper shelves safely without straining your back or arms.
Quick Tips and Hacks
Use a piece of painters tape on the wall to mark your layout without leaving permanent pencil marks on the fresh paint. If you have a small closet, use white or light colored shelving to make the space feel much more open and bright. You can also add battery powered LED strip lights under the shelves to illuminate dark corners without needing an expensive electrician. Try to group your clothing by length before deciding on the final height of your hanging rods to maximize vertical floor space. Handydads suggest keeping a few extra shelf pins in a small jar inside the closet for any future adjustments you might want to make as your storage needs change.