
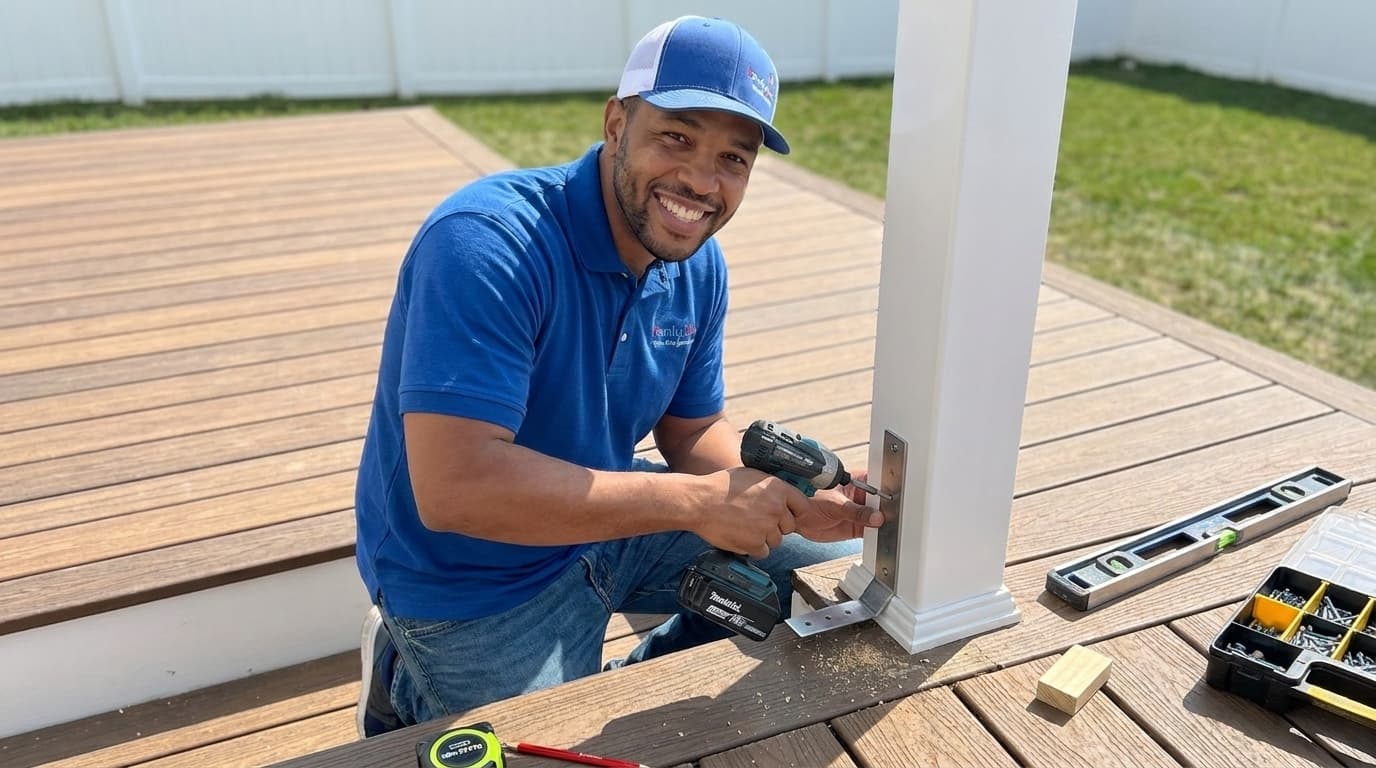
Installing a new composite railing system is a fantastic way to revitalize an aging deck while adding significant value to your home. Handydads understands that safety is the primary concern for any homeowner when it comes to elevated outdoor spaces. Composite materials are particularly excellent for this task because they do not splinter, rot, or require annual staining like natural lumber does. This guide will walk you through the precise steps needed to achieve a professional finish that looks great for decades. By following these instructions carefully, you can create a secure environment for gatherings and relaxation throughout the year.
Project Snapshot
This project is designed for homeowners who want to improve the safety and style of their existing deck structure. You should expect to spend a full weekend on this task depending on the total linear footage of your railing. Handydads recommends having a helper available to hold the long rail sections while you secure them to the posts. The difficulty level is moderate, requiring basic knowledge of power tools and accurate measurement techniques. No specialized masonry or plumbing skills are required, making this a perfect upgrade for a dedicated DIY enthusiast.
Tools and Materials
Before you begin your work, you must gather all the necessary equipment to ensure a smooth installation process. You will need a high-quality miter saw equipped with a fine-tooth blade specifically designed for composite materials. Handydads suggests keeping a set of impact-ready drill bits and a reliable cordless driver within reach at all times. Make sure you have enough composite post sleeves and railing kits to cover the entire perimeter of your deck area. Having all your hardware organized in small containers will prevent you from losing vital screws during the construction phase. Your kit should specifically include the top and bottom rails, balusters, mounting brackets, and all necessary stainless steel fasteners. You will also want to have a high-quality level, a tape measure, and a pencil for marking your cuts accurately on the composite surfaces.
Step-by-Step Instructions
The first step in any successful railing project is to ensure that your structural posts are perfectly plumb and securely fastened to the deck frame. Handydads advises measuring the distance between each post twice to confirm your dimensions before you start cutting any of your composite railing sections. Once you have your measurements, you can proceed to trim the top and bottom rails to the appropriate lengths using your miter saw. It is critical to center the baluster holes so that the spacing looks uniform on both ends of the railing section. After the rails are cut and the brackets are installed, you can snap the balusters into place and secure the top rail for a finished look.
-
Start by preparing your existing wooden posts or installing new structural supports that meet local building codes. You must ensure that each post is perfectly vertical by using a long carpenter level on at least two sides of the timber. Handydads recommends using structural lag bolts to attach the posts directly to the joists of the deck frame for maximum stability. If your kit includes post sleeves, slide them over the wooden posts now and ensure they sit flush against the deck surface. This foundation is the most important part of the project because it supports the entire weight of the railing system.
-
Measure the clear distance between the installed post sleeves at the bottom and the top levels. You need to subtract the thickness of the mounting brackets according to the specific instructions provided by the railing manufacturer. Handydads suggests marking these measurements clearly on the composite rails using a pencil that can be wiped away later. Double check that your baluster holes are centered between the posts so that the final assembly looks balanced and professional. Once you are confident in your numbers, use a miter saw to make clean and square cuts on both the top and bottom rails.
-
Position the mounting brackets on the post sleeves by measuring the appropriate height from the surface of the deck. Most codes require a small gap at the bottom to allow for water drainage and debris removal during cleaning. Handydads advises using a temporary block of wood to hold the bottom rail at the correct height while you mark the bracket locations. Use a drill to create pilot holes through the sleeve and into the wooden post to prevent any cracking of the composite material. Secure the brackets firmly using the stainless steel screws provided in your railing kit.
-
Insert the balusters into the pre-drilled holes in the bottom rail before attempting to attach the top rail. It is often helpful to have a partner hold the assembly steady while you align each baluster with the corresponding hole in the upper section. Handydads recommends applying light pressure to seat the balusters fully so that they do not rattle or move once the installation is complete. Once the top rail is positioned correctly over the balusters, slide it into the upper mounting brackets. Make sure the entire section is level before moving on to the final fastening step.
-
Drive the remaining screws into the top and bottom brackets to lock the entire railing section into its permanent position. You should then install the decorative post caps and base trim pieces to hide the fasteners and provide a finished appearance. Handydads suggests using a small amount of exterior grade adhesive to keep the post caps from blowing off during high wind events. Walk along the entire length of the railing and apply firm pressure to ensure there is no unwanted movement or looseness in the system. Finally, wipe down the composite surfaces with a damp cloth to remove any construction dust or pencil marks.
From the Toolbox
I remember a project where a client had a railing that swayed with even the slightest breeze. It was a clear safety hazard that made their beautiful backyard feel completely unusable for their young children. After we arrived, Handydads quickly identified that the original installer had used the wrong type of structural screws for the post mounts. We spent the afternoon reinforcing the frame and installing a sturdy composite system that restored their peace of mind. Seeing the family finally enjoy their deck without fear was the most rewarding part of the entire job.
Top 5 Mistakes
One of the most common errors homeowners make is failing to check their local building codes before starting the installation process. Handydads often sees railings that are too low or have balusters spaced too far apart to meet safety requirements. Another mistake is neglecting to use a high-quality level at every stage of the assembly. This leads to a crooked appearance that is very difficult to correct once all the fasteners are driven in. Finally, forgetting to pre-drill pilot holes in composite material can cause the boards to crack or mushroom around the screw head.
Tool and Material Recommendations
Choosing the right products will make a significant difference in the longevity and appearance of your finished deck railing. Handydads recommends selecting a railing system from a reputable manufacturer that offers a comprehensive warranty against fading and staining. You should also invest in high-quality stainless steel fasteners to prevent rust streaks from forming on your new white or wood-grain surfaces. A laser level can be a very helpful addition to your toolkit for ensuring that all your posts are at the exact same height. Using a dedicated composite saw blade will result in cleaner cuts and much less melting of the plastic components during the process.
Quick Tips and Hacks
To make your installation go much faster, you should create a simple wooden spacer block to ensure consistent baluster placement. This little trick saves you from having to measure and mark every single point on your bottom and top rails. Handydads also suggests using a piece of scrap cardboard to protect the deck surface while you are cutting your composite pieces. Keeping a clean workspace prevents accidental scratches on your brand new railing components during the assembly phase. Always double-check your measurements before making a cut, as composite materials are difficult to patch if you make an error.