
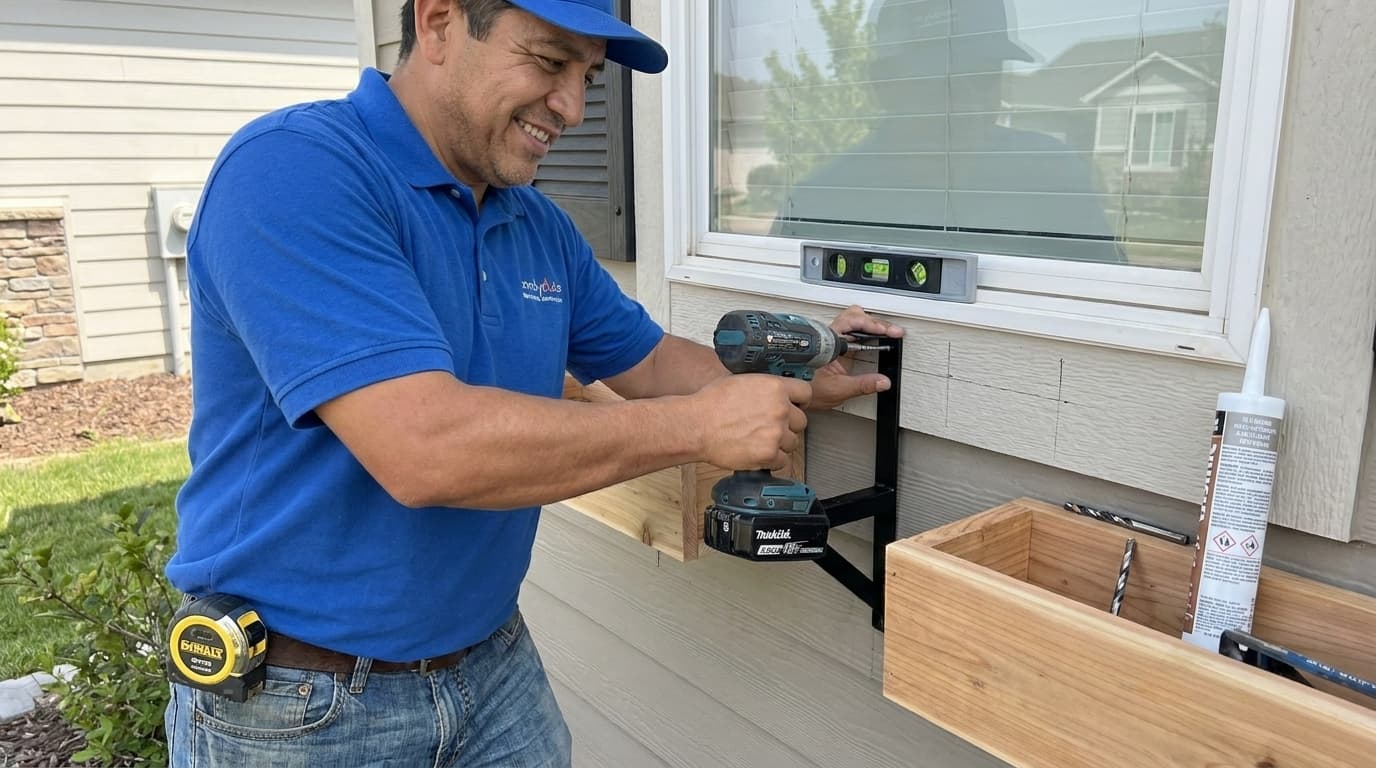
Adding a decorative window box to your home facade is one of the most effective ways to boost curb appeal instantly. Handydads understands that small exterior upgrades can make a massive difference in the overall aesthetic value of your property. This project allows you to showcase seasonal flowers and greenery while adding architectural depth to your windows. You will find that installing these units is a straightforward process that yields professional results with minimal effort. By following our guide you can ensure that your new window boxes are secure and functional for years to come.
Project Snapshot
This project is considered an intermediate task because it requires precise measuring and drilling into the exterior of your home. You should plan to spend approximately two hours on the installation from start to finish depending on your siding material. Handydads suggests having a partner available to help hold the box in place while you secure the mounting hardware. You will need a standard power drill and a set of bits that are appropriate for your specific wall type. Once completed this upgrade will provide a durable platform for your favorite annual plants and seasonal decorations.
Tools and Materials
You will need a high quality window box made of rot resistant wood or durable composite material for this job. Mounting brackets are essential and should be rated for the weight of the box when filled with wet soil. Stainless steel or galvanized screws are necessary to prevent rust streaks from forming on your siding over time. A reliable bubble level and a measuring tape will ensure that your installation looks professional and straight. Finally you should have a silicone caulk available to seal any holes and protect your home from moisture intrusion.
Step-by-Step Instructions
Begin by measuring the width of your window to determine the ideal placement for your new planter box. You should mark the locations for the mounting brackets on the wall ensuring they align with the structural studs or solid backing. Use your level to draw a straight line across the marks so the box does not sit at an angle. Drill pilot holes at your marked locations using a bit slightly smaller than your mounting screws to prevent splitting. Secure the brackets firmly to the wall and then lift the window box into position before fastening it with the remaining hardware.
From the Toolbox
I remember helping a client who felt their home looked a bit too industrial after a modern siding upgrade. We decided to install three large cedar boxes right under their front windows to soften the lines. As soon as the red geraniums were planted the entire neighborhood took notice of the transformation. It was a simple afternoon project that turned a sterile exterior into a warm and welcoming environment. Handydads always recommends high quality materials to ensure these boxes withstand the changing seasons beautifully.
Top 5 Mistakes
One of the biggest errors is choosing the wrong size box which can make the window look disproportionate or cluttered. Many homeowners forget to check for drainage which leads to root rot and premature decay of the planter box material. Using standard screws instead of exterior grade fasteners will lead to unsightly rust stains on your home siding. It is also common for people to mount the box too high which makes it difficult to water the plants. Finally failing to secure the brackets into the wall studs can result in the box falling under the weight of wet soil.
Tool and Material Recommendations
Handydads recommends using a cordless impact driver for driving long screws into the wall framing with ease. Cedar or redwood boxes are excellent choices because they naturally resist insects and moisture damage without chemical treatments. Look for heavy duty steel brackets with a powder coated finish to ensure they do not bend or corrode over time. We also suggest using a masonry bit if you are installing the box onto a brick or stone exterior. Always keep a tube of exterior grade clear silicone on hand to weatherize the penetration points behind the brackets.
Quick Tips and Hacks
You can place a layer of lightweight landscape fabric at the bottom of the box to prevent soil from washing out through the drainage holes. Adding a layer of packing peanuts or perlite at the base can reduce the overall weight of the planter significantly. Handydads recommends using a plastic liner inside wooden boxes to further extend the life of the wood by preventing direct soil contact. If you struggle with watering you might consider installing a simple drip irrigation line that connects to your existing garden hose. For an extra touch of style you can paint the brackets to match your window trim for a custom integrated look.