
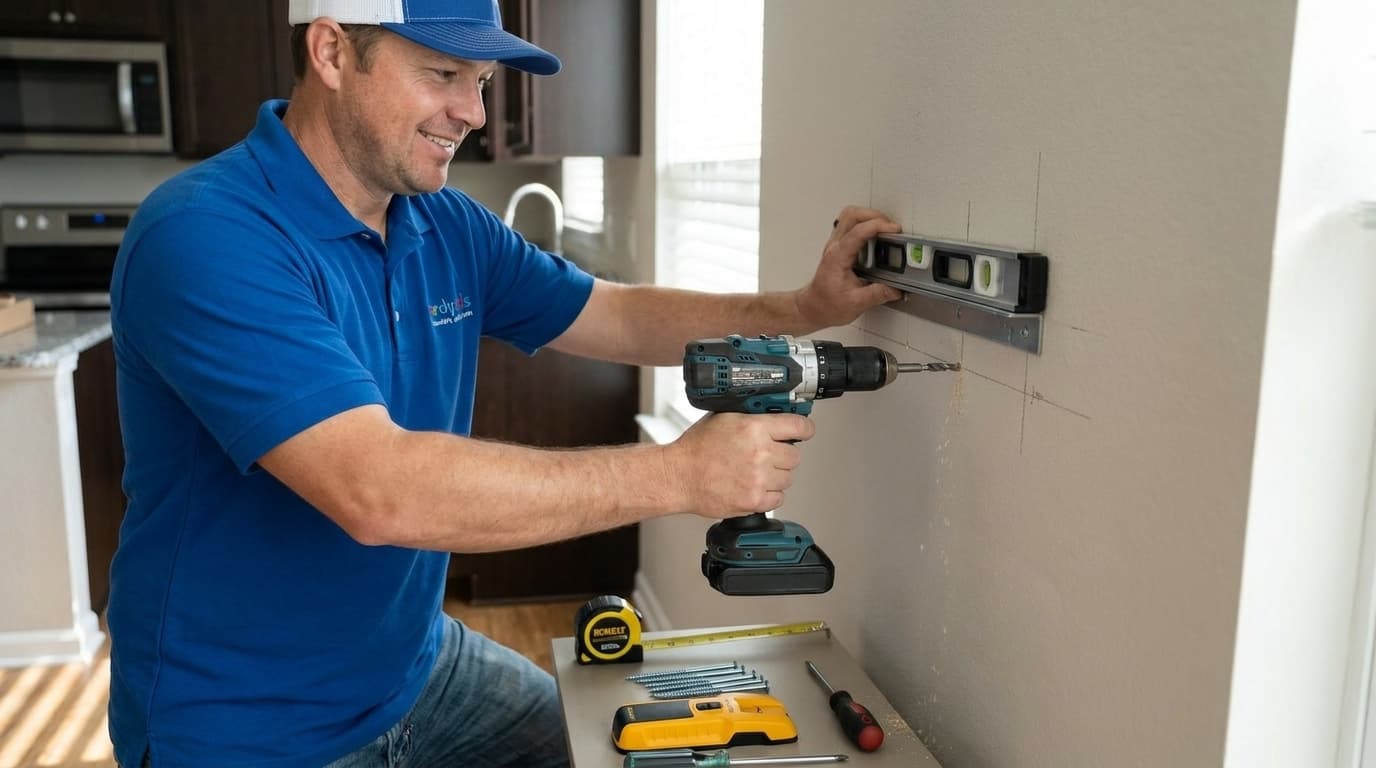
Floating shelves are a fantastic way to add both storage and style to any room in your home without taking up valuable floor space. These sleek units appear to hover against the wall which creates a clean and modern aesthetic that fits perfectly in kitchens or living rooms. When you choose to tackle this project yourself you gain the flexibility to customize the height and placement to suit your specific interior design needs. Handydads understands that even simple projects require a bit of precision to ensure the final result looks professional and remains secure over time. Properly mounting these shelves involves finding the right anchors and ensuring everything is perfectly level so your items stay safe and sound.
Project Snapshot
This project is rated as intermediate because it requires a steady hand and accurate measurements to achieve the desired floating effect. You can expect to spend approximately two hours from start to finish if you have all your tools organized and ready to go. Most kits come with the necessary hardware but you should always verify that the included screws are long enough to bite deep into your wall studs. Having a second pair of hands can be very helpful when you are trying to hold the bracket steady while marking your drill points on the wall. Handydads recommends clearing the workspace of any breakable items before you begin your drilling to prevent any accidental damage during the process.
Tools and Materials
To successfully complete this project you will need a floating shelf kit that includes all the necessary internal hardware. A power drill with a set of wood and masonry bits is required for making the pilot holes in your wall. You must have a reliable stud finder to locate the structural supports and a spirit level to keep the shelf straight. A pencil is needed for marking the drill points and a screwdriver will be used for the final tightening of the set screws. Handydads also recommends having a tape measure on hand to ensure that your shelf is centered perfectly in your space.
Step-by-Step Instructions
To begin your installation you must first determine the exact height and location for your new shelving unit. You should use a stud finder to locate the vertical framing members behind the drywall to ensure a solid connection. Once the studs are marked you can hold the mounting bracket against the wall and use a level to confirm it is perfectly straight. Drill your pilot holes directly into the studs and then secure the bracket using the long screws provided in your kit. After the bracket is tight against the wall you can slide the shelf over the support arms and tighten the small locking screws underneath.
From the Toolbox
I remember helping a neighbor who tried to install a long floating shelf using only drywall anchors for a heavy collection of cookbooks. Within a week the shelf began to sag and eventually pulled a large chunk of the wall out because it was not secured to the studs. We had to patch the drywall and start from scratch by locating the structural supports behind the plaster which took much longer than a standard install. It was a great lesson in why checking for studs is the most important part of any wall mounting project regardless of how light the shelf feels. Now that shelf holds the entire collection without even a hint of movement or instability because it is anchored directly into the home frame.
Top 5 Mistakes
One of the most common errors is relying solely on plastic drywall anchors which are often not strong enough to support the weight of a cantilevered shelf. Many homeowners also fail to use a level and end up with a shelf that looks crooked or allows round objects to roll off the edge. Overloading the shelf beyond the manufacturer weight capacity is another mistake that can lead to bracket failure or wall damage over time. Some people forget to tighten the small set screws on the bottom which can result in the shelf sliding off the bracket if it is bumped. Finally failing to check for electrical wires or plumbing pipes behind the wall before drilling can lead to very expensive and dangerous accidents.
Tool and Material Recommendations
When selecting your shelf you should look for a solid wood or high quality MDF option that feels sturdy and has a thick mounting bracket. Handydads suggests choosing a bracket system that offers multiple mounting holes so you have a better chance of hitting at least two studs. If you must use anchors look for metal toggle bolts rather than plastic expansion plugs as they provide much higher pull out strength for floating applications. Investing in a digital stud finder with an electrical wire warning feature can provide an extra layer of safety for all your future mounting projects. High quality wood screws that are at least two and a half inches long are usually the best choice for securing the bracket to the wall framing.
Quick Tips and Hacks
You can apply a small piece of painter's tape to the wall before marking your holes to avoid leaving permanent pencil marks on your paint or wallpaper. If your wall is slightly uneven you can use thin wood shims behind the bracket to ensure it sits perfectly vertical against the wall surface. Always vacuum out the dust from your pilot holes before inserting screws to ensure the threads can grip the wood as tightly as possible. For very long shelves it is often better to use two shorter brackets rather than one long one to provide more flexibility with stud locations. Handydads suggests that before you put any valuable items on the shelf you should apply a small amount of downward pressure with your hands to test the stability and ensure the bracket is secure.