
Garbage disposals are essential components of a modern kitchen that help manage food waste efficiently and keep your pipes clear. Installing one might seem like a daunting task for a homeowner, but it is actually a manageable project with the right guidance from Handydads. By taking the time to learn the proper installation techniques, you can avoid common plumbing leaks and electrical issues. This guide will walk you through everything from removing your old drain assembly to securing the new unit in place. Proper preparation is the key to ensuring that your kitchen remains functional and clean for many years to come.
Project Snapshot
This project requires a moderate level of comfort with both plumbing and electrical work. You should expect to spend roughly two to three hours completing the installation from start to finish. It is important to work carefully to ensure all seals are watertight and electrical connections are safe. Handydads recommends having a helper nearby to assist with lifting the unit into place under the sink. Once completed, your kitchen will be much more efficient at handling daily cleanup tasks.
Tools and Materials
You will need a new garbage disposal unit along with a compatible power cord kit if one is not included. Gather a set of screwdrivers, a pair of large channel-lock pliers, and a bucket to catch excess water. Plumber's putty is essential for creating a waterproof seal around the sink flange during the assembly process. A hammer and a flathead screwdriver will be needed to remove the dishwasher knockout plug if applicable. Finally, ensure you have a voltage tester to verify that the power is completely off before you begin.
Step-by-Step Instructions
Start by turning off the electrical power at the main breaker and placing a bucket under the sink to catch water. Disconnect the existing drain pipes and remove the old sink flange by loosening the mounting bolts. Clean the area around the sink hole thoroughly to ensure the new plumber's putty adheres correctly to the surface. Apply a thick bead of putty to the new flange and press it firmly into the drain opening from above. From underneath, slide the mounting ring and backup ring onto the flange and tighten the screws evenly.
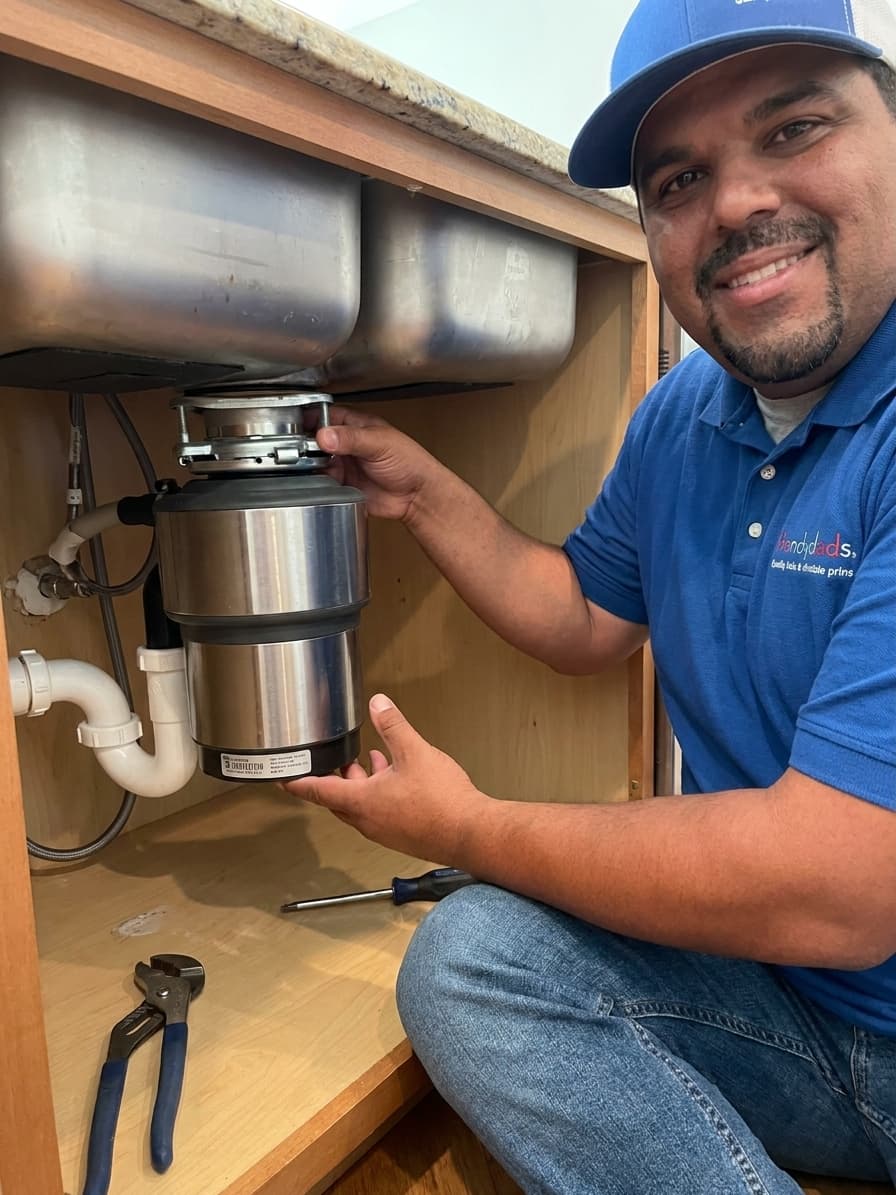
Next, prepare the disposal unit by removing the knockout plug if you plan to connect a dishwasher. Wire the power cord to the unit by matching the colors and securing them with wire nuts and a strain relief clamp. Lift the disposal unit and align the three mounting tabs with the slide-up ramps on the mounting ring. Turn the lower mounting ring clockwise until all three tabs are locked securely into place over the ridges. Connect the discharge tube to the disposal and the p-trap using the provided gaskets and hardware.
Finally, turn the water on and check for any leaks around the flange or the pipe connections. If everything looks dry, turn the power back on at the circuit breaker and test the unit with cold running water. It should run smoothly without any excessive vibration or rattling noises during operation. Double-check all connections one last time after the unit has run for a full minute to ensure total success. Handydads suggests keeping the area under the sink clear for a few days to monitor for any slow drips.
From the Toolbox
Once I helped a neighbor who thought he could just jam a whole turkey carcass down his new unit. We spent the afternoon taking the whole thing apart because he missed the part about what should not go in. It was a messy lesson but a great way to bond over home maintenance and repairs. Handydads always suggests reading the manual before testing the limits of your new kitchen appliance. Now his kitchen smells much better and his sink drains perfectly every single time he uses it.
Top 5 Mistakes
One of the most frequent errors is forgetting to remove the dishwasher knockout plug before connecting the drain hose. Another common mistake is using too little plumber's putty which leads to persistent leaks around the sink flange. Many people fail to turn off the electricity at the breaker which creates a significant safety hazard during wiring. Overtightening the mounting bolts can sometimes crack the mounting assembly or damage the sink surface itself. Lastly, skipping the final leak test can result in water damage to your kitchen cabinets over time.
Tool and Material Recommendations
Handydads recommends choosing a high-quality stainless steel garbage disposal with at least three quarter horsepower for best results. Always use non-staining plumber's putty to avoid discoloration on certain types of sink materials like granite or marble. A non-contact voltage tester is a must-have safety tool for any homeowner performing electrical work in the kitchen. Heavy-duty channel-lock pliers will make tightening the mounting rings and pipe nuts much easier on your hands. Consider purchasing a unit with an insulated sound shell to keep the noise levels down during operation.
Quick Tips and Hacks
You can use a small car jack or even a stack of books to hold the disposal unit in place while you lock the ring. Always run cold water while the disposal is running to help the blades cut through waste and keep the motor cool. Drop a few fresh lemon or orange peels into the unit once a week to naturally deodorize the grinding chamber. Periodically check the mounting bolts to ensure that the natural vibration of the motor hasn't loosened them over time. Keep the specialized hex wrench taped to the side of the unit so you can easily clear jams if they occur.