
Organizing your garage is one of the most rewarding home improvement projects you can undertake this weekend. Handydads knows that a cluttered workspace leads to frustration and wasted time during important repairs. A heavy duty pegboard system provides a versatile way to store everything from hammers to power drills securely. This guide will walk you through the process of creating a professional grade tool wall in your own home. You will be amazed at how much space you save once your tools are off the floor and on the wall.
Project Snapshot
- Difficulty: Moderate
- Time: 2 to 3 hours
- Tools: Drill, Level, Stud Finder
Tools and Materials
Gathering the right supplies before you start will make the installation process much smoother. You will need a combination of basic hand tools and specific hardware designed for mounting heavy objects. Handydads recommends choosing high quality materials that can withstand the temperature fluctuations of a garage. Having everything prepared on your workbench will prevent you from having to stop midway through the project. Here is a comprehensive list of what you will need to get the job done correctly.
- 1/4 inch thick pegboard panels
- 1x2 wood furring strips
- 2 inch wood screws
- Plastic wall anchors
- Measuring tape
- Cordless drill and driver bits
- Bubble level or laser level
- Handydads approved stud finder
Step-by-Step Instructions
- Start by using a stud finder to locate the vertical wooden supports behind your garage drywall. Mark these locations clearly with a pencil so you know where the strongest mounting points are. You should mark both the top and bottom of where the board will hang to ensure accuracy. Finding the studs is critical because the weight of the tools will pull a board right out of plain drywall. Handydads always suggests double checking your marks to avoid drilling unnecessary holes in your wall.
- Cut your 1x2 furring strips to match the height of your pegboard panels using a hand saw or miter saw. These strips create the necessary gap between the board and the wall so the hooks can fit into the holes properly. Without this gap, you will find it impossible to insert the curved ends of the metal pegboard hooks. You will typically need one strip for every stud that the pegboard will cover. Ensure that your cuts are straight so that the strips sit flush against the back of the board.
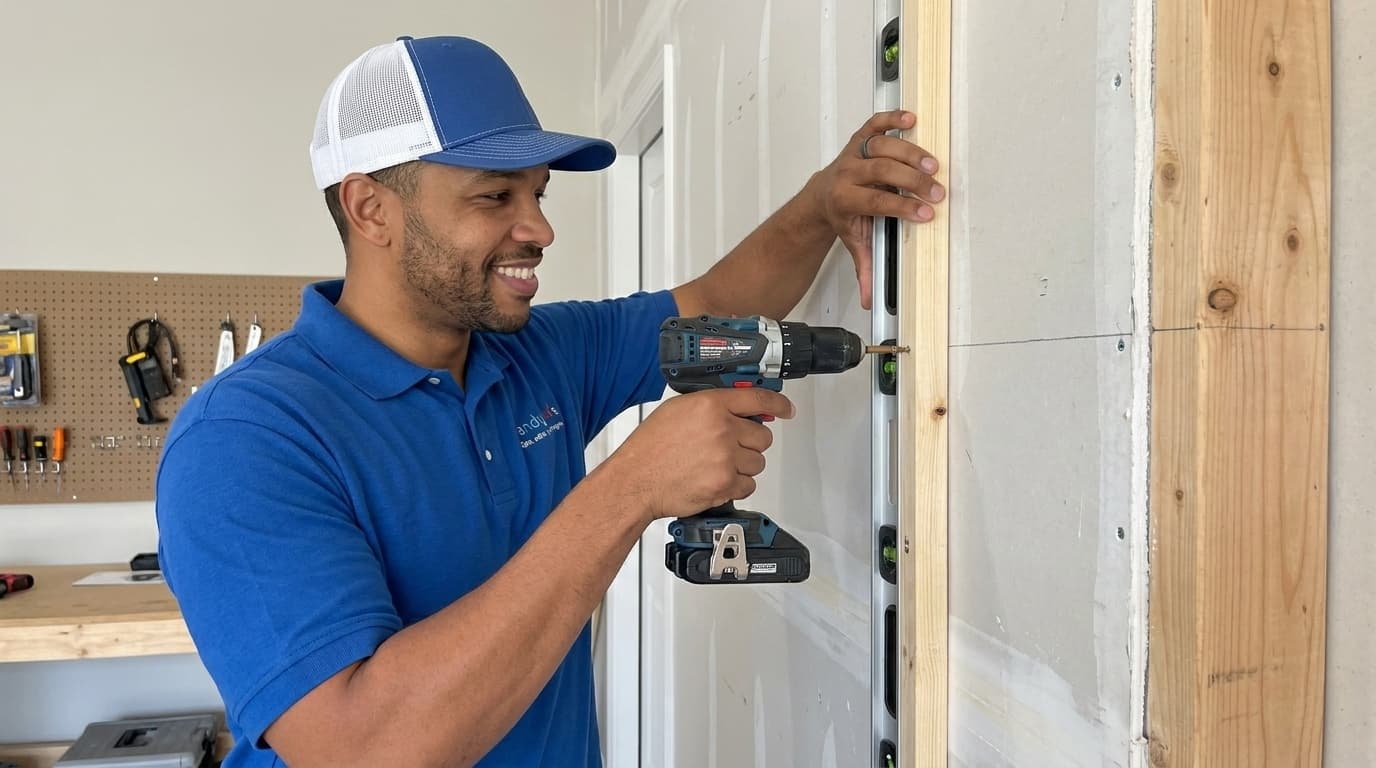
- Screw the furring strips directly into the wall studs using your 2 inch wood screws and a power driver. Make sure the strips are perfectly vertical by checking them with your level before tightening the screws all the way down. You should place a screw every twelve inches along the length of the strip for maximum stability. This framework provides the structural integrity needed to support heavy wrenches and hammers. Handydads recommends using a pilot hole to prevent the wooden furring strips from splitting during installation.
- Hold the pegboard panel up against the furring strips and have a partner help you hold it in place. Drive screws through the pegboard holes and into the furring strips at the corners and along the center edges. It is helpful to start at the top corner to hang the board before leveling it one last time. Make sure the screws you use have a head large enough to not slip through the pegboard holes. If the holes are too large, you can use a small washer to provide extra surface area for the screw head.
- Once the board is secure, you can begin inserting your hooks, bins, and tool holders into the predrilled holes. Organize your items by frequency of use to ensure that your most important tools are easiest to reach at chest level. Heavier items should generally be placed lower on the board to keep the center of gravity closer to the main supports. You might want to step back and look at the layout before finalizing the position of every single hook. This is the fun part where you finally see your organized workspace come to life.
From the Toolbox
One of our favorite projects at Handydads involved helping a homeowner reclaim a garage that had become a dumping ground for random hardware. The owner had spent years digging through old coffee cans just to find a single screwdriver for small household tasks. We installed a sleek black metal pegboard system that instantly transformed the aesthetic of the entire room. Seeing the look of relief on his face when his workbench was finally clear was the best part of the job. It proved that a little bit of organization goes a long way in making a house feel like a home.
Top 5 Mistakes
Avoiding common errors during the installation process will ensure that your new storage system stays on the wall for years. Many people rush the mounting process and end up with a board that sags or pulls away from the drywall. Handydads recommends taking your time to measure twice and drill once to achieve the best results. If you ignore the structural requirements of the wall, you might damage your tools or your home. Follow these pointers to make sure your pegboard is as sturdy as possible.
- Installing the pegboard flush against the wall without spacers or furring strips.
- Using weak drywall anchors instead of drilling directly into the wall studs.
- Failing to use a level which results in a crooked and unprofessional appearance.
- Overcrowding the board with too many heavy power tools in one small area.
- Buying thin 1/8 inch pegboard which often warps and breaks under heavy loads.
Tool and Material Recommendations
Handydads suggests investing in steel or high density fiberboard panels for maximum durability in a garage environment. Metal pegboards are particularly excellent because they do not absorb moisture or warp over time like wood products. You should also look for a variety pack of locking hooks that stay in place when you remove a tool. A high quality magnetic strip can be added to the bottom of the board for holding drill bits and small drivers. Always choose hardware that is rated for the weight of your specific tool collection to avoid any accidents.
Quick Tips and Hacks
Once your pegboard is securely mounted, you can start customizing it to fit your specific needs and workflow. Small adjustments can make a huge difference in how effectively you use your new organization system. Handydads suggests experimenting with different hook layouts until you find a configuration that feels natural. Adding some extra features can turn a basic storage wall into a high performance workstation. Here are a few clever ideas to help you get the most out of your garage upgrade.
- Trace the outline of each tool with a permanent marker so you know exactly where it goes.
- Use small plastic zip ties to lock your hooks into the board so they do not fall off.
- Group your tools by category such as plumbing, electrical, or woodworking for faster access.
- Install a small battery powered LED light bar at the top of the board to illuminate your tools.
- Use clear plastic jars with pegboard lids to store loose screws, nails, and washers.