
Transforming a cluttered garage into a functional workspace is a top priority for many homeowners who want to improve their property value. Handydads understands that the key to a successful organization project lies in the strength and reliability of your shelving choices. You need to ensure that every bracket is perfectly aligned and capable of supporting the heavy loads typically found in a garage setting. Taking the time to plan your layout will prevent future headaches and keep your valuable tools off the damp floor. This project is a fantastic weekend task that provides a sense of accomplishment every time you pull your car into the bay.
Project Snapshot
- Time Required: 3 to 5 hours
- Difficulty Level: Intermediate
- Key Skills: Stud finding and power tool operation
Tools and Materials
- Stud finder
- Cordless drill and impact driver
- 4 foot bubble level
- Tape measure and pencil
- 3 inch structural wood screws
- Heavy duty shelf brackets
- 3/4 inch thick plywood or pre-cut shelving boards
Step-by-Step Instructions
Start by using a high quality stud finder to locate the vertical framing members behind your garage walls. You must mark the center of each stud with a pencil to ensure your screws have maximum holding power in the wood. It is helpful to mark several points along the wall to visualize where the entire shelving unit will sit. If your garage has finished drywall you might need to tap the wall to confirm the solid sound of a stud. Never rely on drywall anchors alone for heavy duty garage storage because they will eventually pull out and cause damage.
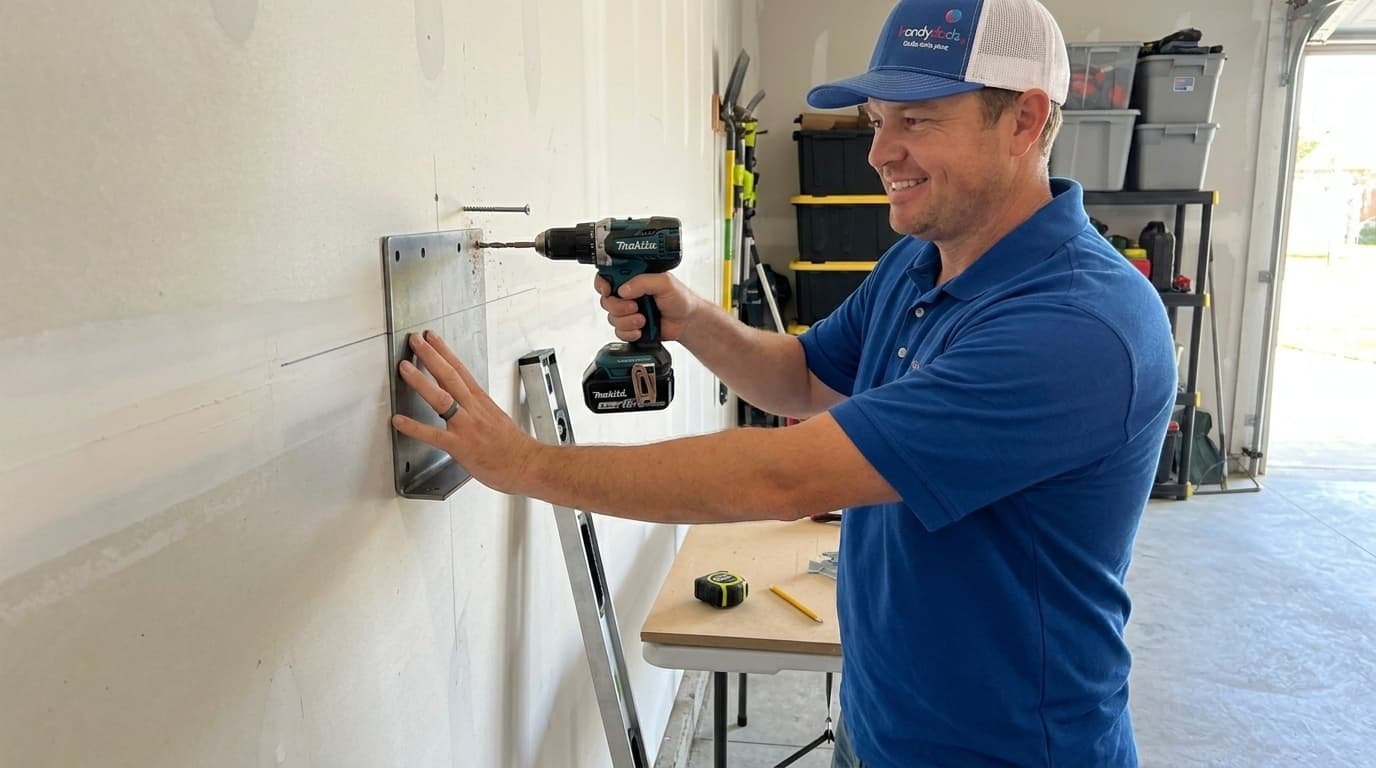
Once you have identified the stud locations you should use a long level or a laser level to mark a horizontal line for the top of the brackets. This line serves as your primary guide for the entire installation and keeps everything looking professional and straight. Hold your first bracket or vertical rail against the wall and align it with your horizontal reference mark. Drill a small pilot hole through the bracket hole and into the center of the stud to prevent the wood from splitting. Drive your first heavy duty screw in part way so you can still make minor adjustments to the vertical alignment.
Repeat the leveling and drilling process for the remaining brackets while ensuring they are spaced according to the length of your shelf boards. Most standard shelving systems require brackets every sixteen or twenty four inches depending on your home framing. Use a level on every single bracket to verify that the system is perfectly plumb before you tighten the screws completely. Handydads recommends using structural screws or lag bolts if you plan on storing extremely heavy items like engine parts or bulk liquids. Double check the tightness of every fastener once the vertical supports are all mounted securely to the wall.
Place your shelf boards or wire racking onto the brackets and ensure they are seated properly in the locking mechanism. If you are using wood planks you should secure them to the brackets using short wood screws from the underside. This prevents the shelves from sliding around or tipping over when you are reaching for items in the back. Make sure the boards are flush with one another to create a seamless surface for your storage bins and tool boxes. It is often helpful to sand down any rough edges on the wood to prevent splinters while you are working.
The final step involves testing the stability of the system by applying downward pressure on the front edge of each shelf. You should look for any signs of sagging or wall separation which might indicate a missed stud or a loose screw. Once you are confident in the installation you can begin loading your items with the heaviest objects placed on the lowest shelves. Organize your gear by category to make it easier to find what you need during your next home improvement project. A well organized shelving system will make your garage feel much larger and more inviting for daily use.
From the Toolbox
A few months ago a local homeowner called Handydads because their old plastic shelving units had collapsed under the weight of holiday decorations. We arrived to find a mountain of crushed boxes and broken glass scattered across the concrete floor. We suggested a wall mounted steel system that would keep everything high and dry away from potential flooding or pests. After a few hours of careful installation the garage was transformed from a hazard zone into a pristine storage gallery. The homeowner was so impressed that they immediately started planning the next phase of their garage renovation.
Top 5 Mistakes
- Failing to locate the exact center of the wall studs which leads to weak connections.
- Using standard drywall screws instead of structural wood screws or lag bolts for mounting.
- Neglecting to use a level which results in slanted shelves and sliding storage bins.
- Overestimating the weight capacity of the shelf boards causing them to bow or snap.
- Spacing the brackets too far apart which compromises the overall integrity of the unit.
Tool and Material Recommendations
- Screws: 3 inch structural wood screws for superior grip.
- Level: 48 inch aluminum bubble level for accurate spans.
- Driver: 18V Brushless impact driver for driving long screws easily.
- Shelving: 3/4 inch sanded ACX plywood for a smooth and strong surface.
- Brackets: 12 inch by 14 inch steel reinforced shelf brackets.
Quick Tips and Hacks
Paint your plywood shelves before installation for a more finished look that resists moisture. Use clear plastic bins so you can see the contents without opening every box in the stack. Install a small LED strip under the shelves to light up your workspace and eliminate dark corners. Group items by season to keep frequently used tools within easy reach at eye level. Add a small wood lip to the front of the shelf to prevent round items from rolling off onto the floor.