
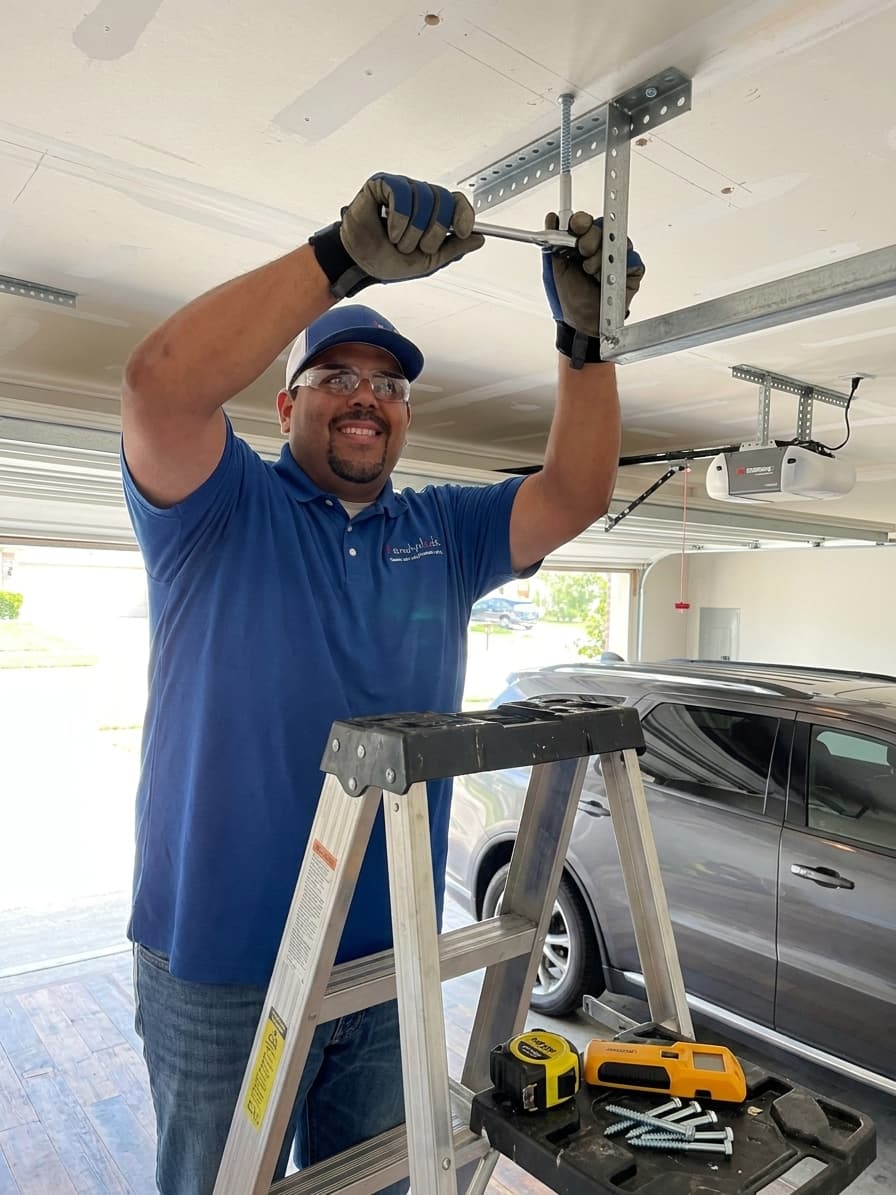
Maximizing your garage space requires thinking vertically and utilizing the area above your vehicles. Many homeowners struggle with clutter that accumulates on the floor and prevents them from parking inside. By installing an overhead storage rack, you can reclaim your floor space and organize seasonal items efficiently. Handydads recommends this project for anyone looking to optimize their storage capacity without adding a shed. This guide will walk you through the process of safely mounting a heavy duty rack to your ceiling joists.
Project Snapshot
- Time: 4 hours
- Difficulty: Intermediate
- Impact: High storage gain
Tools and Materials
- Overhead storage rack kit
- Heavy duty lag bolts
- Power drill and bits
- Socket wrench set
- High quality stud finder
- Sturdy A-frame ladder
- Tape measure and pencil
- Safety glasses and gloves
Step-by-Step Instructions
-
Find the joists. First, you must locate the ceiling joists using a high quality stud finder to ensure a secure connection. Mark the center of each joist with a pencil to provide a clear target for your mounting brackets. It is helpful to poke a small finishing nail through the drywall to verify the exact edges of the wood. Make sure your markings are consistent across the entire area where the rack will be installed. Handydads suggests checking the direction of the joists before you begin any drilling or layout work.
-
Mark the footprint. Once the joists are identified, you can begin laying out the footprint of the rack using the manufacturer template. Hold the template against the ceiling and mark the specific points where the lag bolts will be inserted. It is crucial to ensure that these marks are perfectly aligned with the centers of the joists you found earlier. Use a long straight edge or a chalk line to keep the installation square and professional looking. Double check your measurements twice because correcting holes in the ceiling is a tedious and unnecessary task.
-
Install the brackets. Drill pilot holes into the center of the joists at each of your marked locations to prevent the wood from splitting. Select a drill bit that is slightly smaller than the diameter of the lag bolts included in your storage kit. Align the ceiling brackets with the pilot holes and begin driving the heavy duty bolts into the wood. Use a socket wrench or an impact driver to ensure the brackets are pulled tight against the ceiling surface. Handydads advises that you verify each bracket is rock solid before moving on to the next phase of assembly.
-
Assemble the frame. Attach the vertical support posts to the ceiling brackets and adjust them to your desired hanging height. Ensure that all four corners are set to the exact same length to keep the storage platform perfectly level. You should use a level to verify the alignment of the frame as you tighten the connecting bolts and nuts. Having a helper hold the components in place while you secure the hardware makes this step much easier. Confirm that the vertical posts do not interfere with the travel path of your automatic garage door opener.
-
Mount the shelving. The final step involves placing the wire decking or solid shelving panels onto the horizontal support beams. Secure the shelving to the frame using the provided clips or screws to prevent any shifting during use. Distribute the weight of your storage bins evenly across the surface to maintain the structural integrity of the rack. Once the installation is complete, give the entire unit a firm shake to ensure everything is tightened and secure. Handydads recommends starting with lighter items first to get a feel for how the rack handles the load.
From the Toolbox
I remember helping a neighbor who had so many boxes he could not even see his workbench. We spent a full Saturday afternoon installing two large overhead racks to finally clear the path. Once the heavy bins were safely tucked away near the ceiling, his entire garage felt like a brand new room. He was finally able to pull his vintage truck inside for the winter months without hitting any clutter. Handydads always enjoys seeing a disorganized space transformed into a functional workshop through these smart storage solutions.
Top 5 Mistakes
- Missing the center of the ceiling joist during installation.
- Exceeding the maximum weight capacity specified by the manufacturer.
- Using standard screws instead of heavy duty lag bolts.
- Failing to check for obstructions like garage door tracks.
- Neglecting to level the frame before loading the shelving.
Tool and Material Recommendations
- Industrial strength steel overhead rack
- Impact driver for easier lag bolt installation
- Magnetic stud finder for finding drywall screws
- Clear plastic storage bins for better visibility
- Heavy duty work gloves for handling steel parts
Quick Tips and Hacks
Use a laser level for perfect alignment across long spans of the garage ceiling. Label the bottom of your storage bins so you can easily identify the contents from the ground level. Group similar items together in colored bins to make finding your seasonal gear much faster. Always check the tension on your lag bolts after the first month of use to ensure they remain tight. Ensure there is enough clearance for your garage door to operate freely without hitting the bottom of the rack.