
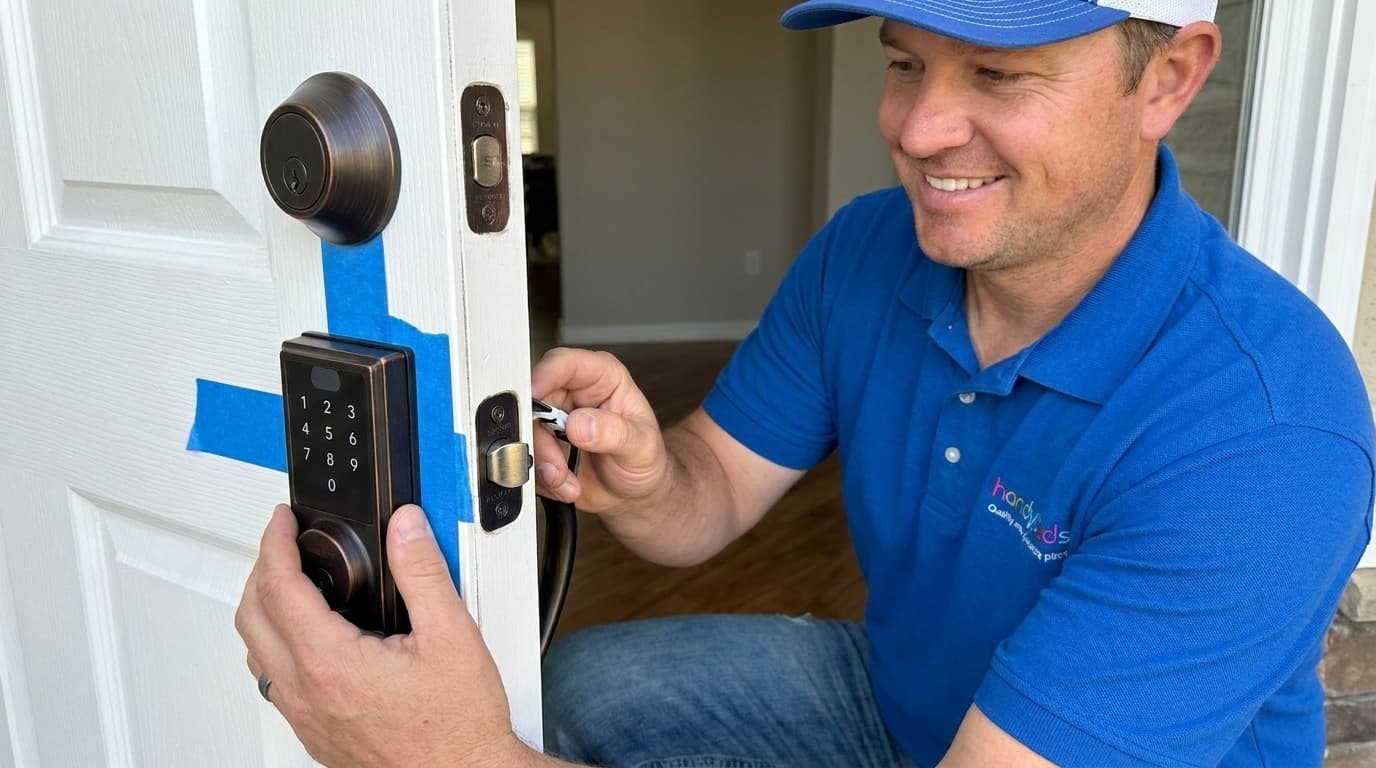
Upgrading your home security is one of the most rewarding home improvement projects you can undertake today. Installing a keypad deadbolt allows you to leave your keys behind while maintaining a high level of protection for your family. This project is perfect for homeowners who want to provide access codes to guests or service professionals without duplicating physical keys. Handydads recommends choosing a high-quality lock that integrates well with your existing door hardware and aesthetic preferences. With just a few basic hand tools and about thirty minutes of your time, you can transform your entry experience and increase your peace of mind.
Project Snapshot
- Difficulty: Easy
- Time: 30 to 45 minutes
- Impact: High security and convenience
- Skills Required: Basic screwdriver use
Tools and Materials
- Keypad deadbolt kit with hardware
- Phillips head screwdriver
- Tape measure
- Four AA alkaline batteries
- Painter's tape
Step-by-Step Instructions
To begin the process, you must first remove your existing deadbolt and strike plate from the door and frame. Use your Phillips head screwdriver to loosen the long mounting screws on the interior side of the door. Once the screws are out, the interior and exterior halves of the old lock should pull away easily. Be sure to remove the old latch bolt and the strike plate from the door jamb as well. Handydads suggests cleaning the area around the holes to ensure the new hardware sits perfectly flush against the door surface.
Next, you need to prepare the new latch by checking the backset measurement of your door. Most residential doors have a backset of either 2-3/8 inches or 2-3/4 inches from the edge of the door. Most modern keypad locks feature an adjustable latch that can be extended or retracted to fit either measurement. Slide the latch into the hole on the side of the door to verify the center hole aligns with the large bore hole. Secure the latch in place with the provided short screws while ensuring the word -top- faces upward as indicated on the metal.
Now you will install the exterior keypad assembly by threading the data cable through the door. Position the keypad on the outside of the door and guide the cable underneath the latch bolt through the center hole. It is helpful to use a small piece of painter's tape to hold the keypad in place while you work on the other side. Ensure the tailpiece, which is the flat metal rod, is in the horizontal or vertical position as required by the manufacturer instructions. This alignment is critical for the motor to operate the locking mechanism correctly during the final setup.
On the interior side of the door, you must now attach the mounting plate and connect the electronic components. Carefully pull the data cable through the opening in the mounting plate and secure the plate to the exterior keypad using the long mounting screws. Once the plate is firm and level, plug the data cable into the connector on the interior assembly until you hear a small click. Tuck any excess wire into the door cavity to prevent it from being pinched between the hardware pieces. Slide the interior assembly onto the mounting plate and secure it with the remaining small screws provided in your kit.
The final stage involves installing the batteries and programming your new access codes for the household. Open the battery compartment and insert four high-quality AA alkaline batteries according to the polarity markings. Most locks will perform an automatic -handing- test to determine if the door is left-handed or right-handed during this phase. Follow the manufacturer's specific guide to set a master code and then add your personal entry codes. Test the lock several times with the door open to ensure the bolt extends and retracts smoothly without any mechanical binding.
From the Toolbox
I recently helped a neighbor who was tired of hiding spare keys under a plastic rock near the porch. They were constantly worried about losing their keys during morning runs and wanted a more modern solution for their family. We spent a quick afternoon at Handydads selecting a sleek keypad lock that matched their existing oil-rubbed bronze door handle. After we finished the installation, the kids were thrilled to have their own unique codes to enter after school. The sense of relief on the parents' faces was the best part of the entire weekend project.
Top 5 Mistakes
- Installing the latch upside down which prevents the deadbolt from locking properly.
- Over-tightening the mounting screws which can warp the internal components or the door itself.
- Using old or low-quality batteries that leak or lose power quickly in cold weather.
- Failing to align the strike plate on the door frame resulting in a bolt that jams.
- Forgetting to record the master programming code in a safe and secure location.
Tool and Material Recommendations
- Kwikset or Schlage Keypad Deadbolt
- Magnetic Tipped Phillips Screwdriver
- Energizer Ultimate Lithium AA Batteries
- Microfiber Cloth for Cleaning
- Graphite Lubricant for the Latch
Quick Tips and Hacks
- Use painter's tape to hold the exterior unit in place so you have both hands free for the interior screws.
- Always test the manual key override before closing the door to ensure you are never locked out.
- Apply a tiny amount of graphite lubricant to the latch bolt for an ultra-smooth motorized operation.
- Set a specific temporary code for contractors or guests that you can easily delete later for security.
- Check the alignment of the door strike plate every season as wood doors can shift with humidity changes.