
Handydads recommends this project to transform your kitchen into a modern and functional space. Installing a new backsplash is one of the most effective ways to boost your home value without a full renovation. It protects your walls from moisture and food splatters while adding a beautiful aesthetic touch. You will need a bit of patience and the right set of tools to achieve a professional finish. This comprehensive guide covers everything from surface preparation to the final application of grout.
Project Snapshot
- Difficulty: Moderate
- Time: Weekend project
- Investment: Moderate
Tools and Materials
- Tape measure and level
- Tile spacers
- Wet saw or tile cutter
- Notched trowel
- Rubber grout float
- Large sponge and bucket
- Ceramic tile
- Thin-set mortar
- Grout
- Tile sealer
Step-by-Step Instructions
First you must prepare the wall surface by cleaning it thoroughly with a degreaser. Remove all outlet covers and switch plates to ensure a flat working area. If there are any holes or major imperfections, fill them with spackle and sand them smooth. Tape off your countertops and cabinets using painter's tape to prevent any mortar or grout stains. Ensure the wall is completely dry before you begin applying any adhesive materials.
Start by finding the center of your wall and marking a vertical line with your level. Lay out your tiles on a flat surface to plan the pattern and minimize small cuts at the edges. Handydads suggests dry fitting the tiles along the bottom row to see how they align with your cabinets and outlets. Use your level to draw a horizontal reference line if your countertops are not perfectly flat. This planning stage is critical for avoiding lopsided rows or awkward gaps at the corners.
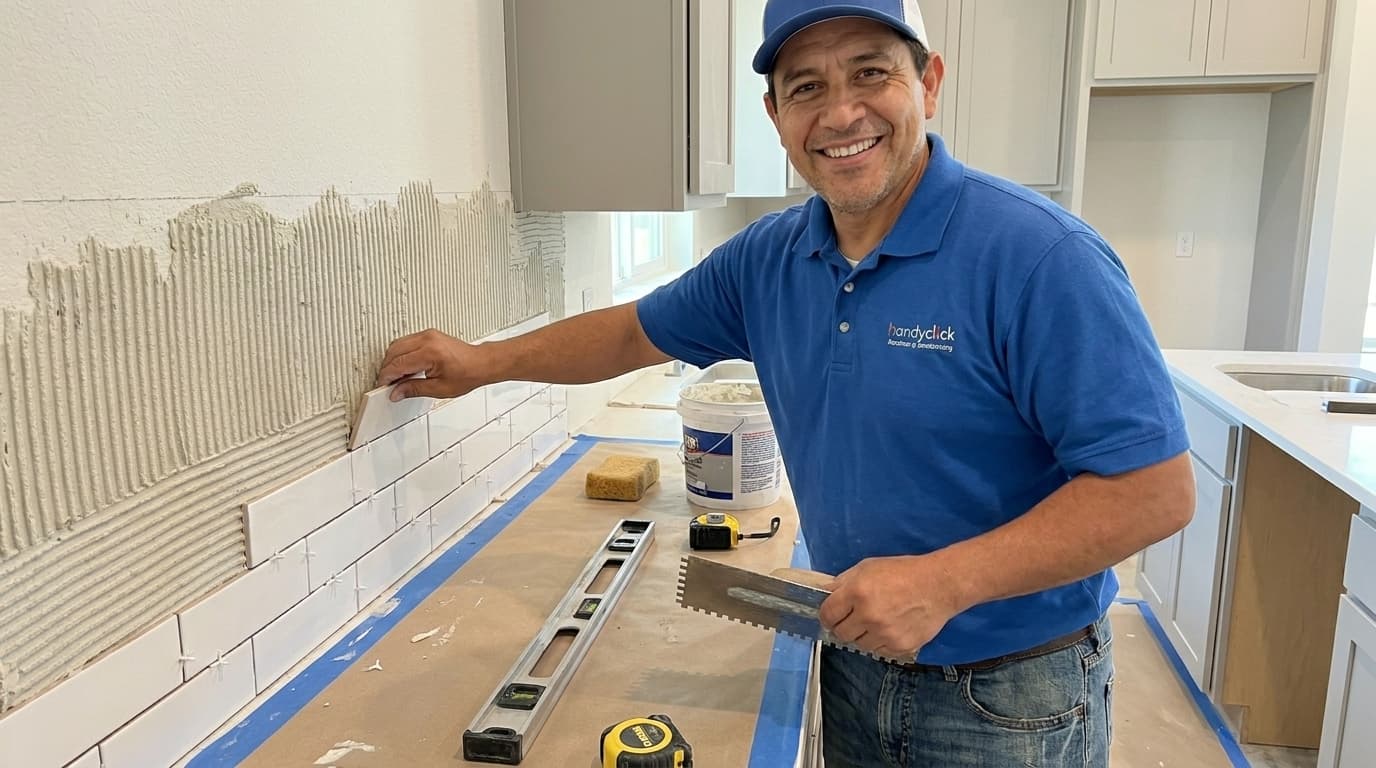
Mix your thin-set mortar in a bucket until it reaches a peanut butter consistency. Apply a small amount of mortar to the wall using the flat side of your notched trowel. Comb the mortar using the notched edge at a forty-five degree angle to create consistent ridges. Work in small sections so the mortar does not dry out before you can place your tiles. Ensure you are only covering an area you can tile within ten to fifteen minutes.
Press each tile firmly into the mortar using a slight twisting motion to ensure good adhesion. Insert tile spacers between every tile to maintain perfectly even grout lines throughout the project. Check your work frequently with a level to make sure the rows remain straight and true. Use a tile saw to make precision cuts around outlets and in the corners of the kitchen. Handydads recommends wiping away any excess mortar from the tile faces with a damp sponge as you go.
Allow the mortar to cure for at least twenty-four hours before you begin the grouting process. Mix your grout and apply it over the tiles using a rubber grout float held at a forty-five degree angle. Push the grout deep into the joints and then use the edge of the float to scrape off the excess. Wait about ten minutes and then wipe the tile surfaces with a damp, wrung-out sponge to remove the haze. Once the grout is fully dry, apply a high quality sealer to protect the joints from stains and moisture.
From the Toolbox
I remember working on a kitchen renovation where the homeowner tried to eyeball the tile placement. By the time they reached the third row, the entire pattern was slanted by nearly two inches. We had to carefully remove the wet mortar and start over from scratch using a proper level. This taught me that preparation and reference lines are the most important part of any tiling job. Now at Handydads we always double check our layout before the first tile ever touches the wall.
Top 5 Mistakes
- Skipping the wall preparation and cleaning phase.
- Not using spacers which leads to uneven grout lines.
- Mixing too much mortar at once and letting it dry.
- Forgetting to seal the grout once the project is finished.
- Using the wrong size notched trowel for the specific tile.
Tool and Material Recommendations
- Ceramic or porcelain wall tiles
- Modified thin-set mortar for better bonding strength
- Un-sanded grout for narrow joints or sanded grout for wider ones
- Diamond blade wet saw for clean and precise cuts
- Microfiber sponges for a clean finish during the cleanup phase
Quick Tips and Hacks
- Use a ledger board if you are tiling a wall without a countertop.
- Keep a bucket of clean water nearby to wash your sponge frequently.
- Back butter larger tiles by applying mortar to the back of the tile itself.
- Always buy ten percent more tile than you need to account for breakage.
- Let the grout haze dry completely before performing the final wipe down.