
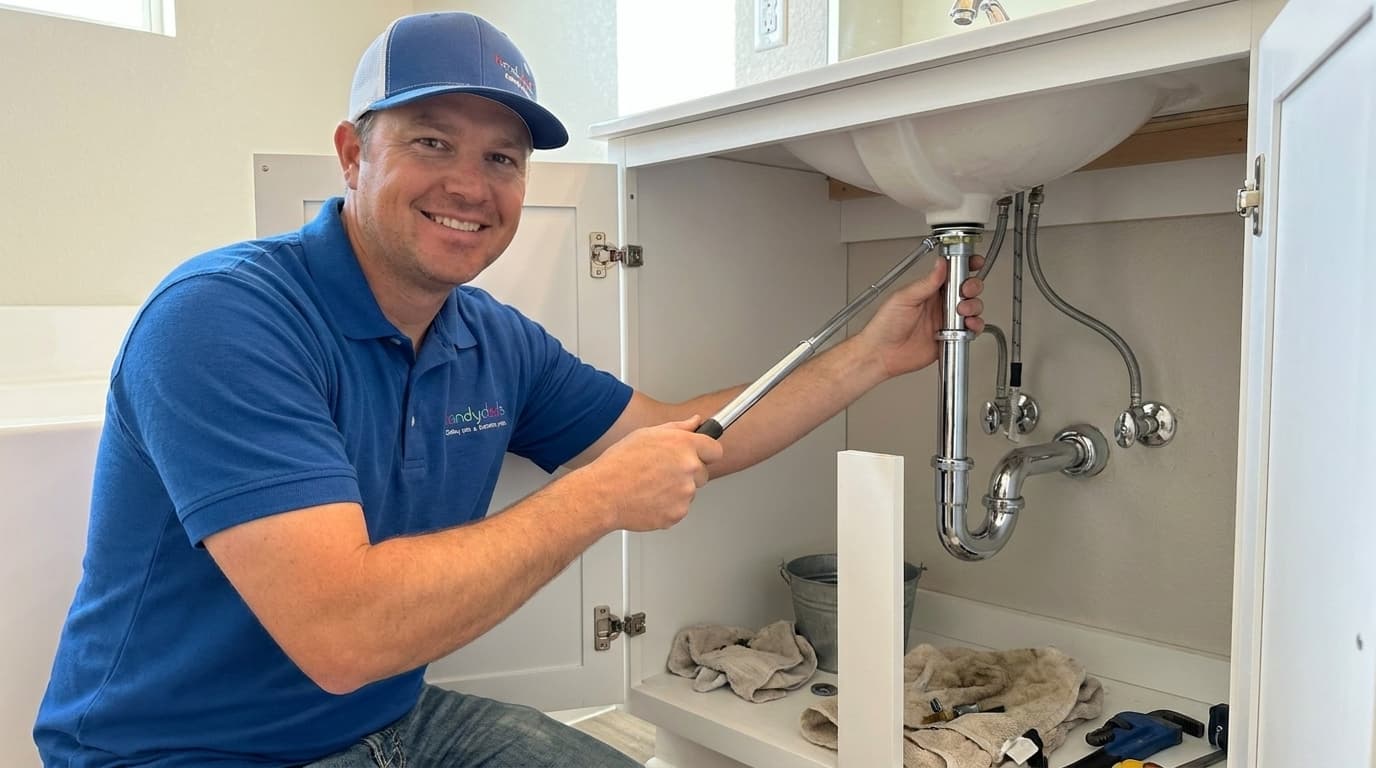
Upgrading a bathroom faucet is one of the most effective ways to refresh the look of your vanity without a full renovation. This project is well suited for homeowners who want to improve their water efficiency and modernize their interior design. Handydads recommends starting with a clear workspace to ensure you have enough room to maneuver under the sink. Replacing an old, leaky fixture can also prevent long term water damage to your cabinetry and floor. Taking the time to do this yourself ensures the job is done right while giving you a great sense of accomplishment.
Project Snapshot
This project is considered a beginner level task that usually takes between one and two hours to complete depending on the age of your plumbing. You will need basic hand tools and a few specific plumbing supplies to ensure a successful installation of the new fixture. Handydads suggests performing this update during the day when hardware stores are open just in case you need a specific replacement part. A new faucet can significantly improve the functionality of your bathroom while reducing water waste through modern aeration technology. This is a cost effective way to add value to your home with minimal technical experience required.
Tools and Materials
To begin this project, you will need an adjustable wrench and a basin wrench to reach the tight spaces under the vanity. A set of screwdrivers and a pair of tongue and groove pliers will also be helpful for removing stubborn mounting hardware. Make sure to have plumber's putty or silicone sealant on hand to create a waterproof barrier around the base of the faucet. You should also have new flexible supply lines ready if your old ones show signs of wear or are the wrong length for the new setup. Finally, keep a bucket and a few old towels nearby to manage any water that remains in the lines during the swap.
Step-by-Step Instructions
Start by turning off the water supply valves located directly beneath the sink to prevent any accidental flooding during the process. Once the valves are closed, open the faucet handles to drain any remaining water and relieve pressure from the lines. Use a small bucket or a towel to catch the small amount of water that will inevitably leak from the supply lines when you disconnect them. Carefully loosen the mounting nuts under the sink using a basin wrench or an adjustable wrench depending on the space available. After removing the old hardware, take a moment to clean the surface of the sink thoroughly to ensure a watertight seal for the new unit.
Now that the area is clean, place the new faucet gasket or plumber's putty onto the base of the new fixture before setting it into the mounting holes. Slide the new faucet through the holes and have a helper hold it in place from above while you secure the mounting nuts from below. Hand tighten the nuts first to ensure the faucet is aligned correctly before finishing the job with your wrench for a secure fit. Connect the hot and cold water supply lines to the corresponding intake pipes on the new faucet while being careful not to cross-thread the connections. Turn the water supply valves back on slowly and check every connection point for leaks while the water is running through the new fixture.
From the Toolbox
I remember a time when I was helping a neighbor replace a faucet that had been in place for nearly thirty years. The mounting nuts were so corroded and stuck that it felt like they were welded to the underside of the porcelain sink. We spent nearly an hour carefully applying penetrating oil and using a specialized basin wrench to get the hardware to budge without cracking the sink. Once we finally broke the seal, the rest of the installation went smoothly and the neighbor was thrilled with the updated look. This experience reminded me that Handydads always suggests having plenty of patience when working with older plumbing fixtures.
Top 5 Mistakes
One common mistake is failing to verify the hole configuration of your sink before purchasing a new faucet assembly. You must ensure the new unit matches the one hole or three hole pattern of your existing vanity to avoid an unnecessary return trip to the store. Another frequent error is overtightening the supply line connections which can lead to cracked nuts or damaged rubber seals. Many DIYers also forget to flush the water lines before installing the new faucet which can trap debris in the new aerator. Lastly, neglecting to clean the mounting surface can prevent the gasket from sealing properly and cause slow leaks into the cabinet below.
Tool and Material Recommendations
A high quality telescoping basin wrench is the single most important tool you can own for this specific plumbing project. Handydads recommends choosing a faucet from a reputable brand that offers a lifetime warranty on the finish and the internal ceramic cartridges. Braided stainless steel supply lines are much more durable and less prone to bursting than the older plastic or solid copper versions. Using a specialized thread seal tape on the connections can provide an extra layer of protection against minor drips and leaks. Always look for WaterSense labeled products to ensure you are getting a faucet that balances performance with water conservation goals.
Quick Tips and Hacks
Using a small mirror can help you see the mounting nuts in the dark, cramped spaces behind the sink bowl. If you find that your supply lines are too short for the new faucet, it is better to buy new longer lines than to try and stretch the old ones. Wrapping a bit of painter's tape around your wrench can help prevent scratching the finish on your brand new polished chrome or nickel hardware. Always keep a bucket and plenty of dry rags nearby to manage any drips that occur when you first disconnect the old plumbing. Finally, Handydads recommends taking a quick photo of the old setup before you take it apart so you have a visual reference for how the lines connect.