
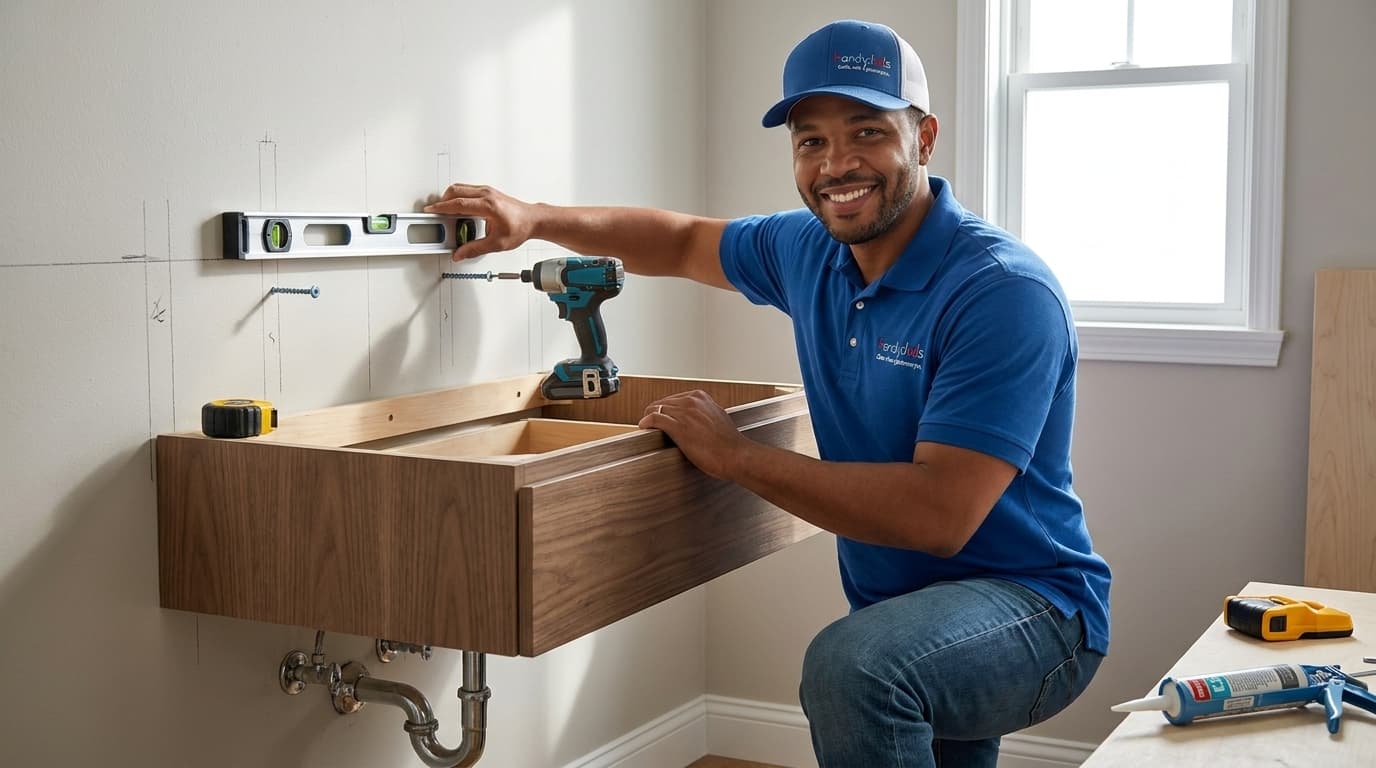
Handydads is here to help you transform your bathroom into a contemporary spa with the addition of a floating vanity. These fixtures create a sense of space by opening up the floor area beneath the cabinet. Installing one requires careful planning to ensure the wall can support the weight of the unit and the sink. You will need to locate the studs precisely and handle plumbing connections with care to avoid any future leaks. This project is a fantastic way to update the aesthetics of your home while adding functional storage in a sleek design.
Project Snapshot
This project is rated as intermediate because it involves both structural support and basic plumbing knowledge. You should expect to spend roughly four to six hours completing the installation from start to finish. The result provides a significant visual impact and makes cleaning the bathroom floor much easier than traditional cabinets. Handydads recommends having a second person available to help lift and hold the vanity during the mounting process. Always ensure your water supply is turned off before you begin any work on the plumbing fixtures.
Tools and Materials
To complete this installation successfully you will need a few essential tools and quality materials. Grab a reliable stud finder and a long level to ensure the vanity sits perfectly straight on the wall. You will also need a power drill with various bits and a set of heavy duty wood screws or lag bolts. The materials include the floating vanity cabinet and a compatible sink basin along with a faucet set. Finally make sure you have silicone caulk and a standard p-trap plumbing kit to finish the connections.
Step-by-Step Instructions
Start by turning off the water supply valves and removing your old vanity if one is currently installed. Use your stud finder to locate the vertical wall studs and mark their positions clearly with a pencil. Measure the desired height of the vanity and draw a level horizontal line across the wall where the top of the cabinet will sit. Handydads suggests pre-drilling holes in the back of the vanity cabinet that align exactly with the stud locations you found. Carefully lift the cabinet into place and secure it to the wall using heavy duty screws while checking for levelness throughout the process. Once the cabinet is secure you can install the faucet onto the sink basin and then mount the sink on top of the vanity using silicone. Finish the job by connecting the drain pipes and the water supply lines before testing for any leaks.
From the Toolbox
I remember a job where a client tried to hang a floating vanity using only drywall anchors. They called Handydads when the unit started pulling away from the wall after just one week of use. We had to remove the unit and install structural blocking between the studs to provide a rock solid foundation for the weight. It taught the homeowner that while these vanities look light they carry a significant load once the countertop and water are added. Now their bathroom looks incredible and is structurally sound for many years to come.
Top 5 Mistakes
Many homeowners make the mistake of failing to anchor the vanity directly into the wall studs for proper support. Another common error is installing the unit without checking for a perfectly level horizontal position which affects drainage. You should also avoid neglecting to measure the plumbing outlet height because this can lead to difficult alignment issues later. Some people use the wrong size or type of screws which may not hold the weight of the heavy cabinet. Finally, many installers forget to seal the gap between the sink and the wall with a proper bead of waterproof silicone caulk.
Tool and Material Recommendations
Selecting the right hardware is the key to a successful floating vanity installation in any home. Handydads recommends using a digital stud finder to eliminate any guesswork when searching for wall support. Choose a high quality waterproof silicone sealant to prevent moisture from getting behind your new furniture. Look for a vanity with a reinforced back panel designed specifically for wall mounting to ensure durability. Using a cordless impact driver can also make driving the long lag bolts into the studs much easier.
Quick Tips and Hacks
If your wall studs do not align with the vanity mounting points you may need to open the drywall and add horizontal blocking. You can use a scrap piece of lumber cut to the height of the vanity to act as a temporary support leg during the installation process. Applying a small bead of plumber-s putty under the drain flange will help create a permanent watertight seal for the sink. Always dry fit your plumbing connections before applying any glue or tightening the nuts fully to ensure everything fits correctly. Handydads suggests placing a small bucket under the pipes the first time you turn the water back on to catch any unexpected drips.