
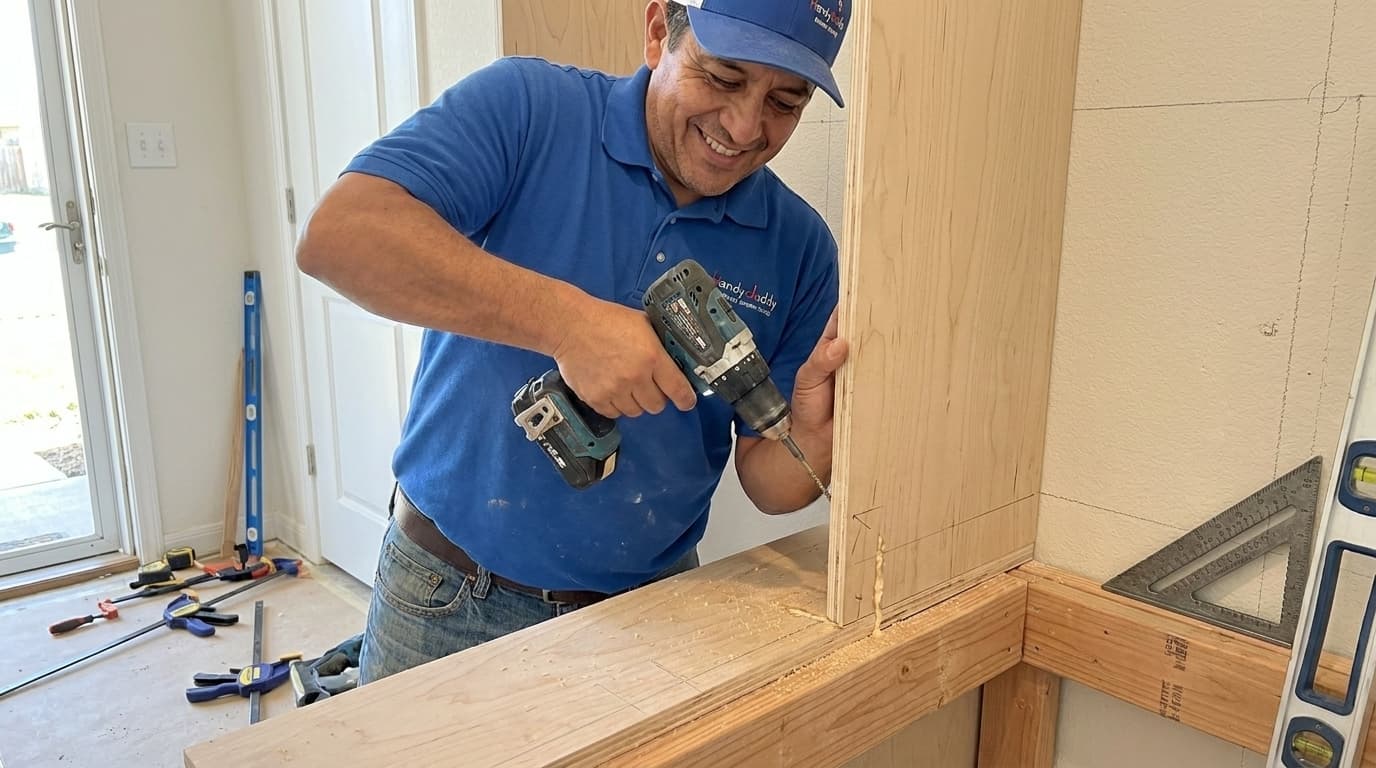
Handydads knows that a cluttered entryway can make any home feel chaotic. Installing a mudroom bench with cubbies provides a dedicated space for shoes and bags while adding a touch of custom woodwork to your home. This project is perfect for homeowners looking to maximize storage in small foyers or transition areas. You will find that building a custom unit allows you to tailor the dimensions to your specific wall space perfectly. Let Handydads guide you through the process of creating an organized and welcoming entrance for your family.
Project Snapshot
This project is designed to be completed over a standard weekend with basic power tools. You can expect to spend several hours on assembly and additional time for the paint to dry. The difficulty level is moderate, making it accessible for most homeowners with some DIY experience. Having a second pair of hands will make the installation process much smoother and safer. Handydads provides this guide to help you achieve professional results in your own entryway.
- Time: 4 to 6 hours
- Skill Level: Intermediate
- Durability: High
Tools and Materials
Having the correct equipment on hand before you start will prevent unnecessary trips to the store. You will need basic cutting tools as well as assembly hardware to build a sturdy bench. A drill and a level are essential for ensuring the unit is both strong and straight. Safety equipment like goggles and ear protection should always be worn when operating power saws. Handydads suggests gathering all these items in your workspace before you make your first cut.
- Miter saw
- Circular saw
- Drill and bits
- Wood glue
- Plywood sheets
- Finish nails
- Wood screws
- Paint and primer
Step-by-Step Instructions
Start by measuring the wall area where the bench will sit and mark the studs using a reliable electronic stud finder. Handydads recommends using a level to draw a straight reference line along the wall to ensure the bench stays perfectly horizontal. Clear the baseboards if the unit needs to sit flush against the drywall for a professional appearance. Use a miter saw to cut your plywood panels according to the dimensions of your specific entryway plan. Sand all the edges of the wood pieces now to save yourself time and effort once the structure is assembled.
Construct the base frame using high quality plywood to create a sturdy foundation for the bench. Drill pilot holes to prevent the wood from splitting when you drive in your structural wood screws. Connect the vertical dividers to the base to create the cubby holes that will hold shoes or storage bins later. Check each corner with a framing square to ensure the entire assembly is perfectly square before moving forward. Handydads suggests adding a thin layer of wood glue to every joint to increase the long term durability of the unit.
Place the top bench panel over the dividers and secure it with finish nails or pocket hole screws for a clean look. Make sure the seat overhangs the front slightly to provide a more comfortable edge for sitting while putting on shoes. Apply a bead of construction adhesive along the top edges of the dividers before setting the bench top in place. Use wood filler to cover any visible nail holes and allow it to dry completely before you begin the sanding process. Handydads advises using a high grit sandpaper for the final pass to ensure the seating surface is smooth and snag free.
Prime the entire unit with a high quality wood primer to ensure the paint adheres properly and lasts for years. Choose a durable enamel paint that can withstand the daily wear and tear of a busy household entryway. Apply at least two coats of paint and allow each layer to dry fully according to the manufacturer instructions. You can also add decorative trim or molding to the edges to give the project a more high end custom look. Handydads always finishes by adding felt pads to the bottom of the unit to protect the flooring underneath from scratches.
From the Toolbox
One of our lead technicians at Handydads once worked on a project where the homeowner had five children and zero organization. The mudroom was a mountain of boots and backpacks that made it nearly impossible to even open the front door. We spent a Saturday morning installing a custom length bench with ten individual cubbies to solve the problem once and for all. Seeing the children each claim their own cubby and organize their gear was incredibly satisfying for everyone involved. It reminded us that a simple weekend project can truly change the daily rhythm and peace of a home.
Top 5 Mistakes
Choosing the wrong type of wood can lead to warping or bowing over time which ruins the look of the bench. Forgetting to secure the unit into the wall studs is a major safety hazard that could lead to the bench tipping over. Skipping the pilot holes often results in the wood splitting and weakening the structural integrity of the entire cubby system. Using a low quality paint that is not meant for high traffic areas will result in scuffs and peeling within just a few months. Handydads also sees many people forget to account for the height of the baseboards which prevents the bench from sitting flush against the wall.
Tool and Material Recommendations
Choosing the right gear is essential for achieving a high quality finish on your project. Handydads recommends using a high grade birch plywood for its smooth surface and superior strength. A quality wood glue will provide the structural reinforcement necessary for a piece of furniture that gets daily use. Investing in a set of sharp drill bits will make the pilot hole process much easier and cleaner. Finally, a high quality finish nailer can speed up the assembly while leaving very small holes to fill.
- Birch Plywood
- Titebond Wood Glue
- GRK Structural Screws
- Sherwin Williams Enamel Paint
- 3M Sanding Block
Quick Tips and Hacks
Before you start any cuts, double check your measurements to avoid wasting expensive lumber. Use a template for your cubby holes to ensure every opening is the exact same size. If you are working alone, use clamps to hold the pieces in place while you drive in the screws. A wet rag is helpful for wiping away excess wood glue before it has a chance to harden. Handydads suggests labeling each piece of wood with a pencil to keep track of your assembly order.
- Measure twice
- Use wood glue
- Pre-drill everything
- Level the base
- Protect the floor