
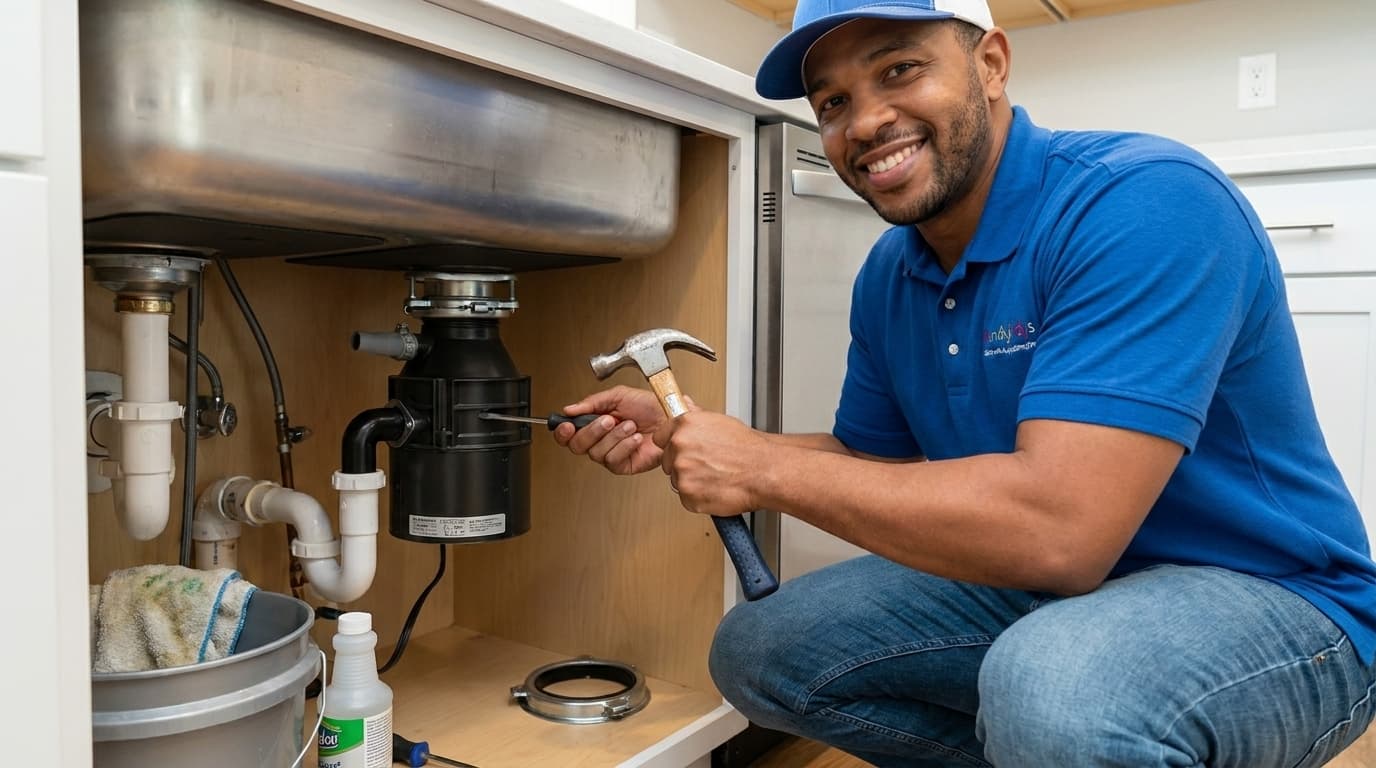
Installing a new garbage disposal is a fantastic way to upgrade your kitchen efficiency and reduce food waste. Many homeowners feel intimidated by plumbing projects but this specific task is quite manageable for a weekend warrior. Handydads recommends taking your time to ensure all connections are watertight and secure before finishing. A properly functioning disposal prevents drain clogs and makes cleaning up after family meals much faster. You will feel a great sense of accomplishment once you hear that motor hum for the very first time.
Project Snapshot
- Difficulty: Intermediate
- Time: 2 to 3 hours
Tools and Materials
- Garbage disposal unit
- Plumber's putty
- Screwdriver set
- Tongue and groove pliers
- Hammer
- Power cord kit
Step-by-Step Instructions
-
Start by turning off the power at the circuit breaker to ensure a safe working environment. You should also disconnect the drain pipe and the dishwasher hose from the existing unit using your pliers. Place a small bucket underneath the sink to catch any stagnant water that might spill during the removal process. Loosen the mounting ring to drop the old unit and carefully set it aside on the floor. Removing the old sink flange requires prying it up from the top of the sink once the snap ring is released.
-
Prepare the new sink flange by applying a thick rope of plumber's putty around the underside of the stainless steel rim. Press the flange firmly into the sink drain hole and place a heavy object on top to keep it in place while you work underneath. From below the sink, slide the fiber gasket and backup ring onto the flange before securing the mounting ring. Tighten the three mounting screws evenly until the assembly is tight against the bottom of the sink. Use a plastic scraper to remove any excess putty that squeezed out into the sink basin.
-
If you have a dishwasher, use a hammer and screwdriver to knock out the plastic plug inside the disposal inlet. This step is vital because your dishwasher will not drain properly if this plug remains inside the unit. Connect the electrical power cord to the bottom of the new disposal according to the manufacturer instructions provided. Lift the disposal unit and align the three mounting tabs with the slide-up ramps on the mounting ring. Turn the lower mounting ring clockwise until all three tabs are locked securely into place.
-
Reconnect the discharge tube and the dishwasher drain hose to the side of the new disposal unit. Ensure that all gaskets are properly seated and that the clamps are tightened firmly to prevent future leaks. Run a steady stream of cold water into the sink and check every connection point for moisture. Turn on the power at the breaker and flip the wall switch to test the motor for smooth operation. Handydads suggests running the disposal for a full minute with water to clear any debris left in the lines.
From the Toolbox
I remember helping a neighbor who tried to install their disposal without removing the knockout plug for the dishwasher. They were so confused when their dishwasher started backing up into the sink during the first cycle. We spent about twenty minutes taking everything apart just to pop that little plastic piece out of the unit. It was a simple mistake that many people make during their first attempt at kitchen plumbing. Now we always laugh about it whenever we see each other at the local hardware store.
Top 5 Mistakes
There are several common errors that homeowners make when attempting to install their first garbage disposal unit. One of the most frequent mistakes is forgetting to remove the dishwasher knockout plug before finishing the installation. Another common error involves not using enough plumber's putty which can lead to persistent leaks around the sink flange. Many people also try to reuse their old mounting hardware which might not be compatible with the new motor. Finally, failing to check the electrical connections can cause the unit to short out or not receive power at all.
Tool and Material Recommendations
- InSinkErator Evolution Series Garbage Disposal
- Oatey Plumber's Putty
- Channellock Tongue and Groove Pliers
- Phillips Head Screwdriver
- Wire Strippers and Electrical Tape
Quick Tips and Hacks
If you are working alone, you can use a small car jack or a stack of books to hold the disposal unit in place while you lock the mounting ring. This clever hack saves your arms from fatigue while you try to align the tabs on the mounting assembly. Always keep a bucket and plenty of rags nearby to manage any unexpected water spills from the old pipes. You should also ensure that the discharge pipe has a slight downward slope to allow for proper gravity drainage into the main line. Checking the reset button on the bottom of the unit is a great first step if the motor fails to start after your installation.