
Handydads knows that a cluttered closet can lead to a chaotic morning routine. Installing a professional grade closet organizer system is one of the most effective ways to maximize your home storage potential. This project involves removing your old single rod and shelf and replacing them with a modular system that includes shelves, drawers, and multiple hanging levels. You do not need to be a master carpenter to achieve a high end look with modern DIY kits. By following this guide, you will transform your cramped space into a functional and aesthetically pleasing storage sanctuary that adds value to your home.
Project Snapshot
The project snapshot gives you a clear overview of what to expect during this home improvement task. This installation is generally considered an intermediate level project that requires basic power tool knowledge. You should set aside approximately four to six hours to complete the job from start to finish. The primary tools required include a drill, a level, and a stud finder to ensure a safe installation. By preparing ahead of time, you will ensure a smooth process that results in a professional looking storage system.
Tools and Materials
The list of tools and materials for this project is straightforward and easy to find at most home centers. You will need a high quality closet organizer kit that matches your specific closet dimensions and storage needs. A power drill with various bits and a reliable stud finder are essential for securing the heavy components to the wall. Do not forget to have a torpedo level and a four foot level to keep everything perfectly straight during the process. Having a measuring tape and a pencil handy will allow you to mark your layout with precision before you begin drilling.
Step-by-Step Instructions
Start by completely emptying the closet and removing any existing hardware like wire racks or wooden rods. You will likely find several holes in the drywall that need to be patched and sanded before you proceed. Once the walls are smooth, Handydads recommends applying a fresh coat of paint to give the space a clean look. This is the best time to perform any maintenance because the walls will never be this accessible again. Make sure the paint is fully dry before you begin marking your new layout on the wall surface.
Use a stud finder to locate every vertical stud behind the drywall and mark them clearly with a pencil. You need to know exactly where the structural support is located to ensure the organizer can hold heavy clothing. Measure the width of your closet at the height where the main support rail will be installed. Standard kits often require the rail to be mounted at approximately eighty inches from the floor. Check your measurements twice to avoid making unnecessary holes in your freshly painted closet walls.
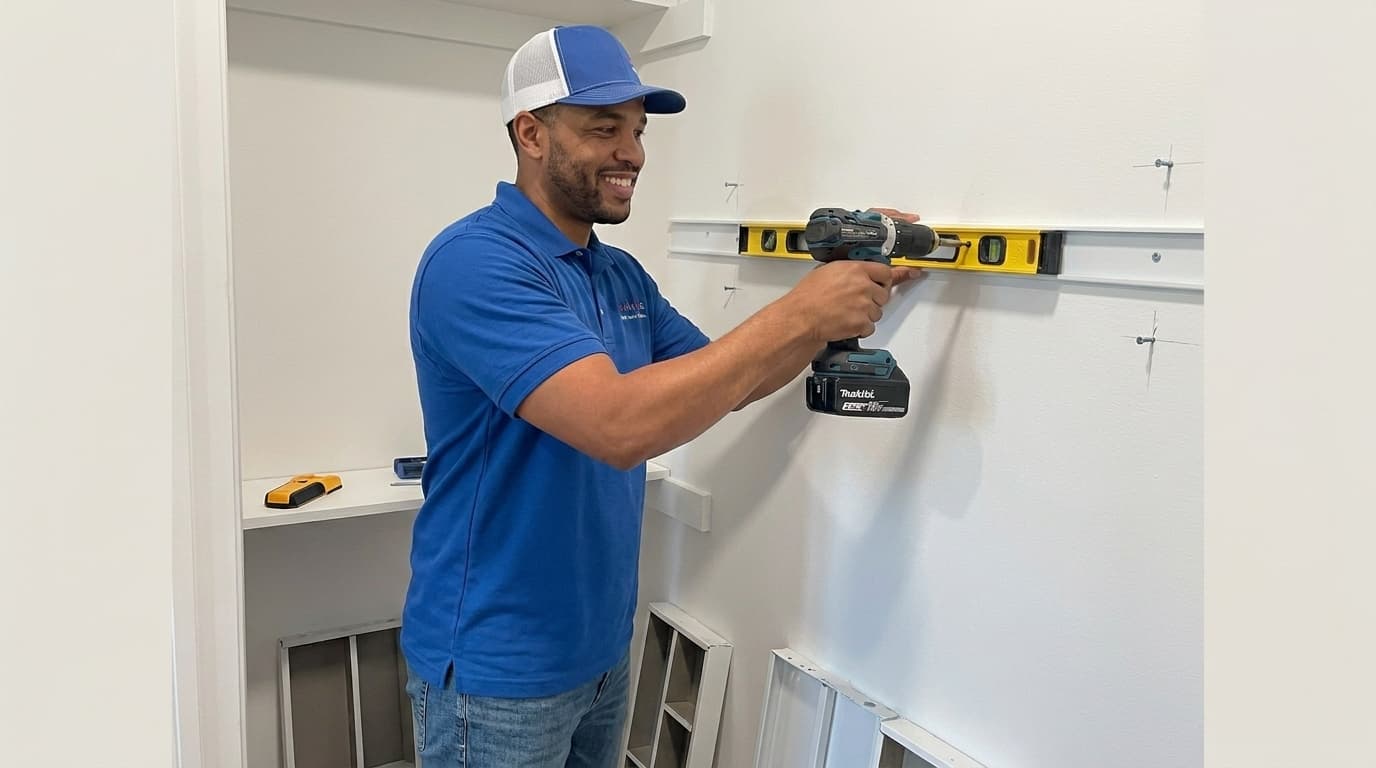
Hold the main support rail against the wall and use a four foot level to ensure it is perfectly horizontal. Drill pilot holes into the studs you located earlier and secure the rail with the heavy duty screws provided in your kit. If a stud is not available at a specific mounting point, use a high quality toggle bolt to provide extra security. Hang the vertical standards onto the support rail and slide them into the positions specified by your design plan. Finally, snap all shelving and accessories into place and test them for stability before loading your clothes.
From the Toolbox
Handydads once encountered a closet where the previous owner had used nails to hold up heavy boxes. As soon as the new homeowner moved in, the entire shelf collapsed under the weight of just a few sweaters. We arrived to find a giant hole in the drywall where the nails had simply pulled straight through the gypsum. It was a classic example of why using the right anchors and finding studs is absolutely critical for safety. After we repaired the wall and installed a proper rail system, that closet became the sturdiest part of the entire house.
Top 5 Mistakes
There are several common errors that can ruin your closet installation if you are not careful. One of the biggest mistakes is failing to locate studs before mounting the main support rail which leads to structural failure. Another frequent issue is not using a level which results in crooked shelves and drawers that will not slide properly. Many people also forget to account for the height of long dresses or winter coats when planning their rod placement. Cutting wire shelves too short is a costly error that makes the shelving unstable on its support brackets. Finally, ignoring the manufacturer weight capacity can cause the entire system to pull away from the wall over time.
Tool and Material Recommendations
Handydads recommends using a self leveling laser level to provide the most accurate horizontal lines across your workspace. A high quality impact driver is also a great investment because it makes driving long screws into wall studs much easier. We suggest purchasing heavy duty toggle bolts for any mounting points that do not align perfectly with a wall stud. A rubber mallet is very helpful for seating shelf clips and brackets without scratching the factory finish on the metal. Finally, keep a microfiber cloth nearby to wipe down the tracks and shelves after the installation is complete to remove any fingerprints or dust.
Quick Tips and Hacks
One of the best tips is to always paint your closet interior before you install the new organizer system to save yourself a lot of frustration later. You can use small pieces of painter tape on the wall to mark your stud locations without leaving permanent pencil marks. If you find yourself needing to cut wire shelving, apply a small amount of touch up paint to the raw ends to prevent future rusting. It is also wise to leave a small gap between the floor and the bottom of the organizer to make vacuuming and cleaning much easier. Storing your most frequently used items at eye level will help you save significant time during your busy morning routine.