
Tired of reaching into the dark corners of your deep kitchen cabinets to find that one specific pan? Installing a pull out organizer is one of the most functional upgrades you can make to your kitchen today. Handydads recommends this project for anyone looking to maximize their storage efficiency without a full remodel. You will find that these sliding systems bring everything right to your fingertips with a simple tug. This project is straightforward and typically takes less than an hour per cabinet once you have the right tools.
Project Snapshot
This project is perfect for a weekend morning and requires about forty five minutes of your time per cabinet. It is rated as a beginner level task because it only involves basic tool usage and measuring. You will not need any specialized plumbing or electrical knowledge to complete this storage upgrade. Handydads finds that this is one of the most rewarding quick fixes for a cluttered kitchen environment. Most of the necessary components are found in a single prepackaged kit at your local hardware store.
Tools and Materials
To get started, you will need a power drill equipped with a standard set of wood bits. A reliable measuring tape is essential for ensuring that your new organizer fits perfectly within the cabinet frame. You should also have a pencil and a small torpedo level to keep everything straight and aligned. Handydads recommends having some painters tape on hand for marking your drill points without leaving permanent stains. Finally, make sure you have the pull out kit itself which should include all the necessary mounting brackets and screws.
Step-by-Step Instructions
-
Start by measuring the width and depth of your cabinet interior carefully. You must ensure that the organizer fits through the door opening without hitting the hinges. Many people forget that the door itself might not open a full ninety degrees. Handydads suggests measuring the narrowest point of the opening to be safe. Write these dimensions down so you can select the correct size of hardware at the store.
-
Empty the entire cabinet and wipe down the base of the unit. It is much easier to work in a clean and well lit environment. Check for any protruding nails or uneven surfaces on the cabinet floor. If your cabinets have shelf paper, you might want to replace it now. Having a clear workspace allows you to move the organizer around freely during the dry fit stage.
-
Place the bottom track of the organizer into the cabinet to check the fit. Make sure there is enough clearance on both sides so the metal does not scrape the wood. Use a pencil to mark the exact locations where the mounting screws will go. Handydads recommends using a piece of painter's tape to mark the depth of the track. This ensures that the unit stays perfectly straight when you begin the permanent installation process.
-
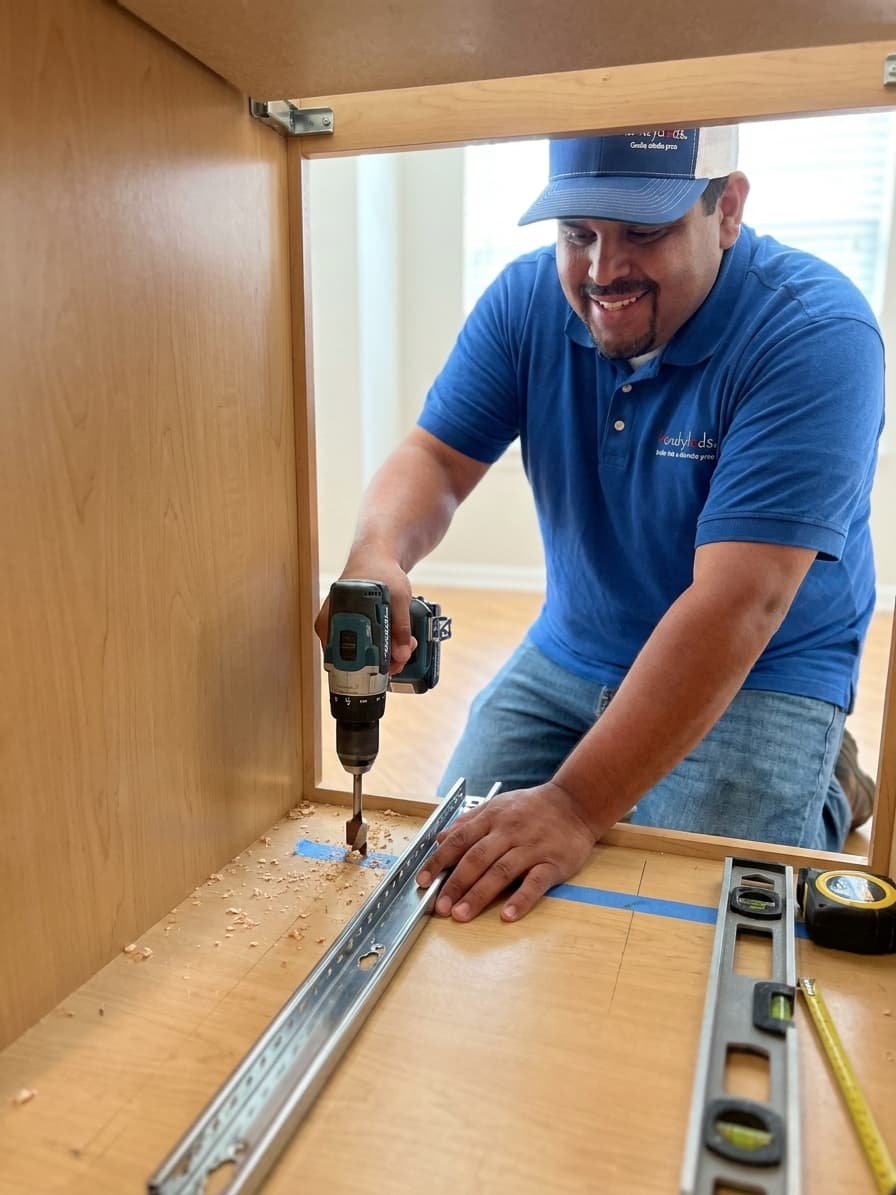
Use your power drill to create small pilot holes at each of your pencil marks. Pilot holes prevent the cabinet wood from splitting when the screws are driven in. Align the track with the holes and drive the screws in until they are snug. Do not over tighten the screws because you might strip the wood or bend the track. Handydads advises checking the level of the track one last time before finishing the last screw.
-
Slide the organizer basket onto the tracks until you hear it click into place. Pull the unit in and out several times to ensure the motion is smooth and quiet. If there is any resistance, check to see if the tracks are parallel to each other. Once you are satisfied with the movement, you can begin loading your items back onto the shelf. You will immediately notice how much easier it is to organize your pots and pans.
From the Toolbox
I once helped a client who had twenty cast iron skillets stacked in a corner cabinet that she could never reach. We spent a Saturday morning installing heavy duty pull out shelves throughout her entire kitchen. She was so excited because she could finally see her inventory without getting on her hands and knees. Handydads loves these small wins because they truly change how people interact with their homes. It is the kind of project that makes a massive impact for very little effort.
Top 5 Mistakes
There are several common errors that homeowners make when attempting to install sliding cabinet hardware. Many people fail to account for the thickness of the cabinet door hinges which can block the path of the drawer. Another frequent mistake is using mounting screws that are too long and end up piercing through the bottom of the cabinet. You must also ensure the tracks are perfectly parallel or the organizer will bind and stick. Handydads often sees units that are installed slightly crooked because the installer did not use a level during the process. Finally, ignoring the weight capacity of the sliding rails can lead to premature failure of the hardware.
Tool and Material Recommendations
When selecting your hardware, look for organizers made from heavy duty chrome plated steel for long lasting durability. Ball bearing glides are a superior choice because they offer a much smoother operation than plastic rollers. You might also want to consider a soft close model to prevent your pots and pans from clattering when the drawer shuts. Handydads suggests checking the weight rating to ensure the unit can handle your heaviest kitchen appliances or cast iron pans. Adding a non slip silicone liner to the bottom of the wire basket will keep smaller items from falling through or sliding around.
Quick Tips and Hacks
Using a piece of scrap wood as a spacer can help you align both tracks perfectly without constant measuring. You should always use a high powered flashlight to ensure you can see your marks in the dark back corners of the cabinet. If you find that the screws are difficult to turn, rub a little bit of bar soap on the threads to lubricate them. Handydads suggests placing a piece of painters tape on your drill bit to act as a depth gauge. This simple trick prevents you from drilling too deep and damaging the exterior finish of your cabinetry.