
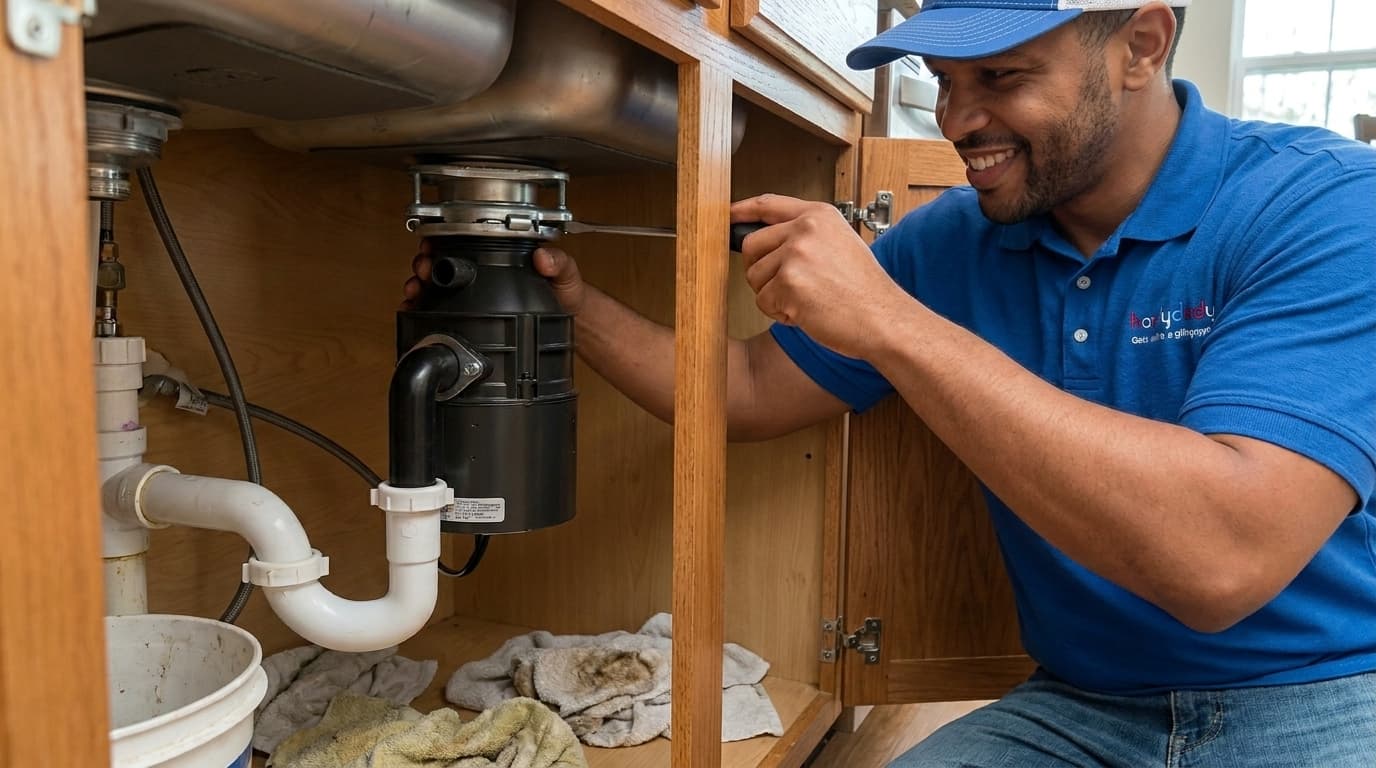
Upgrading your kitchen sink with a modern garbage disposal makes cleaning up after meals significantly faster and more efficient. Handydads recommends choosing a high torque model to ensure that tough food scraps are pulverized without clogging your pipes. A quiet motor technology is a fantastic feature because it allows you to maintain a peaceful environment while finishing your chores. This project is a straightforward task for most homeowners who want to improve their kitchen functionality without a major renovation. Following the right steps will help you achieve a leak free installation that lasts for many years to come.
Project Snapshot
This project is rated as a moderate difficulty level because it involves both plumbing and electrical work. You should expect to spend approximately two hours from start to finish if you have all your tools ready. The primary focus of this installation is creating a watertight seal and ensuring the motor is securely mounted. Handydads suggests having a helper nearby to assist with lifting the unit into place. This upgrade will significantly improve your kitchen efficiency and help manage food waste more effectively.
Tools and Materials
You will need a new garbage disposal unit and a compatible power cord if one is not already attached. A tub of non staining plumbers putty is essential for sealing the sink flange against leaks. Make sure to have a flat head screwdriver and a set of channel lock pliers for tightening the mounting components. A hammer and a punch will be necessary to remove the dishwasher knockout plug inside the unit. Finally you should have a bucket and some old towels ready to catch any water that spills during the transition.
Step-by-Step Instructions
First you must disconnect the power source at the circuit breaker and then remove the old disposal unit from the sink flange. You will need to place a bucket under the trap to catch any stagnant water that remains in the pipes during the removal process. After the old unit is gone you should clean the sink drain area thoroughly to ensure the new putty creates a watertight seal. Handydads suggests using a putty knife to scrape away any old dried sealant that might prevent the new flange from sitting perfectly flush. Ensuring a clean work surface is the most important part of preventing future leaks underneath your kitchen cabinets.
Next you will prepare the new sink flange by applying a generous ring of plumbers putty around the underside of the stainless steel rim. Press the flange firmly into the sink opening and then move underneath the cabinet to install the mounting assembly components. You must slide the fiber gasket and the backup ring onto the flange followed by the mounting ring which is secured with three bolts. It is vital to tighten these bolts evenly so that the flange remains level and the putty is compressed consistently all the way around the drain. Wipe away any excess putty that squeezes out inside the sink bowl to keep the finish looking professional and clean.
The third step involves preparing the disposal unit itself by removing the knockout plug for the dishwasher drain line if your kitchen is equipped with one. You can use a screwdriver and a hammer to tap the plastic plug until it breaks loose and falls into the grinding chamber. Be sure to reach inside the disposal and remove that plastic piece so it does not rattle or cause damage when the motor starts. Once the plug is removed you can wire the power cord to the bottom of the disposal according to the manufacturer wiring diagram. Handydads recommends using a cable clamp to secure the wire and prevent it from pulling loose during the vibration of normal operation.
Now you are ready to lift the heavy motor into place and align the three mounting tabs with the ramps on the mounting ring. This part of the job can be physically demanding so you might want to use a small jack or a stack of books to support the weight. Turn the mounting ring firmly until all three tabs are fully engaged and locked into the ridges on the assembly. You should hear or feel a distinct click when the unit is properly seated and the seal is tight against the sink flange. If the unit feels wobbly or loose you must recheck the mounting ring to ensure it is rotated as far as it can go.
Finally you need to connect the discharge tube to the side of the disposal and join it to your existing P-trap plumbing. Make sure all of the rubber gaskets are seated correctly within the pipe joints before you tighten the slip nuts with your pliers. Reconnect the dishwasher drain hose to the upper inlet and secure it tightly with a hose clamp to prevent any backflow. Turn on the water at the faucet and check for any immediate drips around the flange or the pipe connections. If everything remains dry you can restore power at the breaker and test the motor for smooth and quiet operation.
From the Toolbox
I remember helping a neighbor who tried to install their own unit but forgot to remove the dishwasher knockout plug before starting. They were very confused when their dishwasher suddenly started backing up and flooding the kitchen floor during the first cycle. We had to take the whole disposal back down just to pop out that small plastic disk and reconnect everything. It was a great learning moment about the importance of reading the manual before mounting the heavy motor. Handydads always suggests double checking every connection point before you consider the job finished.
Top 5 Mistakes
One common error is failing to remove the dishwasher knockout plug which causes the dishwasher to fail to drain correctly. Many homeowners also forget to apply enough plumbers putty which results in a slow and damaging leak under the sink. You must also avoid reusing old power cords if the insulation is cracked or showing signs of excessive wear. Overtightening the mounting screws can actually warp the mounting ring and prevent a proper seal from forming. Lastly you should never turn the power back on until you have fully inspected all plumbing joints for signs of moisture.
Tool and Material Recommendations
We recommend purchasing a 3/4 horsepower unit because it provides enough power to handle fibrous vegetables without jamming. You should always use high quality non staining plumbers putty to ensure that your sink finish is not damaged over time. A voltage tester is a mandatory tool for this project to verify that the electrical circuit is completely dead before you touch any wires. Handydads also suggests buying a new dishwasher connector kit if your existing hose is old or brittle. Having a sturdy pair of channel lock pliers will make tightening the slip nuts much easier and more secure than using your hands alone.
Quick Tips and Hacks
Using a small car jack is a clever way to hold the heavy disposal unit against the sink while you lock the mounting ring. You can also roll the plumbers putty into a long thin snake to get a perfectly even distribution around the flange rim. If your disposal starts to smell you can grind up lemon peels and ice cubes to clean the blades and freshen the air. Always run cold water rather than hot water when the unit is running to keep the motor cool and solidify any grease. Make sure to keep the hex key that comes with the unit taped to the side of the disposal for future jam clearing.