
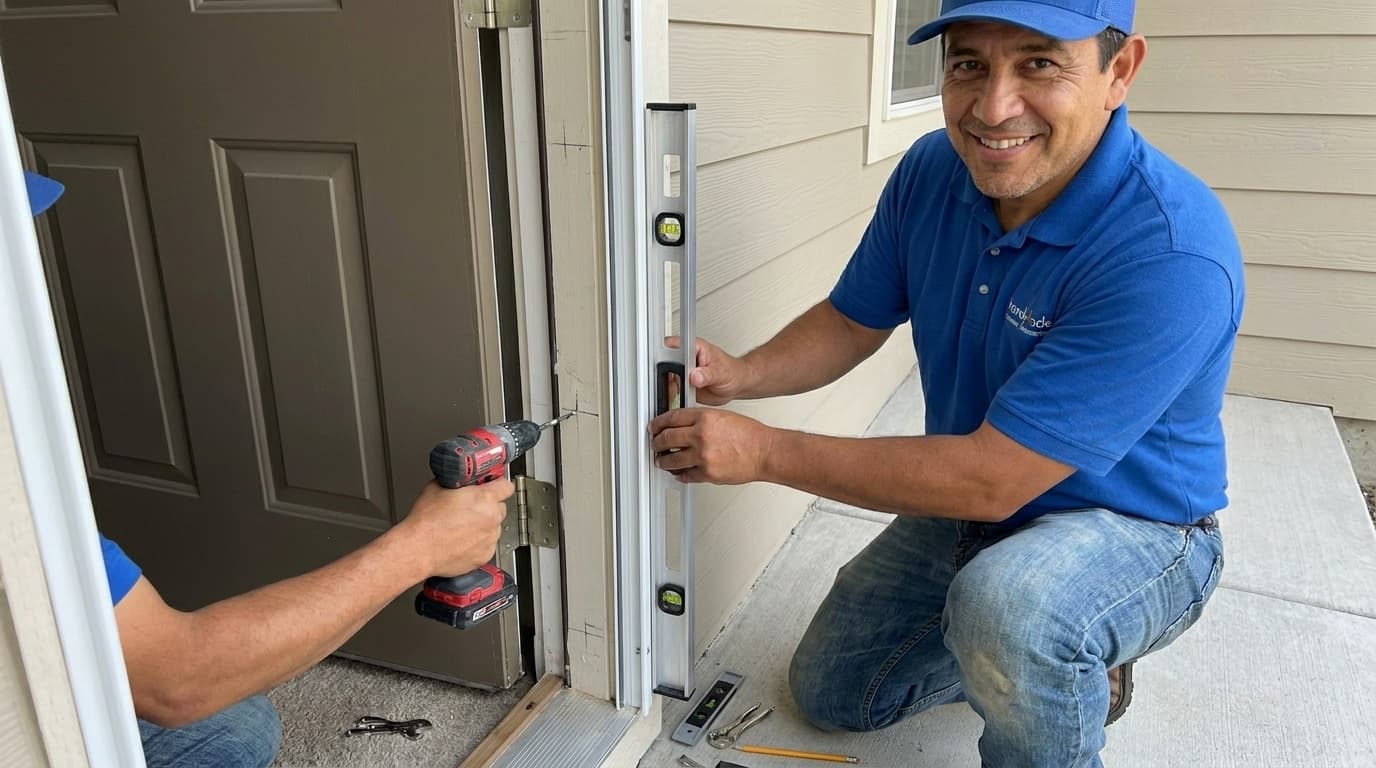
Installing a retractable screen door is a fantastic way to enjoy a cool breeze while keeping insects out of your home. These modern door solutions disappear into a slim housing when not in use, preserving the aesthetic appeal of your entryway. At Handydads, we believe that maximizing your living space and comfort should be a straightforward weekend project for any homeowner. You will find that these kits are designed for versatility and can fit most standard door frames with minimal adjustments. Once the installation is complete, you will appreciate the seamless transition between your indoor and outdoor living areas without the clutter of a traditional swinging screen.
Project Snapshot
- Time: 1-2 hours
- Difficulty: Moderate
- Tools: Drill, Tape Measure, Hacksaw, Level
Tools and Materials
- Retractable screen door kit
- Power drill and bits
- Measuring tape
- Hacksaw for trimming tracks
- Level
- Safety glasses
- Pencil
Step-by-Step Instructions
Start by measuring the height and width of your door frame to ensure the kit fits properly. Most retractable kits are adjustable, but you may need to use a hacksaw to trim the top and bottom tracks to your specific dimensions. Mark your measurements clearly on the metal components before making any cuts to avoid errors. Use a file to smooth down any rough edges left by the saw to ensure the screen moves smoothly. Handydads recommends double-checking your measurements against the manufacturer instructions before you proceed to the next step.
Position the screen housing on the hinge side of the door frame and check it with a level. Hold the housing firmly against the jamb and mark the mounting hole locations with your pencil. Drill pilot holes into the frame to prevent the wood or metal from splitting when you drive the screws. Secure the housing unit using the provided hardware and ensure it is perfectly vertical for the best performance. A level installation is critical because a tilted housing can cause the screen mesh to bunch up or tear over time.
Slide the top and bottom tracks into the housing unit and extend them across the door frame. Align the tracks so they are perfectly parallel to each other and flush against the frame surfaces. You may need a second set of hands to hold the tracks in place while you prepare to drive the mounting screws. Secure the tracks at the designated intervals as specified in your assembly guide. Proper alignment of these tracks ensures that the screen glide bar moves back and forth without catching or jumping.
Install the side rail or latch strike plate on the opposite side of the door frame from the housing. This component provides the landing point for the screen when it is fully extended across the opening. Ensure the latch mechanism aligns perfectly with the pull bar on the screen mesh for a secure hold. Test the tension of the internal spring by pulling the screen out and letting it retract slowly. Adjust the handle height if necessary so that it is comfortable for everyone in your household to operate.
From the Toolbox
One of our lead technicians at Handydads once helped a homeowner who had struggled with a traditional screen door for years. The old door was always slamming shut and the mesh was constantly sagging from the weight of pets. We suggested a retractable model because it stays protected inside a metal canister when it is not being used. After a quick afternoon installation, the homeowner was thrilled to see their beautiful front door unobstructed for the first time in a decade. It was a simple upgrade that completely changed the way they used their front porch during the summer months.
Top 5 Mistakes
- Measuring the door frame inaccurately before trimming the tracks.
- Failing to level the screen housing during the initial mounting phase.
- Overtightening the screws which can warp the aluminum tracks.
- Leaving metal burrs on the cut tracks that snag the screen mesh.
- Installing the tracks upside down or on the wrong side of the threshold.
Tool and Material Recommendations
- Briggs and Stratton Retractable Door Kit
- DeWalt Cordless Compact Drill
- Stanley 25 Foot Tape Measure
- Lenox Close Quarter Hacksaw
- Johnson Magnetic Aluminum Level
Quick Tips and Hacks
Applying a small amount of silicone spray to the tracks will help the screen glide much more smoothly. You should avoid using oil-based lubricants because they tend to attract dust and debris that can gum up the mechanism. Periodically cleaning the bottom track with a vacuum will prevent small pebbles from interfering with the rollers. If you find the screen is retracting too slowly, you can usually adjust the spring tension according to the manual. Always make sure the screen is fully retracted during high wind events to prevent the mesh from blowing out of the tracks.