
Installing a sliding barn door is one of the most effective ways to transform a room while saving valuable floor space. Traditional swinging doors require a significant amount of clearance, which can make small rooms feel cramped and cluttered. By choosing a barn door, you can add a unique focal point that functions smoothly and looks modern in any home setting. Handydads recommends this project for homeowners who want to bridge the gap between rustic charm and contemporary design. With the right tools and a bit of patience, you can achieve a professional result that enhances the value of your living space.
Project Snapshot
This project typically takes about four hours to complete from start to finish for a standard interior opening. It is rated as a moderate difficulty task because it requires precise measurements and some heavy lifting. You will need a second set of hands when it comes time to mount the door slab onto the track safely. Handydads recommends this upgrade for anyone looking to reclaim space in a tight hallway or small bedroom area. The total impact on your home aesthetic is significant and provides a high return on your DIY efforts.
Tools and Materials
You will need several specific items to complete this installation without any unnecessary delays or trips to the hardware store. A high quality barn door hardware kit is the foundation of the project and should include the track and rollers. You must have a solid header board made of wood that is slightly longer than your metal track for support. The door itself can be a pre-made slab or a custom-built piece of lumber depending on your personal style preference. Handydads suggests having a power drill, a level, a stud finder, and a socket wrench set ready before you begin the work.
Step-by-Step Instructions
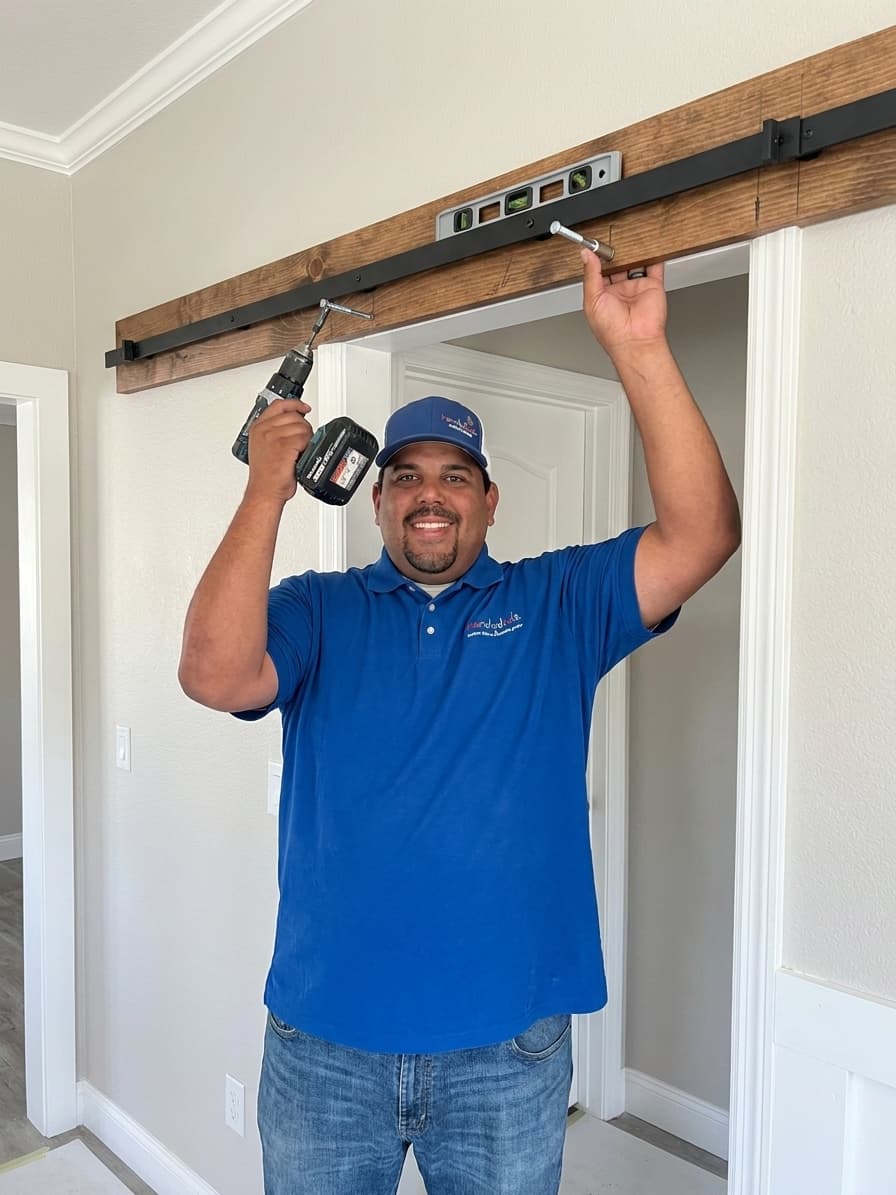
Start the process by using a stud finder to locate the structural supports in your wall and then mount your wooden header board securely. After the header is in place, you can attach the metal track while checking constantly with a level to ensure it is perfectly horizontal. Drill the necessary holes into the top of your door slab and attach the roller hardware according to the manufacturer instructions provided. Carefully lift the door with the help of an assistant and hook the rollers onto the track so the door hangs freely. Finish the installation by attaching the floor guides and the safety bumpers to prevent the door from sliding too far in either direction.
From the Toolbox
Last summer, a family contacted Handydads because their master bathroom door kept hitting the vanity cabinet every time it opened. We suggested removing the standard door and installing a solid oak sliding barn door instead to solve the clearance issue. Not only did the change free up almost ten square feet of usable space, but the aesthetic upgrade was truly remarkable. The homeowners were thrilled with how quiet the new hardware operated compared to their old creaky hinges. It proved that a simple functional change can also serve as a major interior design win. This project remains one of our favorite examples of how a small update can change the way a room feels.
Top 5 Mistakes
The most common mistake homeowners make is failing to use a header board when mounting the track onto a standard drywall surface. Without a header, the weight of the door can eventually pull the lag bolts out and cause the entire system to collapse. Another frequent error is not verifying that the track is perfectly level, which results in a door that slides open or shut on its own. Many people also skip the installation of the floor guide, which leads to a wobbly door that can damage the surrounding walls. Finally, failing to pre-drill holes in the door slab can cause the wood to split and ruin the appearance of your new hardware.
Tool and Material Recommendations
Choosing the right hardware kit is the most important decision you will make for this project. Look for high carbon steel tracks that are rated for the specific weight of your chosen door slab. Handydads recommends using a solid core door rather than a hollow core one to provide better sound dampening and a more premium feel. You should also look for rollers with ball bearings to ensure a silent and smooth operation over many years of use. Investing in a high quality floor guide will also prevent the door from swinging outward and damaging your baseboards.
Quick Tips and Hacks
Before you start any drilling, make sure to paint or stain your door and the header board so they have time to dry completely. It is much easier to finish the wood while it is laying flat on sawhorses than it is once it is hanging on the wall. Always use a second person to help you lift the door onto the track to avoid injury or accidental drops. If your walls are not perfectly plumb, you may need to use spacers behind the header board to compensate for the lean. Handydads always suggests double checking your measurements twice before drilling any holes into your new door slab to ensure a perfect fit.