
Installing a new wall mounted mailbox is one of the easiest ways to give your home front an instant facelift. Many homeowners overlook this small detail but a rusty or outdated box can really detract from the overall aesthetic of your porch. When you choose a high quality unit that matches your hardware, you create a cohesive look that welcomes visitors and provides a safe spot for your mail. The process is quite simple and can usually be completed in less than an hour with just a few basic household tools. Handydads wants to help you achieve that perfect look while ensuring your new mailbox is securely fastened to withstand the elements and daily use.
Project Snapshot
- Time: 30-60 minutes
- Skill Level: Beginner
- Impact: High curb appeal
Tools and Materials
- Power drill and drill bits
- Torpedo level
- Screwdriver
- Blue painter tape
- Wall mounted mailbox
- Masonry or wood screws
- Pencil
Step-by-Step Instructions
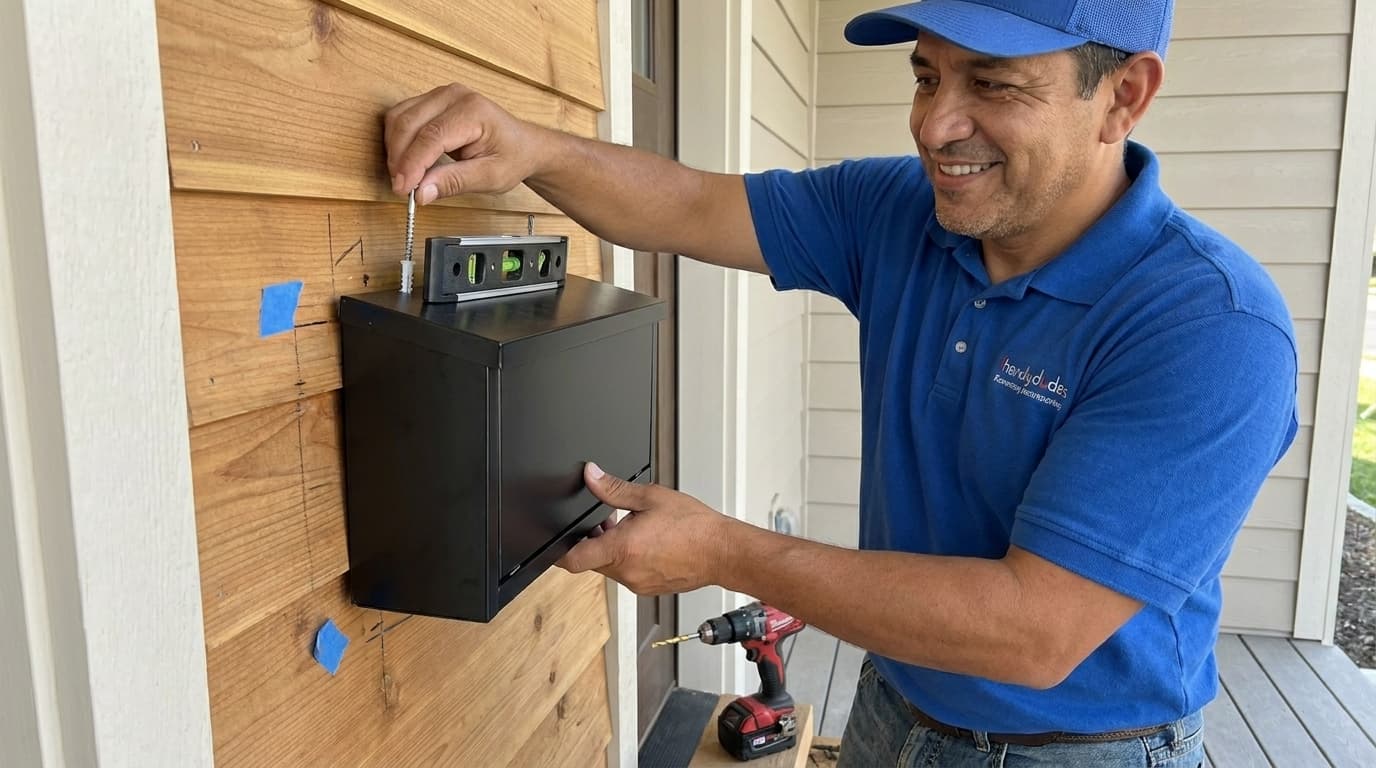
First, you need to determine the ideal height for your new mailbox to ensure it is accessible for the mail carrier and looks balanced on your wall. Generally, the post office recommends a height between forty-one and forty-five inches from the ground or porch floor to the bottom of the box. Use a measuring tape to mark this height clearly with a pencil so you have a consistent reference point during the installation. Hold the mailbox against the wall at your chosen height and use a small level to make sure the unit is perfectly straight. It is often helpful to have a second person step back and check the visual placement while you hold the box in position.
Once you are happy with the placement, you must mark the mounting holes precisely using a pencil or a specialized marking tool. Most mailboxes have pre-drilled holes in the back plate that you can use as a template for your drilling points. If your mailbox did not come with a paper template, you can make one yourself by taping a piece of paper to the back and punching holes through it. Remove the mailbox from the wall and double check that your marks are still level and correctly spaced before you start making any permanent holes. Taking this extra minute to verify your measurements will prevent unnecessary damage to your siding or brickwork during the process.
Next, select the correct drill bit based on the surface material of your home exterior such as wood, vinyl, or brick. If you are mounting onto masonry, you will need a hammer drill and a masonry bit to penetrate the hard surface without cracking it. Drill your pilot holes carefully to the depth required by the mounting screws or wall anchors that came with your kit. If your kit includes plastic anchors, tap them gently into the holes with a hammer until they are flush with the wall surface. Ensure that the anchors fit snugly so they do not spin or pull out when you drive the screws in later.
Now it is time to align the mailbox with your prepared holes and begin the final fastening process. Start by hand-threading the top screws into the anchors to hold the box in place while you work on the bottom fasteners. Use a screwdriver or a drill with a low torque setting to tighten the screws until the mailbox is held firmly against the wall. Be careful not to over-tighten the screws as this can sometimes crack the mailbox housing or strip the wall anchors. Check the box one last time with your level to ensure nothing shifted during the final tightening of the hardware.
Finally, test the functionality of your new mailbox by opening and closing the lid and any locking mechanisms it might possess. Make sure the lid operates smoothly without hitting the wall or any surrounding trim work that could cause scratches. If you have a locking model, test the key several times to ensure the latch aligns perfectly with the strike plate. You may want to apply a small amount of silicone caulk around the top and sides of the mailbox where it meets the wall to prevent moisture from seeping behind it. Stand back and admire your handiwork as this simple upgrade makes a big difference in the presentation of your home entry.
From the Toolbox
I remember a job where a client at Handydads had a mailbox that had been hanging by a single loose screw for over three years. Every time the mail carrier dropped off a package, the whole box would swing like a pendulum and scratch the beautiful cedar siding. We arrived and realized the previous owner had used the wrong type of anchors for the soft wood which caused them to pull out. We filled the old holes with a high quality wood filler and re-mounted a modern black steel box using proper exterior-rated screws. The transformation was small but the homeowner was so relieved to finally have a mailbox that did not rattle every time the wind blew.
Top 5 Mistakes
- Mounting the box too high or too low for the mail carrier to reach easily.
- Failing to use a level which results in a crooked and unprofessional appearance.
- Using the wrong drill bit for the siding material which can cause cracking or splintering.
- Not using wall anchors on masonry surfaces which leads to the mailbox pulling out over time.
- Forgetting to check if the lid has enough clearance to open fully without hitting the wall.
Tool and Material Recommendations
- DeWalt Cordless Power Drill
- Bosch Masonry Drill Bit Set
- Empire Torpedo Level
- Grip-Rite Stainless Steel Exterior Screws
- Gibraltar Wall Mounted Mailbox with Locking Feature
Quick Tips and Hacks
- Use blue painter tape on the wall to mark your holes so you do not leave permanent pencil marks on your siding.
- If you are drilling into brick, try to drill into the mortar joints if possible to make future repairs easier if the mailbox is ever removed.
- Rub a little bit of bar soap on the threads of your screws to make them drive into wood much smoother and prevent snapping.
- Keep a spare key for locking mailboxes in a secure place inside your home so you are never locked out of your own mail.
- Wipe down the interior of your new mailbox once a month to remove dust and spider webs that can accumulate quickly outdoors.