
Ensuring your family has access to clean and filtered water is a top priority for many homeowners today. A whole house water filtration system addresses contaminants at the point of entry which means every tap in your home provides purified water. This project might seem daunting but Handydads is here to guide you through the process of selecting the right spot and making the necessary plumbing connections. You will save money over time by reducing the need for bottled water and protecting your appliances from sediment buildup. With the right tools and a bit of patience you can complete this installation in a single afternoon.
Project Snapshot
- Difficulty: Intermediate
- Time: 3-5 hours
- Benefits: Clean water everywhere, protects plumbing, improves taste
Tools and Materials
- Filter system kit
- Pipe cutter
- Push-to-connect fittings
- Adjustable wrenches
- Teflon tape
- Mounting brackets
- Buckets and rags
Step-by-Step Instructions
Start by turning off the main water supply valve to your home to prevent any leaks during the installation. You should then open the lowest faucet in the house to drain the remaining water and pressure from the lines. Carefully select a location for the filter near the main shutoff valve and before the water heater to ensure all water is treated. Handydads recommends marking the wall where the mounting bracket will sit to ensure it is level and sturdy. Make sure you have a bucket underneath the pipe before you make your first cut to catch any residual water.
Use a pipe cutter to remove a section of the main water line that matches the width of your filter assembly and bypass valves. You must ensure the cuts are straight and clean to prevent future leaks at the connection points. After cutting you should use a deburring tool to smooth the edges of the copper or PEX tubing. This step is crucial because rough edges can damage the seals inside your new fittings. Handydads suggests double checking your measurements before cutting because you cannot easily put the pipe back together once it is severed.
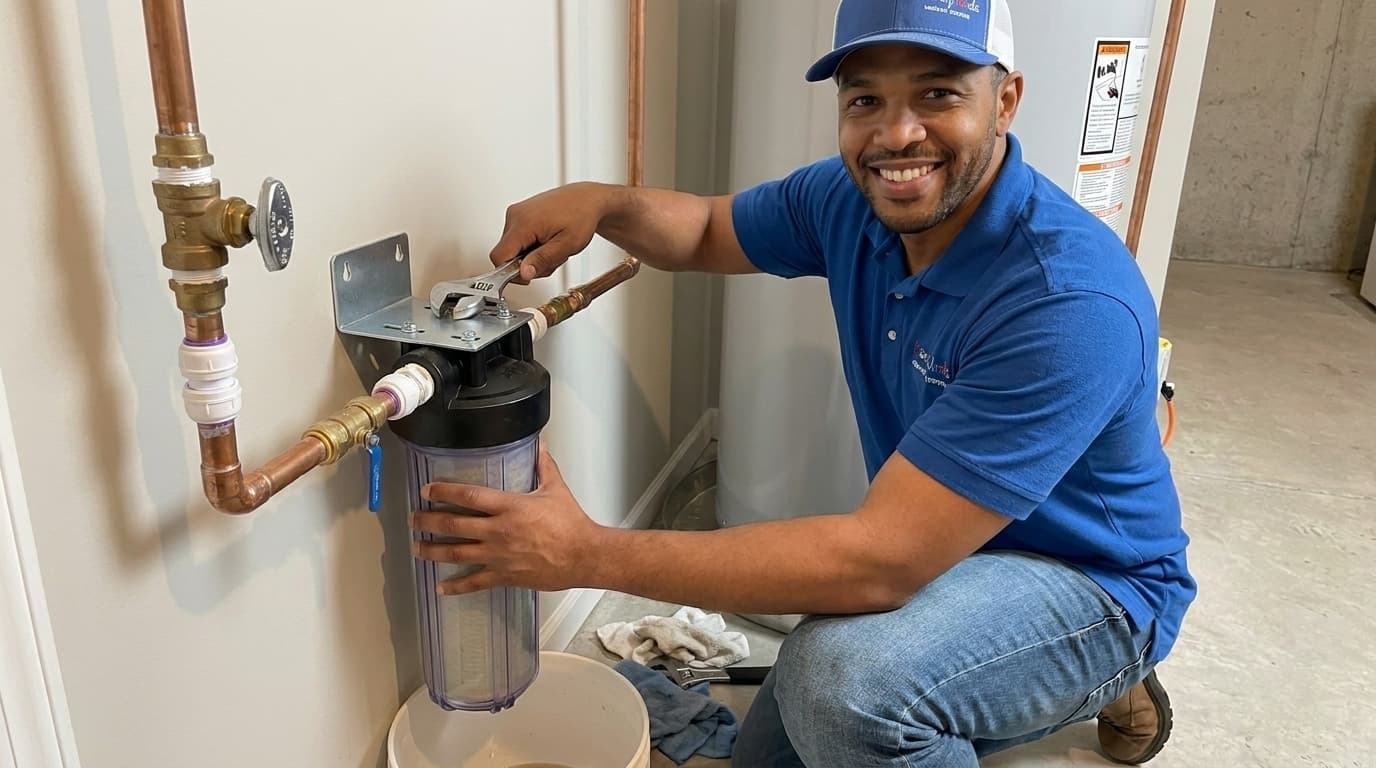
Apply Teflon tape or pipe thread sealant to all threaded connections on the filter housing to create a watertight seal. If you are using push-to-connect fittings you must push the pipe firmly into the connector until it clicks or bottoms out. For those soldering connections ensure you keep the heat away from any plastic components of the filter housing to avoid melting them. Handydads always advises installing a bypass loop so you can still have water if the filter needs maintenance later. Once the fittings are secure you can attach the filter housing to the mounting bracket you previously leveled on the wall.
Insert the filter cartridge into the housing and tighten the canister using the provided plastic wrench. Slowly turn the main water supply back on while checking every joint and connection for small drips or leaks. It is helpful to have a second person watching the filter while you operate the main valve. If you see any leaks turn the water off immediately and tighten the connections or reapply sealant as needed. Handydads recommends flushing the system for ten minutes by running a nearby bathtub or outdoor hose to remove any air and carbon dust.
From the Toolbox
I remember helping a neighbor install one of these systems after they complained about the metallic taste in their morning coffee. We spent a good hour just clearing out the space in the basement to get clear access to the main water line. Once we got started the installation went surprisingly smooth until we realized we forgot to buy the specific mounting screws. A quick trip to the hardware store solved it and the look on their face after tasting the first glass of filtered water was priceless. It reminded me that Handydads is all about making home life just a little bit better through simple improvements.
Top 5 Mistakes
- Installing the filter backwards against the direction of water flow.
- Forgetting to install a bypass valve for future filter changes.
- Overtightening the plastic filter housing which can cause cracks.
- Using the wrong type of sealant for the specific pipe material.
- Neglecting to flush the filter before using the water for drinking.
Tool and Material Recommendations
- Sediment or Carbon Filter Housing
- Push-to-connect Shutoff Valves
- Professional Grade Pipe Cutter
- Teflon Pipe Thread Tape
- Sturdy Wall Mounting Bracket
Quick Tips and Hacks
- Write the date of the next filter change on the housing with a marker.
- Keep a spare filter cartridge on hand so you never run out of clean water.
- Use a bucket to catch water when changing the filter to keep the floor dry.
- Install a pressure gauge before and after the filter to monitor for clogs.
- Check for leaks again 24 hours after installation to ensure everything is still tight.