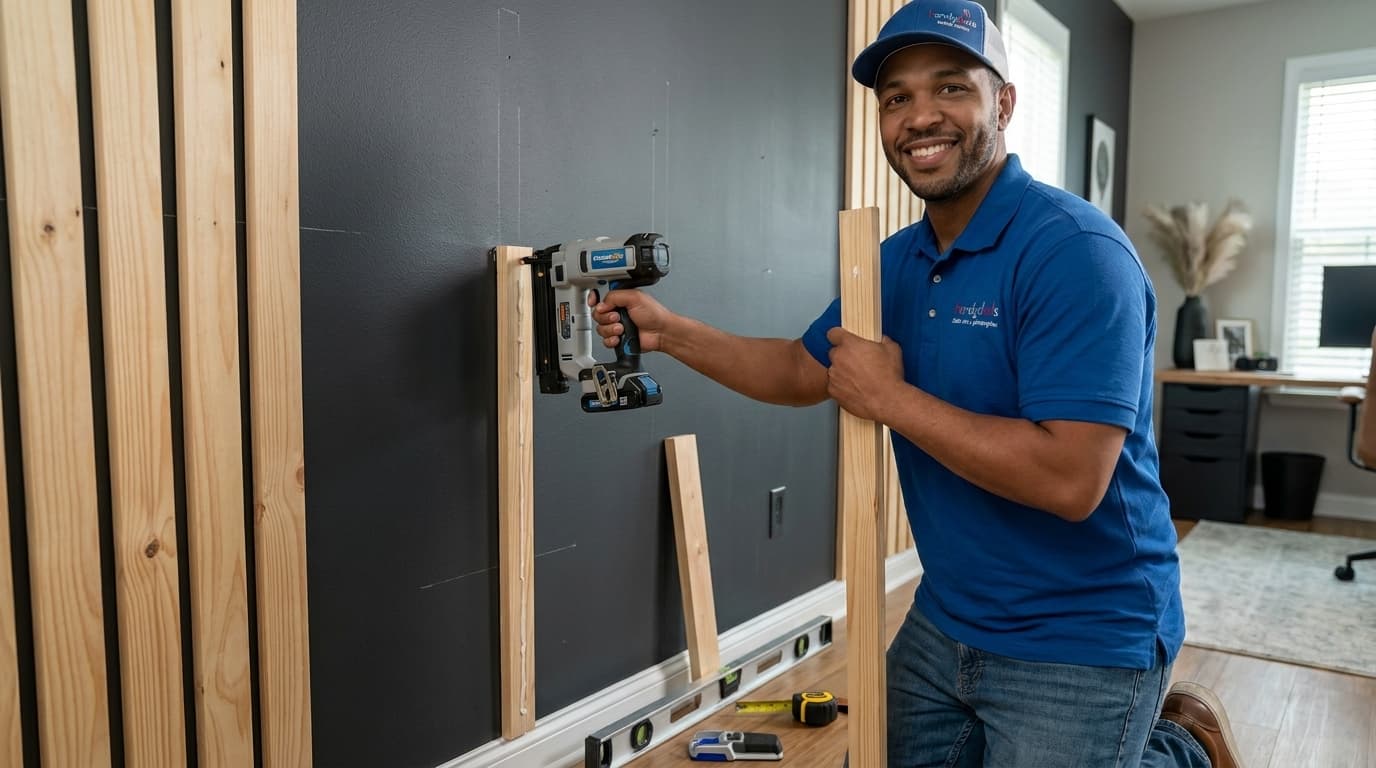
Transforming a plain wall into a modern focal point is a project that Handydads frequently recommends for homeowners looking to add texture and warmth to their living spaces. This specific project involves creating a vertical wood slat feature that can completely change the aesthetic of a bedroom or home office. You do not need a massive budget or a professional contractor to achieve a high-end look if you follow the right steps. Many people find that adding wood elements helps ground the room and provides a sophisticated backdrop for furniture and decor. Handydads suggests taking your time with the measurements to ensure the final result looks symmetrical and professionally finished.\n\n## Project Snapshot\nThe wood accent slat wall is a medium-difficulty project that typically takes about one full weekend to complete from start to finish. You will need to consider the height of your ceiling and the width of the wall to determine how much lumber is required. This project involves measuring, cutting, sanding, and staining or painting the wood before it is mounted. Handydads recommends using a dark background color behind the slats to create a sense of depth and shadows. The end result is a durable and stylish feature that adds significant visual value to any room in your house.\n\n## Tools and Materials\nTo get started on this project, you will need several specific items to ensure a smooth installation process. You will need high quality wood slats, a miter saw for precise cuts, a level to keep everything straight, and a brad nailer for secure fastening. Handydads also suggests having construction adhesive on hand to provide extra stability for the wood pieces. You will also need wood stain or paint, sandpaper of varying grits, and a measuring tape to verify all dimensions. Make sure you have safety gear like goggles and ear protection before you begin any cutting or nailing.\n\n## Step-by-Step Instructions\nFirst, you must prepare the wall by cleaning it and painting it a dark color like charcoal or black to make the slats pop. Measure the height of the wall and cut your wood slats to the exact length using a miter saw for a clean edge. Sand each slat thoroughly to remove any splinters or rough patches before applying your chosen stain or finish. Handydads recommends letting the stain dry completely for at least twenty-four hours to prevent smudging during the installation phase. Start from one corner of the wall and use a spacer block to maintain an even distance between each vertical slat as you go. Apply a bead of construction adhesive to the back of the slat and then secure it to the wall using a brad nailer into the studs.\n\n## From the Toolbox\nOne of our Handydads team members recently helped a client who wanted to hide some minor drywall imperfections in their home office. Instead of just patching and painting, we decided to install a floor to ceiling wood slat wall to add some character. The transformation was so dramatic that the client ended up changing the furniture and lighting to match the new modern vibe. It was a great reminder that a bit of wood and some careful planning can solve structural eyesores while adding beauty. We finished the project in a single afternoon, and the client was thrilled with how professional it looked.\n\n## Top 5 Mistakes\nOne common error is failing to use a level throughout the process, which leads to a slanted look across the entire wall. Another mistake is forgetting to use a spacer block, which results in inconsistent gaps between the wood pieces that are very noticeable. Handydads often sees people skipping the sanding step, which leaves the wood looking cheap and feeling rough to the touch. Neglecting to find the wall studs can lead to the slats pulling away from the drywall over time due to weight. Finally, applying too much adhesive can cause it to squeeze out from behind the slats and ruin the paint finish.\n\n## Tool and Material Recommendations\nFor the wood slats, Handydads recommends using clear pine or oak for a premium appearance without too many knots. A cordless brad nailer is an essential tool because it allows you to move freely without worrying about a compressor hose. Use a high-quality wood stain that matches your existing furniture to create a cohesive look throughout the room. We suggest purchasing a long level to ensure that the very first slat is perfectly vertical, as it sets the tone for the rest. A miter saw with a fine-tooth blade will provide the cleanest cuts and reduce the amount of sanding required.\n\n## Quick Tips and Hacks\nYou can save time by staining the sides of the slats before you cut them to length so you only have to touch up the ends. Use a piece of the actual slat material as your spacer to guarantee that the gaps are exactly the same width as the wood. Handydads suggests using a stud finder to mark all the vertical supports on the wall before you start nailing. If you find that a slat is slightly bowed, use the brad nailer to pin the top and bottom first, then pull the middle into alignment. To make the wall look taller, run the slats all the way from the baseboard to the ceiling without any gaps.
