
Building a wood privacy screen is an excellent way to transform your outdoor living area into a peaceful sanctuary. Handydads knows that many homeowners value their privacy but do not want to build a full fence around their entire property. This project allows you to target specific areas of your deck that are visible to neighbors or busy streets. A well designed screen not only blocks unwanted views but also adds a professional architectural element to your home exterior. Following these steps will help you achieve a high quality result that enhances your home value and personal comfort.
Project Snapshot
This project is perfect for a weekend warrior looking to upgrade their outdoor space with a functional feature. You should expect to spend a full afternoon on the construction if you have all your materials ready. Handydads rates this task as a moderate difficulty level because it requires precise measuring and level installation. The total impact on your backyard atmosphere will be immediate and significant once the wood is stained. You will need a basic understanding of power tool safety and deck construction principles before starting.
Tools and Materials
You will need several specific items to ensure your privacy screen is both durable and attractive. Begin by gathering pressure treated 4x4 posts for the main structural support and 1x6 cedar or pressure treated slats for the screening. A high quality miter saw is essential for making clean and square cuts on all your lumber. You must also have a power drill with a variety of bits and a box of exterior grade deck screws. Finally make sure you have a long level and a measuring tape to keep the structure perfectly aligned.
Step-by-Step Instructions
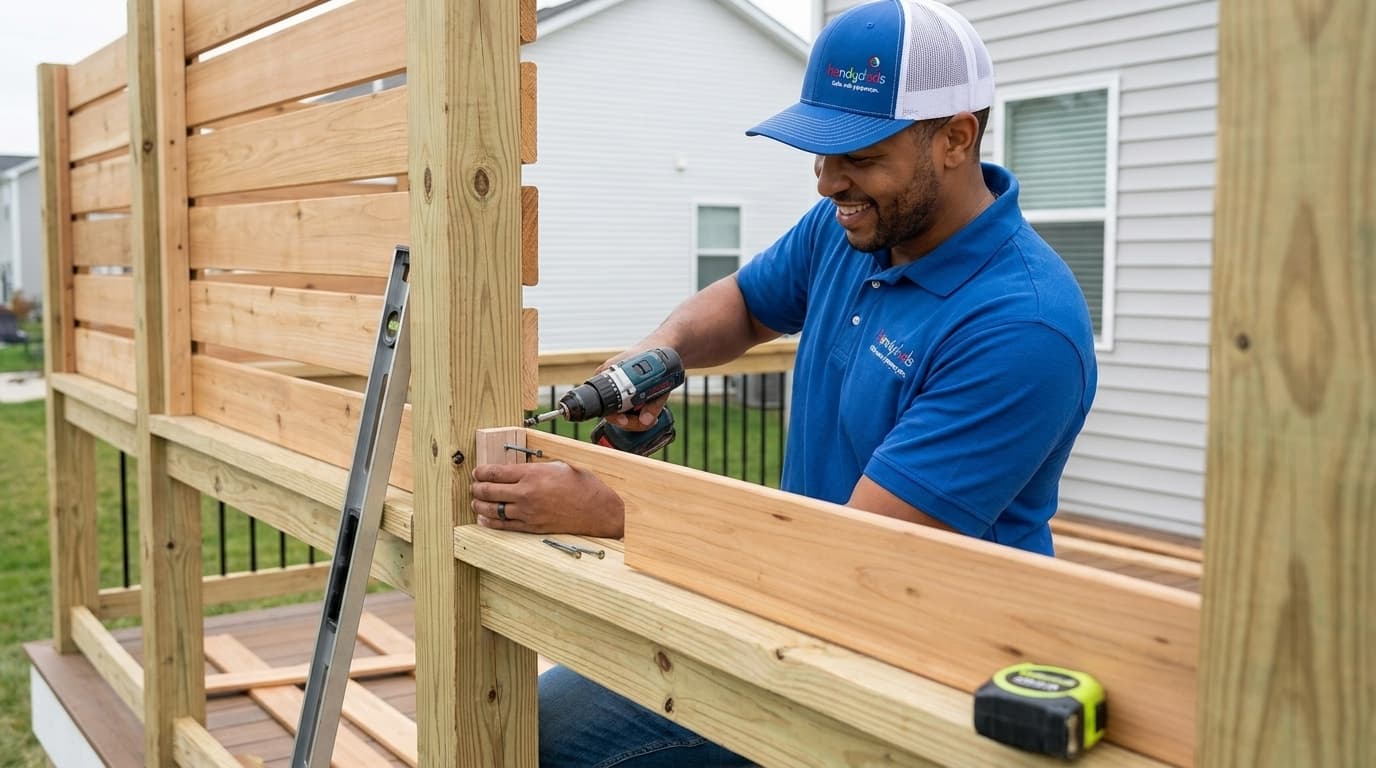
The first step involves measuring the area on your deck where the screen will be located to determine the post placement. You must secure the 4x4 posts to the existing deck frame using heavy duty carriage bolts for maximum stability. Handydads recommends checking each post with a level multiple times during the mounting process to avoid a leaning screen. Once the posts are secure you should cut your horizontal support rails to fit perfectly between the uprights. Attach the slats starting from the bottom and working your way up while using a spacer to maintain even gaps. After all the wood is installed you should apply a high quality exterior stain to protect the material from the sun and rain.
From the Toolbox
I remember a client who lived in a new development where every house looked directly into the next. They were hesitant to use their beautiful new deck because they felt like they were on a stage for the whole neighborhood. We spent a Saturday morning installing a sleek cedar slat screen with a slight gap for airflow. By the time we finished the family was already bringing out their outdoor cushions and planning a private dinner. It was a simple project that completely changed how they interacted with their home and outdoor environment.
Top 5 Mistakes
One of the most common errors is failing to use galvanized or stainless steel screws which leads to ugly rust streaks on the wood. Another mistake is ignoring local building codes or homeowner association rules regarding the height of privacy structures. Many people also forget to pre-drill their screw holes which often causes the ends of the cedar slats to split. Some builders mount the screen too tightly which prevents wind from passing through and can lead to structural damage during storms. Finally failing to seal the wood immediately will cause the screen to warp and turn gray within just a few months.
Tool and Material Recommendations
Selecting the right materials is the key to a project that looks professional and lasts for many seasons. We recommend using Western Red Cedar for the slats because of its natural resistance to rot and beautiful grain pattern. For the fasteners you should choose high quality deck screws with a ceramic coating or stainless steel construction. A 12-inch compound miter saw will make cutting the 4x4 posts much easier than using a smaller hand saw. Handydads also suggests purchasing a post level which allows you to check two planes of the post at the same time. Investing in a good quality wood sealer will protect your hard work from UV rays and moisture penetration.
Quick Tips and Hacks
To ensure your slats are perfectly even you can use a small scrap of wood as a consistent spacer block between each board. If you want a more modern look you can install the slats vertically instead of horizontally to create a different visual texture. Handydads suggests painting the support posts a dark color to make them disappear behind the natural wood slats. You can also integrate small planter boxes into the screen design to add some greenery to your privacy barrier. Always buy ten percent more lumber than you think you need to account for any knots or mistakes during the cutting process.