
Many homeowners struggle with finding enough space to store seasonal decorations or old keepsakes. Installing an attic ladder is an excellent way to reclaim that unused square footage above your ceiling. This project requires some heavy lifting but provides a lifetime of convenient access to your storage area. When you choose to do this yourself you save on professional labor costs and gain a new skill. Handydads recommends taking your time to ensure the installation is safe and perfectly level for long term use.
Project Snapshot
- Difficulty: Intermediate
- Time: 4 to 6 hours
- Impact: High storage utility
Tools and Materials
- Attic ladder kit
- Power drill
- Wood screws
- Hammer and nails
- 2x4 lumber for bracing
- Tape measure
- Level
- Hand saw or circular saw
- Safety glasses
Step-by-Step Instructions
First you must measure the rough opening in your ceiling to ensure the ladder kit fits correctly. You will often need to cut through ceiling joists and create a header for support. Use 2x4 lumber to frame out the opening so the ladder has a solid surface to bolt against. It is vital to check that your framing is perfectly square before proceeding to the next step. Handydads suggests having a partner help you lift the ladder unit into the newly created space.
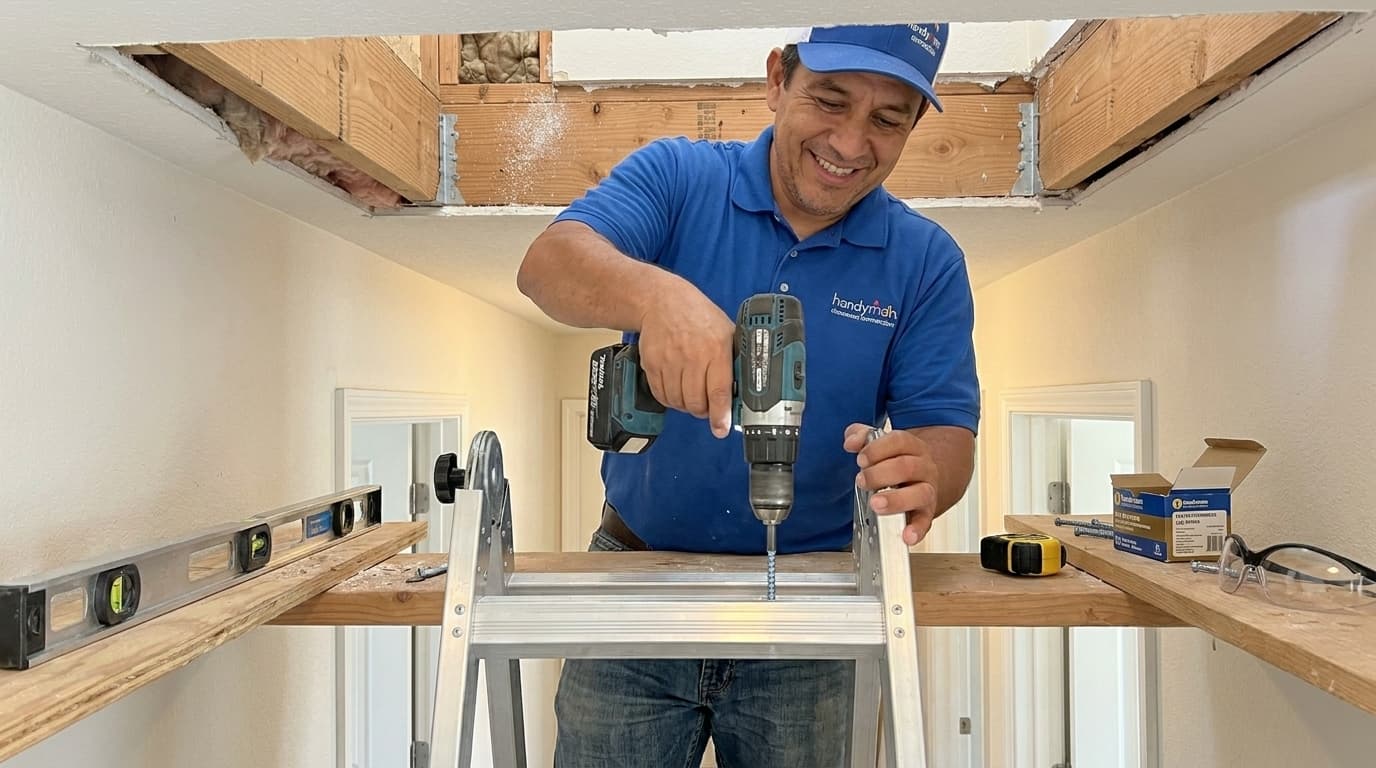
Next you should secure the ladder frame to the headers using the temporary support boards provided in your kit. Once the frame is resting in the opening you can drive permanent lag screws through the frame and into the ceiling joists. Be careful not to over tighten these screws as you might warp the wooden or aluminum frame. Double check the levelness of the unit from both the top and the bottom perspectives. This ensures that the ladder will swing down smoothly without catching on the trim or the ceiling.
Finally you need to trim the ladder legs to the correct length so they rest flat on the floor. Most kits come with a guide or a template to help you calculate the exact angle and height needed for your specific ceiling height. Once the legs are cut you should install any feet or rubber stoppers included in the package. Test the operation of the ladder by pulling it down and climbing it several times to check for stability. Finish the project by installing decorative trim around the ceiling opening to hide the gaps.
From the Toolbox
I remember helping a neighbor install a heavy wooden attic ladder on a very hot July afternoon. We spent nearly two hours just getting the framing square because the original house rafters were slightly bowed. Once we finally hoisted the unit into place the transformation was immediate and very satisfying. My neighbor was finally able to move dozens of boxes out of his hallway and into the attic. It reminded me that Handydads projects are not just about the house but about making life easier for the family.
Top 5 Mistakes
- Cutting a ceiling joist without installing proper headers first.
- Measuring the ceiling height incorrectly which leads to short ladder legs.
- Failing to use a second person to help lift the heavy assembly.
- Skipping the step of checking for squareness in the rough opening.
- Using standard nails instead of structural screws for the frame.
Tool and Material Recommendations
Look for a ladder with a high weight capacity and insulated door panel. Aluminum ladders are often lighter and easier to install than traditional wood models. Choose a model that includes a sturdy handrail for added safety during use. Ensure the weather stripping is high quality to prevent heat loss from your living space. Handydads prefers kits that come with pre-drilled holes for faster mounting.
Quick Tips and Hacks
Use a piece of scrap wood as a temporary ledger board to hold one side of the ladder. This allows one person to manage the weight while the other secures the first few screws. Always wear a dust mask when working in the attic to avoid breathing in old insulation particles. Keep a flashlight handy inside the attic so you can see while finishing the top fasteners. Lubricate the hinges once a year to keep the movement silent and smooth.