
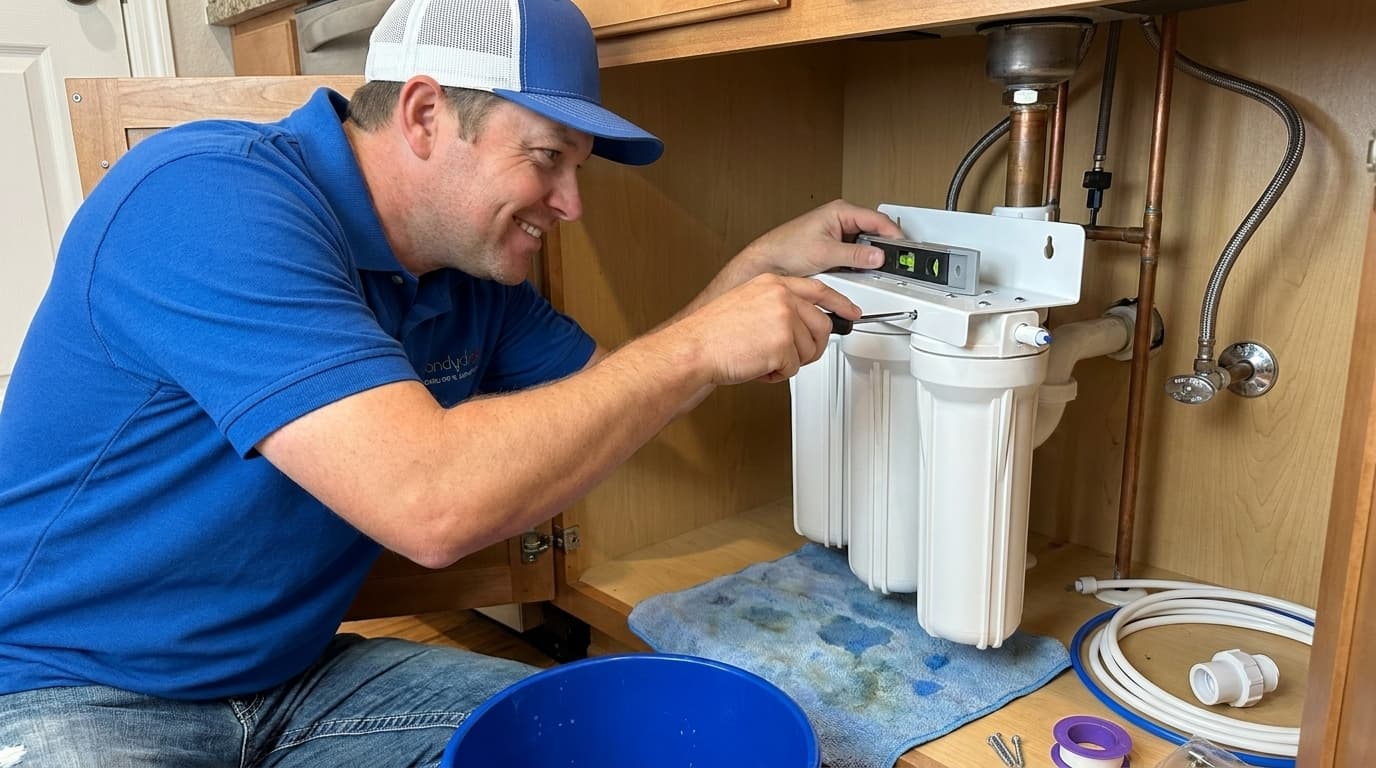
Homeowners often find that tap water quality does not always meet their personal standards for taste and clarity. Installing an under sink water filtration system is an excellent way to ensure your family has access to clean and refreshing water right from the tap. Handydads recommends this project for those who want to reduce their reliance on plastic water bottles and improve their overall kitchen functionality. This installation process is relatively straightforward for most homeowners who have basic plumbing knowledge and the right set of tools. By following our guide, you will be able to enjoy filtered water without the need for bulky countertop pitchers or expensive delivery services.
Project Snapshot
This project involves mounting a filtration unit inside your kitchen cabinet and connecting it to your existing cold water line. It requires drilling a hole in the sink or countertop if a dedicated faucet hole is not already available. Most units feature multi-stage filters that remove sediment, chlorine, and other common contaminants from your water supply. Handydads suggests setting aside about two hours to complete this task from start to finish. Once installed, the maintenance typically only requires changing the filter cartridges every six to twelve months depending on your usage.
Tools and Materials
You will need a few essential items to complete this plumbing upgrade successfully in your kitchen. Handydads suggests having an adjustable wrench, a screwdriver set, and a cordless drill with a specialized hole saw or step bit for the countertop. The materials include the water filtration kit itself, which usually contains the filter housing, a dedicated faucet, and plastic tubing. You should also have some plumber's tape and a bucket to catch any water that drips during the disconnection process. Make sure to check the size of your supply valves to ensure any provided adapters will fit your specific plumbing setup.
Step-by-Step Instructions
First, clear out the area under your sink to give yourself plenty of room to work comfortably on the plumbing. You need to shut off the cold water supply valve located underneath the sink and then open the faucet to drain any remaining pressure. Handydads recommends placing a small bucket or towel beneath the connections to catch the small amount of water that will inevitably leak out. Next, disconnect the cold water supply line from the shut-off valve using your adjustable wrench while being careful not to twist the copper piping. Ensure that the mounting location for the filter allows enough clearance to easily unscrew the filter canisters when they need to be replaced.
Mount the filter housing to the side of the cabinet wall using the provided screws and a level to keep everything straight. If your sink does not have a spare hole for the filtration faucet, you will need to drill a hole through the sink or countertop surface using the appropriate drill bit. Once the hole is ready, install the dedicated drinking water faucet and tighten the mounting hardware from underneath the sink. Connect the plastic tubing from the supply adapter to the "In" port on the filter housing and then run another line from the "Out" port to the faucet. Finally, turn the water supply back on and check every single connection for leaks while the system begins to pressurize and fill the filters.
From the Toolbox
I remember helping a client who was tired of the heavy lifting involved with five-gallon water jugs every single week. We spent a Saturday afternoon installing a high-quality three-stage filtration system under their kitchen sink to solve the problem permanently. They were worried about the complexity of the plumbing, but Handydads made sure the installation was clean and leak-free in under two hours. The look of relief on their faces when they tasted the first glass of crisp water was truly rewarding for our team. It is small upgrades like these that make a significant difference in the daily comfort and health of a modern household.
Top 5 Mistakes
One common mistake is failing to properly tighten the plastic tubing connections which leads to slow drips and hidden water damage. Another frequent error is forgetting to flush the new filters for several minutes before consuming the water to remove loose carbon fines. Some people attempt to drill through granite or quartz countertops without the correct diamond-tipped hole saw which can cause permanent cracking. Handydads also sees many homeowners who install the filter housing in a spot that makes it impossible to reach for future cartridge changes. Lastly, many people skip using plumber's tape on threaded metal connections and then wonder why their new adapter is leaking under pressure.
Tool and Material Recommendations
- High-quality multi-stage under sink water filtration kit
- Adjustable wrench for tightening supply line connections
- Cordless drill with a step bit or diamond hole saw
- Plumber's tape for sealing threaded plumbing joints
- Small bucket and microfiber towels for moisture control
Quick Tips and Hacks
Always use a sharp utility knife to make perfectly square cuts on your plastic tubing to ensure a watertight seal in push-to-connect fittings. You can use a piece of masking tape on your countertop before drilling to prevent the drill bit from wandering and scratching the finish. Handydads suggests labeling the installation date on the filter housing with a permanent marker so you never forget when it is time for a replacement. If your water pressure feels low after installation, check to see if the tubing has any sharp kinks or if the shut-off valve is not fully open. Keeping a spare set of filter cartridges on hand ensures that you will never have to go back to drinking unfiltered water while waiting for a shipment.