
Adding floating shelves to your living room is a fantastic way to increase storage while maintaining a modern aesthetic. These sleek fixtures provide a clean look because they do not have visible brackets or supports under the wood. Many homeowners find that this project is a great introduction to basic carpentry and wall mounting techniques. When you work with Handydads you will learn that proper preparation is the absolute key to a successful installation. Taking the time to measure twice and locate your wall studs will ensure that your new shelves are both level and secure.
Project Snapshot
This project typically takes about two hours to complete from start to finish. It falls into the beginner difficulty category because it requires only basic power tools. The average cost for materials ranges from forty to eighty dollars depending on the wood quality. Handydads recommends this project for anyone looking to update their interior decor on a budget. You will need a clear workspace and a sturdy ladder to reach the higher sections of your wall safely.
Tools and Materials
You will need a few essential tools to complete this home improvement task efficiently. A reliable stud finder is necessary to locate the structural support hidden behind your walls. You should also have a power drill with various drill bits and a level to ensure everything is straight. Handydads suggests having a pencil and a tape measure ready for marking your installation points accurately. Finally make sure you have the floating shelf kit and the appropriate heavy duty screws for the job.
Step-by-Step Instructions
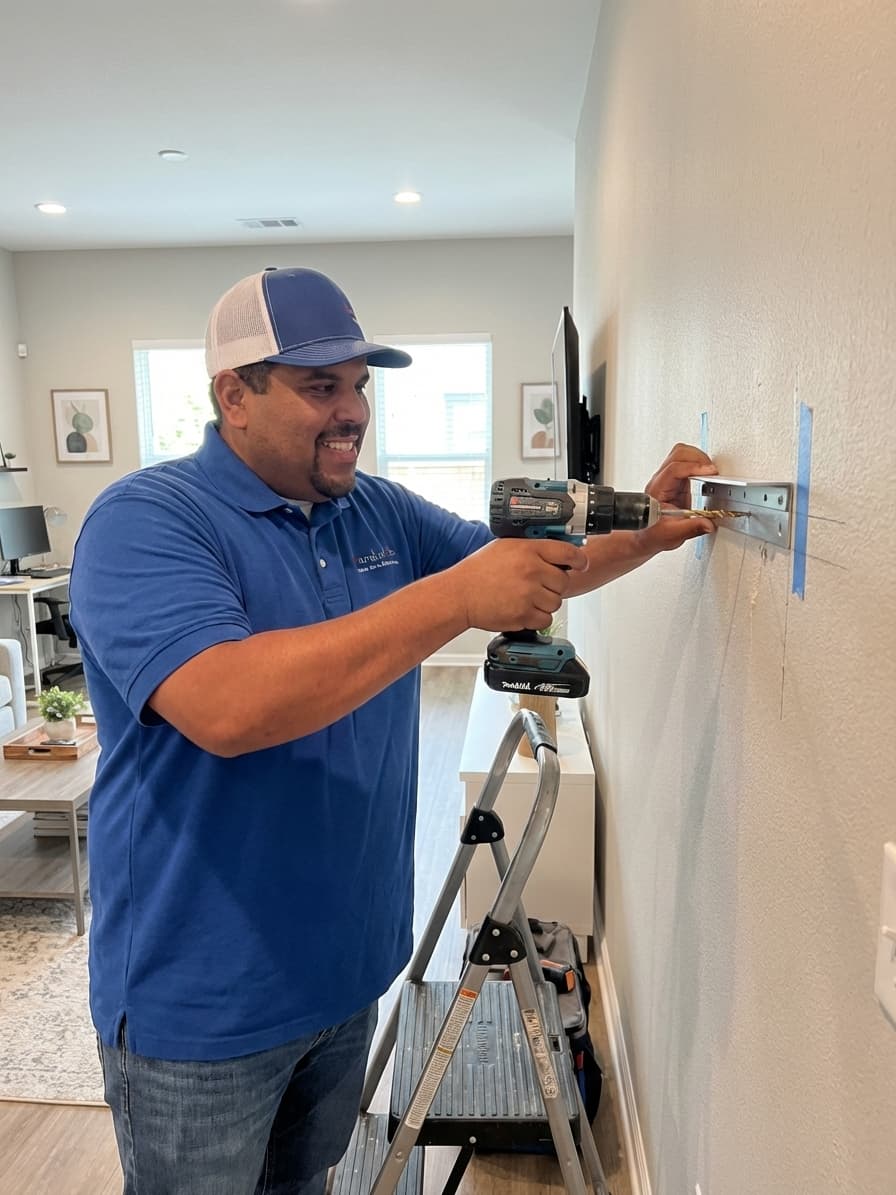
First you must use a reliable stud finder to locate the wooden framing behind your drywall. Marking these locations with a light pencil mark will help you determine the strongest mounting points for your shelf brackets. Next you should hold the mounting bracket against the wall and use a long level to ensure it is perfectly horizontal. Drill pilot holes into the studs to prevent the wood from splitting when you drive in the heavy duty lag screws. Slide the shelf onto the bracket arms and secure it according to the manufacturer instructions provided with your specific kit.
From the Toolbox
I once visited a client who tried to hang a heavy oak shelf using only plastic drywall anchors. Within two days the entire unit had pulled away from the wall and crashed onto their expensive glass coffee table. Handydads was called in to repair the massive holes in the drywall and reinstall the shelf correctly into the studs. We were able to save the shelf and provide the homeowner with peace of mind regarding the safety of their furniture. It was a valuable lesson for everyone involved about the importance of structural integrity when mounting heavy items.
Top 5 Mistakes
There are several common errors that people make when attempting to hang their own shelving units. One major mistake is neglecting to use a stud finder and relying only on drywall anchors for heavy loads. Another issue is failing to use a level which results in a shelf that looks crooked to the eye. Some DIY enthusiasts use screws that are too short to penetrate through the drywall and into the wall stud. Overloading the shelf with heavy books or decor beyond the weight capacity is also a frequent problem that leads to failure. Finally many people forget to check for electrical wires or plumbing pipes behind the wall before they start drilling.
Tool and Material Recommendations
Choosing the right equipment will make your installation process much smoother and more professional. A high quality electronic stud finder with deep scan capabilities is one of the best investments you can make. You should also look for a twenty four inch bubble level to provide maximum accuracy during the mounting process. Handydads recommends a cordless drill with a full set of high speed steel drill bits for versatility. Using heavy duty wood screws or lag bolts will ensure a secure attachment to your home framing. High quality floating shelf kits made from solid wood are always better than cheap particle board alternatives for longevity.
Quick Tips and Hacks
You can make your project easier by using a few simple tricks that professionals use every day. Apply a small piece of blue painter's tape to the wall before drilling to catch falling dust and prevent scuffs. If you cannot find a stud exactly where you want the shelf use high quality toggle bolts as a secondary option. Rub a little bit of candle wax on your screw threads to make them drive into the wood studs more easily. Use a laser level if you are installing multiple shelves to keep them perfectly aligned across a wide wall. Always double check the weight rating of your shelf to ensure it can handle your specific collection of decor items.