
Maintaining your home involves more than just interior tasks because the exterior plays a vital role in structural integrity. Gutters are designed to channel water away from your siding and foundation to prevent erosion or basement flooding. However, traditional open gutters quickly fill with leaves and debris that lead to clogs and expensive water damage. By installing gutter guards, you can significantly reduce the amount of time spent on a ladder performing dangerous cleaning tasks. Handydads recommends this project for homeowners who want to ensure their drainage system remains functional during heavy rain seasons.
Project Snapshot
This home improvement project is considered a moderate difficulty task that most homeowners can finish in a single weekend. The total time required depends on the size of your home and the total linear footage of the gutter system. You can expect to spend several hours on prep work alone since cleaning the gutters is a vital first step. The primary benefit of this project is the long-term protection of your foundation and the reduction of annual maintenance requirements. Handydads considers this one of the most effective ways to preserve the value of your property while making home upkeep much safer.
Tools and Materials
To begin this project, you need a collection of tools that ensure safety and precision throughout the installation. A high-quality extension ladder is the most critical piece of equipment for reaching the gutters on your roofline. You will also need a cordless drill or impact driver to secure the guards to the metal tracks. Metal snips or heavy-duty shears are required to cut the guard sections to the exact lengths needed for your home. Finally, gather a gutter scoop, a bucket, and a sturdy garden hose for the essential cleaning phase that precedes the installation. Handydads suggests having a helper nearby to steady the ladder and pass tools up to you while you work.
Step-by-Step Instructions
Before you begin the installation process, you must thoroughly clean all debris from your existing gutter system. Handydads suggests using a small trowel or a gutter scoop to remove sludge and leaves before rinsing the tracks with a garden hose. You should check for any leaks or loose brackets while the gutters are empty to ensure a solid foundation for the guards. Once the area is clean and dry, you can begin measuring the length of your roofline to prepare the guard sections. Precise measurements will prevent gaps where small debris could still enter the system and cause future blockages.
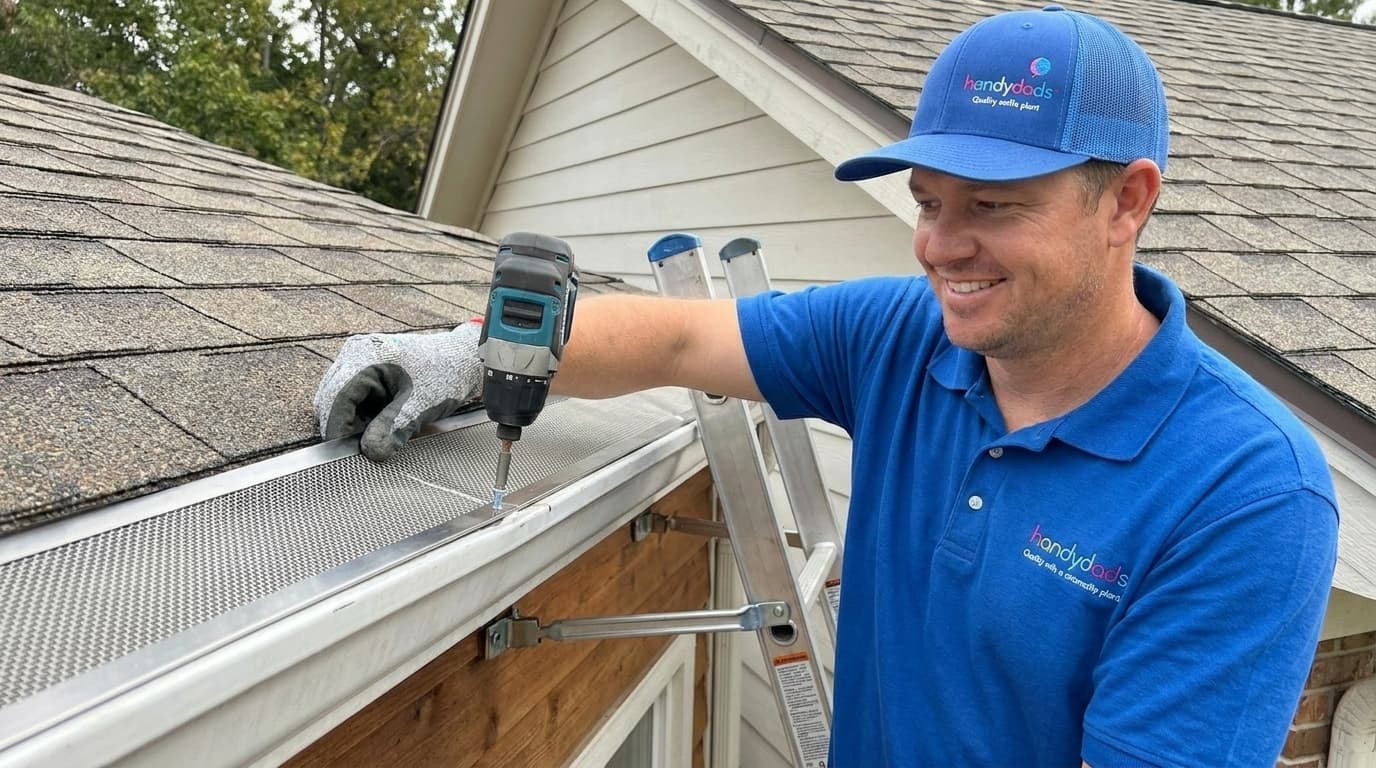
The actual installation usually begins at one end of the gutter run where you will position the first guard section against the outer lip. You must align the guard so that it sits flush against the front edge while tucked slightly under the bottom edge of the roof shingles. Use your cordless drill to secure the guards with self-tapping screws at the intervals recommended by the manufacturer for maximum stability. Make sure that each subsequent piece overlaps the previous one slightly to create a continuous barrier against debris. If you encounter corners or downspouts, use your metal snips to carefully trim the guards for a custom fit that leaves no openings.
After all the sections are securely fastened, you should perform a final inspection of the entire length of the gutter system. Check every joint and fastener to make sure nothing is loose or rattling in the wind. Handydads recommends using a garden hose to simulate rainfall and verify that the water is flowing freely through the guards and down the spouts. Look for any areas where water might be overshooting the gutter or leaking behind the fascia board. This final step confirms that your hard work will actually protect your home when the next storm arrives.
From the Toolbox
One time we visited a client who had beautiful oak trees surrounding their property. Their gutters were so packed with debris that small trees were actually starting to sprout from the organic matter. The water was backing up into the soffit and causing rot that required expensive repairs before we could even address the drainage. We installed high-quality micro-mesh guards and the homeowner was thrilled to never climb a ladder again. Handydads takes pride in preventing these types of avoidable disasters through proactive maintenance projects.
Top 5 Mistakes
There are several common errors that homeowners make when attempting to install their own gutter protection systems. The biggest mistake is failing to clean out the existing debris before laying down the guards, which traps rot inside the gutter. Some people also use the wrong type of screws that eventually rust and cause staining or structural failure. Improperly overlapping the guard sections is another frequent issue that leaves gaps for leaves to enter and clog the system. Many DIYers forget to check the pitch of the gutters, which can lead to standing water even with guards installed. Finally, using an unstable ladder without proper safety equipment is the most dangerous mistake anyone can make during this project.
Tool and Material Recommendations
When selecting your materials, Handydads highly recommends choosing stainless steel micro-mesh guards because they offer the best balance of durability and filtration. These guards are specifically designed to keep out even the smallest pine needles and roof grit that cheaper plastic versions might miss. For your tools, a 12-volt or 18-volt cordless impact driver will provide the necessary torque to drive screws through metal without stripping the heads. You should also look for offset metal snips which keep your hands above the cutting surface to prevent scrapes and injuries. Investing in a professional-grade ladder stabilizer is also a wise choice as it provides a much wider and more secure base against the house structure.
Quick Tips and Hacks
To make the job easier, you can use a leaf blower to quickly clear out dry leaves from the gutters before you start washing them. Handydads recommends wearing heavy-duty cut-resistant gloves because the metal edges of the guards and gutters can be extremely sharp. You should always use a ladder stabilizer to prevent the weight of the ladder from crushing or scratching your gutter system. If you have sections where the roof shingles are too tight, a small putty knife can help you gently lift them to slide the guards underneath. Always work during a dry day to ensure you have the best grip on your tools and the ladder surface.