
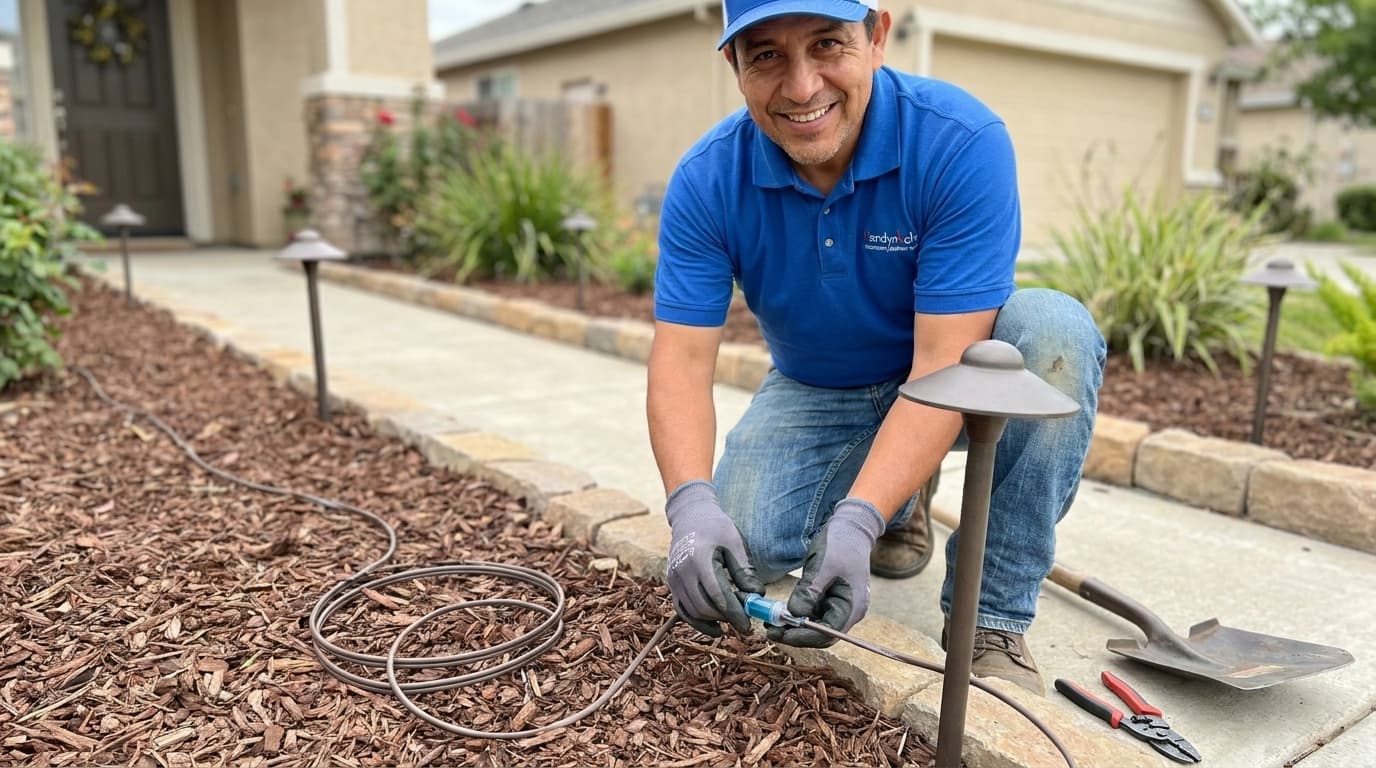
Transforming your outdoor space with proper illumination can completely change the atmosphere of your home during the evening hours. Many homeowners find that adding low voltage landscape lighting is one of the most rewarding DIY projects they can undertake for immediate curb appeal. Handydads recommends this project because it combines safety with aesthetics by highlighting walkways and architectural features. You do not need to be a professional electrician to handle these low voltage systems because they operate on a safe transformer. Planning your layout carefully will ensure that your yard looks professional and inviting for guests.
Project Snapshot
Low voltage lighting is a great way to enhance your landscape without the need for complex high voltage wiring. It involves a transformer, specialized cable, and LED fixtures that are designed for exterior use. This project usually takes a few hours to complete depending on the size of your yard and the number of lights. Handydads suggests starting with a small kit if you are new to outdoor electrical work. Proper planning ensures that the lighting highlights the best features of your home and property.
Tools and Materials
You will need a low voltage transformer, LED landscape lights, low voltage underground rated cable, and waterproof wire connectors. For tools, gather a square blade shovel, wire strippers, and a screwdriver for terminal connections. A rubber mallet is also helpful for driving stakes into the ground without damaging the decorative fixtures. Handydads always suggests wearing work gloves to protect your hands during the digging process. Make sure your transformer is rated for outdoor use to prevent weather damage and ensure a long life for your system.
Step-by-Step Instructions
Begin by laying out your light fixtures in their desired locations around the garden or walkway to visualize the final effect. Unroll your low voltage cable along the path of the lights while leaving some slack at each fixture point for easier adjustments. Connect the cable to the transformer which should be mounted near an outdoor GFCI outlet for power. Use your shovel to create a shallow trench about three inches deep for the cable to rest in safely. Attach each light fixture to the main cable using the provided connectors and ensure they are tight enough to pierce the insulation. Finally, plug in the transformer and set the timer or light sensor to your preferred schedule before burying the wires.
From the Toolbox
One of our team members at Handydads once spent an entire Saturday trying to figure out why half his lights were flickering. It turned out he had overloaded the transformer by adding too many high wattage bulbs to a single line. After switching the old bulbs to energy efficient LEDs, the entire system worked perfectly and used less power. This experience taught us that calculating your total wattage is the most important step before buying equipment. Always check your transformer capacity to avoid these common headaches when setting up your outdoor lighting.
Top 5 Mistakes
Avoiding common pitfalls during the installation process will save you a lot of time and frustration later. Many people underestimate the importance of planning their circuit before they begin digging in the yard. Handydads wants to ensure your project is a success by highlighting these frequent errors. You should always double check your connections and transformer capacity before finalizing the project. The most common mistakes include overloading the transformer, burying cable too shallow, using non-waterproof connectors, poor fixture spacing, and failing to test the system before burying the wires.
Tool and Material Recommendations
A high quality stainless steel transformer is the best choice for long term durability in outdoor environments. Look for LED fixtures that feature a warm white color temperature for a classic and inviting home look. Heavy duty 12-2 gauge wire is typically the standard for most residential landscape projects to minimize voltage drop. Handydads prefers using gel filled wire nuts to provide the best moisture protection for all underground connections. Quality cast aluminum light housings will last much longer than plastic alternatives in harsh weather conditions.
Quick Tips and Hacks
Use a garden hose to map out your cable runs before you start digging any trenches to avoid obstacles. If you have hard soil, water the area a day before to make the digging process much easier for your shovel. Clean your light lenses every few months to ensure the maximum amount of light reaches your plants and walkways. You can use zip ties to secure cables to fence posts if you are running lights along a perimeter area. Always take a photo of where your wires are buried so you do not accidentally hit them later during future gardening or construction projects.