
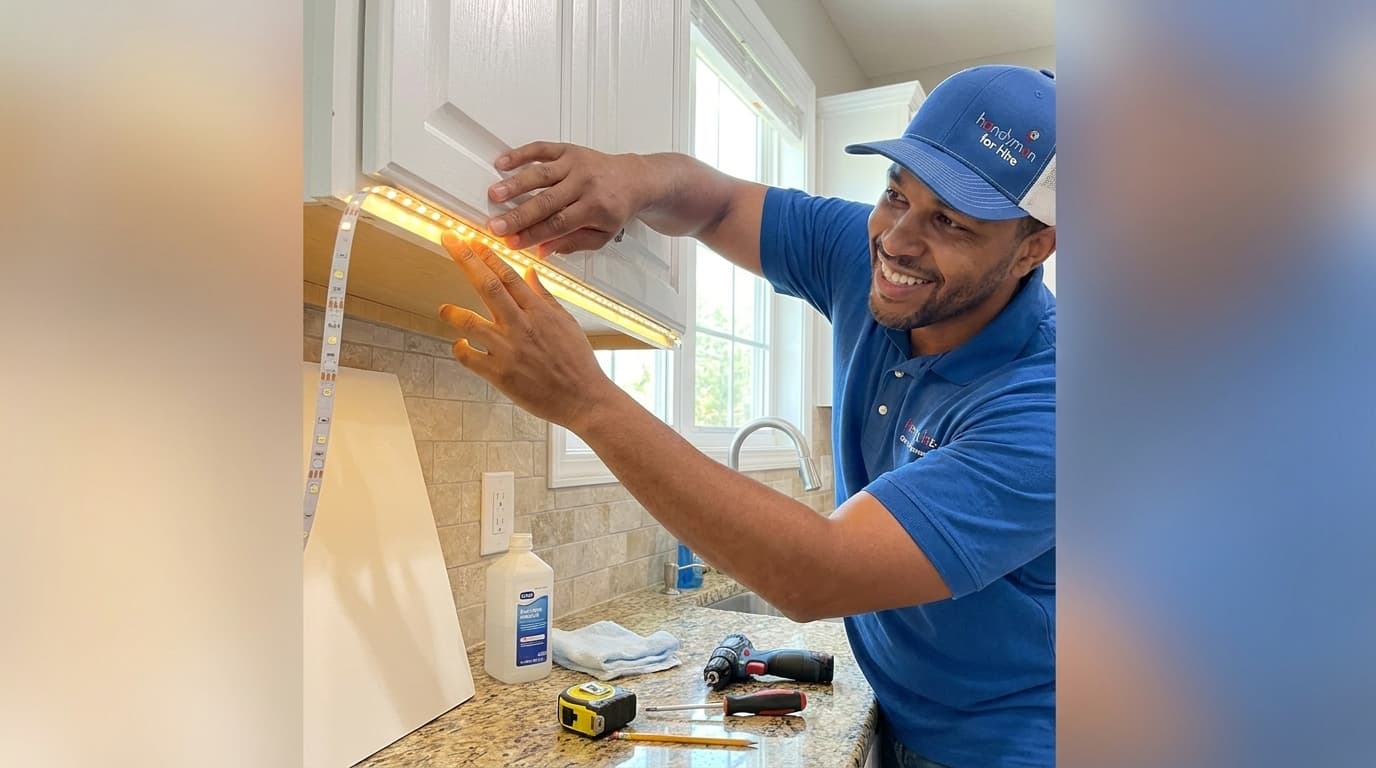
Adding under cabinet LED lighting is one of the most effective ways to transform your kitchen workspace into a functional and modern environment. These lights provide focused task illumination which makes meal preparation significantly safer and much more enjoyable for the home chef. Beyond the practical benefits, this project adds a beautiful ambient glow that highlights your backsplash and increases the overall value of your home. Many homeowners feel intimidated by electrical projects, but modern plug-in or battery-powered LED strips make this an accessible DIY task. Handydads is here to guide you through every single step to ensure your kitchen looks professionally lit by the time you finish this weekend project.
Project Snapshot
Installing under cabinet lighting is a straightforward home improvement task that offers immediate results for any homeowner. The difficulty level for this project is generally considered easy to moderate depending on whether you choose a plug-in system or a hardwired version. Most people can complete a standard kitchen installation in approximately two to three hours without needing specialized electrical knowledge. The project complexity is low because most modern kits are designed for quick assembly by people with basic tool skills. Handydads recommends this project for anyone looking to make a big impact with a small investment of time and effort.
Tools and Materials
- LED light strips or puck lights
- Measuring tape and a pencil
- Wire clips or adhesive mounting pads
- Power drill with small bits
- Power supply or LED transformer
- Rubbing alcohol and a clean cloth
- Screwdriver set
Step-by-Step Instructions
Start the process by measuring the length of each individual cabinet section where you plan to install the lights. It is important to account for any gaps created by appliances like stoves or microwaves so you can buy the correct amount of material. Once you have your measurements, purchase an LED kit that allows for expansion or can be cut to specific lengths. Use a clean cloth dampened with rubbing alcohol to wipe down the underside of every cabinet to ensure the adhesive bond will be strong. If the surface is oily or dusty, the lights will likely peel off within a few weeks of installation.
After the surfaces are dry, carefully peel the adhesive backing off the LED strips and press them firmly against the cabinet bottom. You should position the lights near the front edge of the cabinet to provide the best light distribution across your countertop. Use a small drill or screwdriver to mount any puck lights if you have chosen that style instead of strip lighting. Connect the various segments of your lights using the provided jumper wires or corner connectors included in your kit. Be careful not to crimp the wires too tightly as this can cause the circuit to fail over time.
Plug the main power supply into a nearby outlet to test all of the connections before you finalize the mounting. It is much easier to fix a loose connection now than it is after you have permanently secured all the wiring. Use plastic wire clips to tuck away any excess cord or dangling wires so they are hidden behind the cabinet face frame. This final step is crucial because visible wires can make a professional project look messy and unfinished. Once everything is secure, step back and enjoy the new glow that Handydads helped you bring to your kitchen.
From the Toolbox
One of our regular clients at Handydads once called us because their kitchen felt dark even with all the overhead lights on. They were convinced they needed a complete kitchen remodel to fix the gloomy atmosphere and poor visibility. We suggested starting with simple LED tape lighting under the upper cabinets to see if that changed the mood of the room. After just two hours of work, the kitchen was unrecognizable and the client was absolutely thrilled with the results. It just goes to show that you do not always need a massive budget to make a significant impact on your living space.
Top 5 Mistakes
- Forgetting to clean the cabinet surface which causes the adhesive tape to fail prematurely.
- Placing the lights too far back against the wall which creates harsh shadows on the workspace.
- Choosing a cool blue light temperature that makes the kitchen feel sterile and uninviting.
- Overloading the power transformer by connecting too many feet of LED strips to a single unit.
- Neglecting to hide the wires which results in a cluttered and unprofessional appearance under the cabinets.
Tool and Material Recommendations
We recommend using high CRI LED strips because they render colors more accurately which is important for food preparation. Look for dimmable power supplies if you want the ability to adjust the brightness for different times of the day. Aluminum channels with frosted covers are also a great addition because they help dissipate heat and eliminate hot spots from individual bulbs. Make sure your kit includes extra connectors in case you need to navigate around corners or obstacles. Using a quality brand of double-sided mounting tape can also provide extra security if the factory adhesive is weak.
Quick Tips and Hacks
If you want a truly seamless look, you can drill small holes through the bottom of the cabinets to hide wires inside the cabinet frames. Always aim for a warm white color temperature between 2700K and 3000K for a cozy and welcoming kitchen feel. You can also use a smart plug to control your lights with voice commands or mobile apps for added convenience. If your cabinets have a shallow lip, consider using low-profile LED tape to keep the light source completely hidden from view. Finally, always buy slightly more lighting than you think you need so you have extra for replacements or repairs later.