
Handydads understands that upgrading your flooring can completely change the vibe and functionality of any room in your house. Luxury vinyl plank flooring has become an industry favorite because it combines the beauty of wood with the resilience of synthetic materials. This project is ideal for DIY enthusiasts who want a high end look without the complexity of traditional hardwood installation. You should always start by measuring your room twice to ensure you have enough material to cover the entire square footage including waste. Once you have your supplies ready you will find that this project is both rewarding and transformative for your daily living space.
Project Snapshot
This flooring project is classified as an intermediate task that most homeowners can complete over a single weekend. Handydads suggests setting aside at least two days to allow for proper acclimation and installation time. You will not need any specialized power saws for most of the work because vinyl is easy to cut with hand tools. The difficulty level is manageable as long as you pay close attention to the layout and the expansion gaps. Achieving a professional finish depends largely on your patience and the quality of your subfloor preparation.
Tools and Materials
You will need a selection of basic hand tools to complete this vinyl plank flooring project successfully. Handydads recommends having a high quality utility knife with plenty of replacement blades on hand for scoring the planks. A rubber mallet and a dedicated tapping block are essential for locking the pieces together without causing damage. You should also gather a tape measure, a straight edge, and a set of plastic spacers to maintain consistency. Make sure you have purchased enough luxury vinyl planks and any necessary underlayment to cover your total square footage plus ten percent for waste.
Step-by-Step Instructions
Handydads recommends that you begin by clearing the entire room of furniture and existing flooring if necessary. You must inspect the subfloor for any moisture issues or structural damage that could affect the new planks. Cleaning the surface thoroughly is vital because any small pebble or debris will be felt through the finished floor. Use a level to ensure there are no significant dips or humps in the subfloor that exceed manufacturer specifications. Taking these preparatory steps will provide a stable foundation for your beautiful new vinyl flooring.
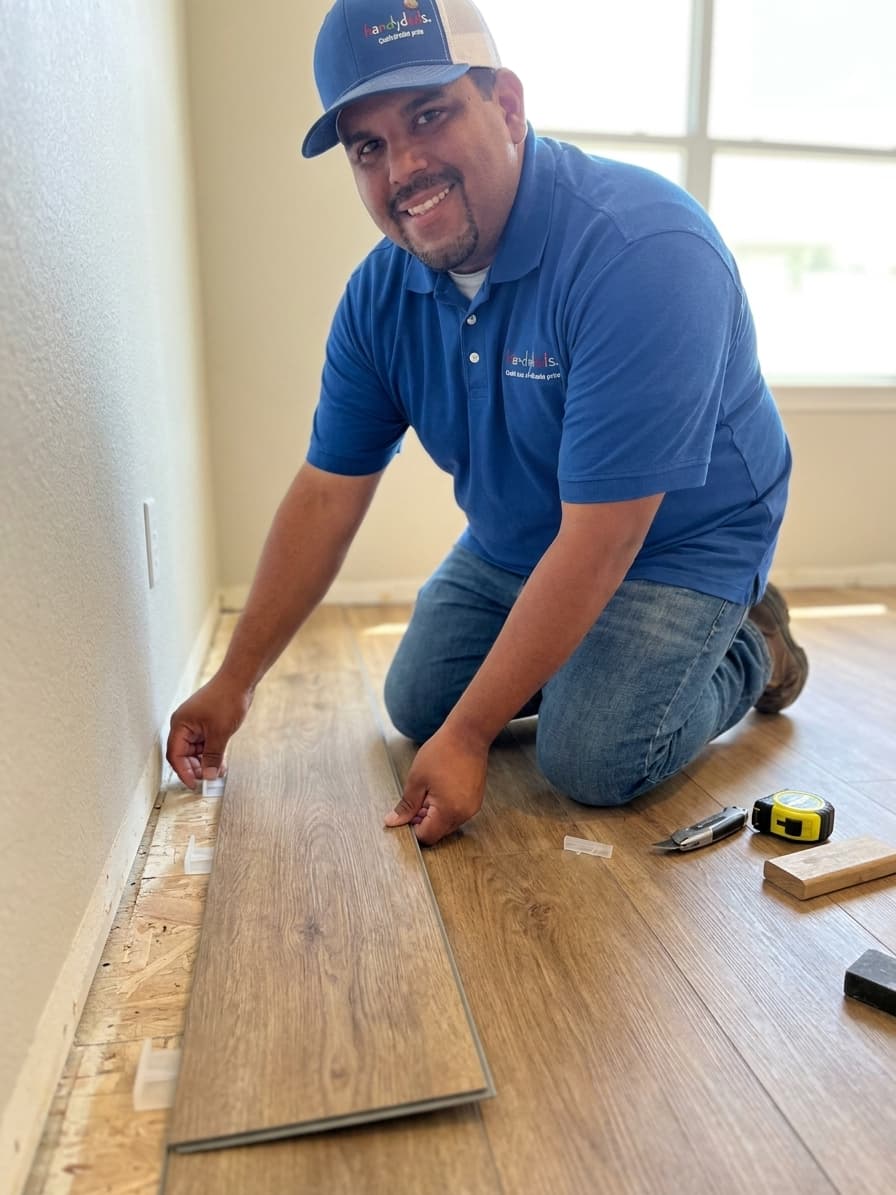
Place your spacers against the wall to maintain the required expansion gap as you set the first plank in the corner. Align the next plank at a slight angle and snap it into the end of the previous one for a tight fit. You should stagger the joints by at least six inches to ensure the floor remains stable and looks professional. Use a tapping block and a rubber mallet to gently close any small gaps between the planks without damaging the edges. Periodically step back and look at your work to ensure the rows are staying straight across the entire room.
When you reach the final row you will likely need to rip the planks lengthwise to fit the remaining space accurately. Measure the gap at several points along the wall to account for any variations in the wall structure itself. Once all the planks are in place you can remove the spacers and prepare for the final transition strips. Install your baseboards and shoe molding to hide the expansion gaps and give the room a polished look. Finally clean the new floor with a damp mop to remove any dust or fingerprints from the installation process.
From the Toolbox
I remember a time when a homeowner called Handydads after trying to install their floor without leaving any expansion gaps. They were frustrated because the floor began to peak and buckle in the center of the room during a particularly humid week. We had to carefully remove the baseboards and trim back the edges of the planks to give the material room to breathe. It was a simple fix but it served as a great reminder of why those small gaps are so important for a lasting installation. After we finished the adjustments the floor laid perfectly flat and the homeowner was thrilled with the final result.
Top 5 Mistakes
One of the biggest errors people make is failing to let the materials acclimate to the indoor climate for several days. Handydads also sees many projects fail because the subfloor was not perfectly level or clean before the installation began. Another common mistake is forgetting to leave the expansion gap which leads to the floor buckling when the temperature changes. Some installers forget to stagger the joints properly which creates a weak floor that looks unnatural and repetitive. Finally you should never hit the planks directly with a metal hammer because this will surely damage the delicate locking mechanisms.
Tool and Material Recommendations
Selecting high quality luxury vinyl planks with a thick wear layer will ensure your new floor lasts for decades. Handydads suggests looking for products that feature an attached underlayment to save time and provide better sound insulation. A heavy duty utility knife is a worthwhile investment to make the cutting process much smoother and more precise. You should also look for a professional flooring installation kit that includes a pull bar and high quality spacers. Using the right materials from the start will prevent frustrations and help you achieve the high end look you desire.
Quick Tips and Hacks
To make your cuts easier you should always use a fresh blade in your utility knife for every few rows of flooring. Handydads recommends pulling planks from several different boxes at once to ensure a varied and natural color distribution. If you have a stubborn plank that will not click into place you can use a scrap piece of flooring as a tapping block. Applying a small amount of painters tape to the floor can help keep your spacers in place while you work along the first row. You should also consider using a pull bar tool to tighten the joints at the ends of the rows where a tapping block will not fit.