
Mounting a TV on the wall is one of the most effective ways to modernize your living space and free up valuable floor area. Many homeowners feel intimidated by the thought of drilling into their walls or ensuring the bracket is perfectly level. When you work with Handydads you learn that proper preparation is the key to a successful installation that lasts for many years. This project requires a bit of patience and the right tools to ensure your expensive electronics stay securely attached to the wall. Follow along as we break down the process of creating a professional looking media setup in your own home.
Project Snapshot
This project typically takes between one and two hours depending on your level of experience and the complexity of your wall. It is rated as an intermediate difficulty task because it requires precise measurements and the use of power tools. The impact of this upgrade is very high as it changes the entire focal point of your living room. You will gain extra space on your media console for decorations or other electronics. Handydads believes this is one of the best weekend projects for improving both the look and feel of your home.
Tools and Materials
You will need a specific set of tools to complete this installation safely and effectively. A high quality stud finder is essential for locating the structural members behind your drywall surface. You also need a power drill with a set of bits and a socket wrench set for the heavy lag bolts. A long bubble level is necessary to keep your screen from looking crooked on the wall. Finally, ensure you have a TV wall mount kit that is rated for the size and weight of your specific television.
Step by Step Instructions
-
Start by finding the studs. Use a reliable stud finder to locate the vertical wood supports hidden behind your drywall. Mark the center of each stud clearly with a pencil so you know exactly where to drill. It is helpful to mark several points along the stud to ensure you are seeing the true vertical line. Handydads recommends checking twice to avoid making unnecessary holes in your beautiful wall.
-
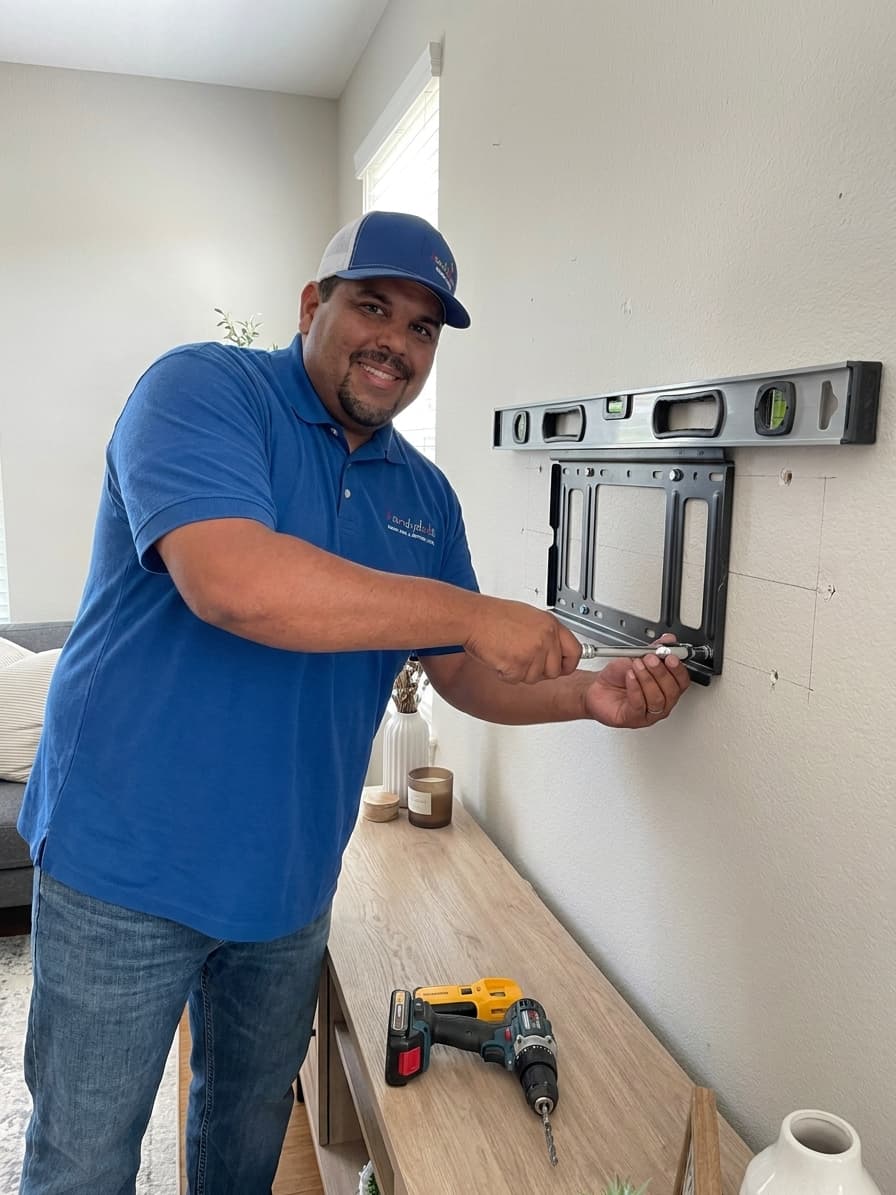
Position the bracket for viewing. Hold the wall plate at your desired viewing height and use a high quality level to ensure it is perfectly straight. Have a helper hold the plate firmly against the wall while you mark the pilot hole locations on the wall surface. Consider the height of your seating to ensure the screen is at a comfortable eye level. This prevents neck strain and makes your movie nights much more enjoyable for everyone involved.
-
Drill your pilot holes carefully. Use a drill bit that is slightly smaller than the diameter of your lag bolts to create clear paths through the drywall and into the studs. This specific step prevents the wood from splitting and makes it much easier to drive the large bolts into the wall. Keep your drill level and steady as you push into the wooden framing members. Make sure you are drilling deep enough to accommodate the full length of the mounting hardware.
-
Secure the wall plate. Align the metal plate with your newly drilled holes and use a socket wrench to drive the lag bolts through the plate and into the wall. It is important to double check the level one last time before you tighten everything down completely to the surface. A slight tilt can be very noticeable once the large screen is finally in place. Handydads suggests giving the bracket a firm tug to ensure it is rock solid before moving forward.
-
Finalize the TV attachment. Attach the mounting arms to the back of your television using the provided VESA screws and any necessary spacers for your model. Carefully lift the TV with a partner and hook it onto the wall plate according to the specific manufacturer instructions. Secure any safety screws or locking mechanisms to prevent the TV from shifting or sliding off the bracket. Take a moment to step back and admire your handiwork before you start plugging in your favorite devices.
From the Toolbox
I remember a call where a client tried to mount a massive eighty five inch screen using only drywall anchors. The sound of the television hitting the floor in the middle of the night was enough to wake the entire neighborhood. When Handydads arrived the next morning we found a shattered screen and a very frustrated homeowner. We took the time to repair the drywall damage and then installed a new mount properly into the studs. It served as a great reminder that gravity never takes a day off and structural support is non negotiable.
Top 5 Mistakes
There are several common errors that homeowners make when attempting to mount a television on their own. One of the biggest mistakes is failing to use a stud finder and relying on hollow wall anchors for heavy screens. Forgetting to check for level at multiple stages of the process can result in a crooked display that is hard to fix later. Many people also mount their televisions too high on the wall which leads to significant neck strain over time. Neglecting to plan for cable management often leaves a messy tangle of wires that ruins the overall aesthetic of the room.
Tool and Material Recommendations
Selecting the right materials makes a massive difference in the quality of your finished media project. Handydads recommends using a magnetic stud finder because it can accurately locate the screws in the studs. A heavy duty steel tilting or full motion mount provides the most flexibility for different viewing angles in your home. You should also look for high quality cable raceways or in-wall power kits to hide your wires from view. Using the correct size VESA screws included with your mount is vital to protect the delicate internals of your television.
Quick Tips and Hacks
There are a few clever hacks that can make this handyman project go much more smoothly for you. Use blue painters tape to outline the dimensions of your television on the wall before you begin any drilling. This allows you to visualize the final placement and adjust the height without any permanent changes to the room. Always connect your HDMI and power cables to the back of the TV before you hang it on the bracket. If your studs are not spaced properly you can mount a piece of finished plywood to the studs first to create a secure mounting surface. These simple steps will help you achieve a professional result that you can be proud of for many years.