
Mounting a television on the wall can transform the entire look of your living space or media room. Handydads recommends this project for anyone looking to save floor space and create a modern aesthetic. It is essential to ensure that the wall mount is securely fastened to the wall studs to prevent any accidents. Many homeowners find that a wall-mounted TV offers better viewing angles and reduces glare from windows. This guide will walk you through the process of choosing the right mount and installing it correctly.
Project Snapshot
This project generally takes about one to two hours depending on your experience level and the complexity of your TV mount. You will need a clear workspace and a steady hand to ensure the television is perfectly level. Most people can complete this task with basic hand tools and a bit of patience. Handydads suggests having a second person available to help lift the television onto the mounting bracket. Once finished, you will enjoy a sleek and professional looking setup that enhances your home entertainment experience.
Tools and Materials
You will need a high quality wall mount kit that is compatible with your television's weight and VESA pattern. A reliable stud finder is necessary to locate the framing members behind your drywall. You will also need a power drill with a set of drill bits for making pilot holes. A level is vital to ensure your TV does not sit at an angle once it is installed. Finally, have a screwdriver set and a pencil handy for marking your hole locations on the wall.
Step-by-Step Instructions
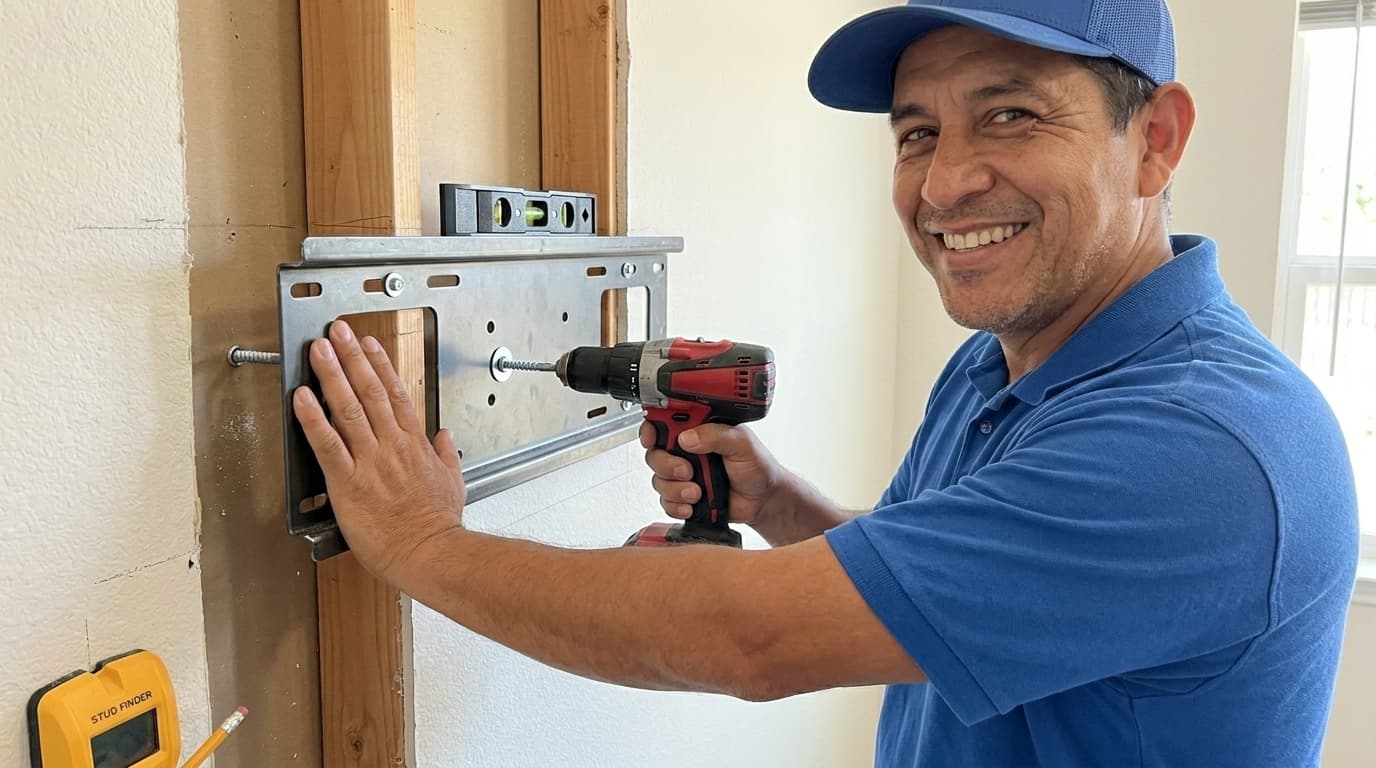
First, use your stud finder to locate two studs in the area where you want to mount your television. Handydads suggests marking the center of each stud with a pencil to ensure the strongest possible connection. Hold the wall plate against the wall at your desired height and use your level to make sure it is perfectly straight. Drill pilot holes into the center of the studs using the marks you made earlier. Secure the wall plate to the wall using the heavy duty lag bolts provided in your mounting kit. Next, attach the mounting arms to the back of your television, making sure to use the correct screws for your specific TV model. With the help of a friend, lift the television and carefully hook the mounting arms onto the wall plate. Tighten any safety screws or locking mechanisms to ensure the TV is locked firmly in place. Double check the level one last time and manage your cables for a clean finished look.
From the Toolbox
One of our senior technicians at Handydads recalls a time when he was called to fix a mounting job gone wrong. The homeowner had tried to use drywall anchors instead of finding the studs to support a very large plasma screen. The weight of the television had slowly pulled the anchors out of the wall, causing the TV to sag dangerously toward the floor. Our team arrived just in time to catch the TV and reinstall it correctly into the wooden studs. It was a great reminder that taking the time to find the studs is the most important part of the job. Now, that homeowner enjoys a perfectly level and safe television every single day.
Top 5 Mistakes
Many DIYers fail to use a stud finder and try to rely on hollow wall anchors which cannot support heavy electronics. Another common error is neglecting to check the level of the wall plate before drilling the pilot holes. Some people choose the wrong size screws for the back of the television which can damage the internal components of the screen. Forgetting to account for cable management can leave a messy tangle of wires hanging beneath your beautiful new mount. Lastly, failing to have a second person assist with the lifting can lead to dropped televisions or personal injury during the final installation steps.
Tool and Material Recommendations
We recommend using a digital stud finder for the most accurate readings through thick drywall. A magnetic torpedo level is a great addition to your toolkit for checking small surfaces like mounting brackets. When selecting a wall mount, look for one that offers a tilting feature to reduce screen glare. Using high quality lag bolts ensures that the mount stays firmly attached to the wall for many years. Cable sleeves or in-wall wiring kits are also excellent additions to keep your installation looking professional and tidy.
Quick Tips and Hacks
Before you start drilling, tape a small paper cup or an envelope below your marks to catch the drywall dust. You can use a thin finishing nail to poke through the drywall and verify the exact location of the stud edges. If you find that your studs are not spaced correctly for your mount, you can attach a piece of plywood to the studs first and then mount the plate to the plywood. Always check the VESA pattern on the back of your TV to make sure it matches the mount before you leave the store. Finally, use velcro ties to bundle your cables together for a much cleaner look behind the screen.