
Handydads understands that home maintenance often involves fixing minor mishaps that occur during daily life. A large hole in your drywall might look intimidating, but it is actually a very manageable project for any DIY enthusiast. You will need a few specific supplies and a steady hand to achieve a professional result that blends into the wall. This guide focuses on the California patch method which is perfect for holes up to six inches in diameter. By following these steps, you can restore your walls to their original condition without spending a fortune on professional repairs.
Project Snapshot
This project is designed for homeowners who want to achieve a seamless look on their walls after a significant impact. It requires a moderate level of skill and a focus on detail to ensure the texture matches the surrounding area. You should expect to spend a few hours on the actual labor, although drying time will extend the process over a day or two. Handydads recommends working in a well ventilated area to help the joint compound dry more quickly and evenly. Once finished, your wall will be ready for a fresh coat of paint and will look as good as new.
Tools and Materials
To begin this repair, you will need a small piece of drywall that matches the thickness of your existing wall. A utility knife and a straight edge are essential for cutting the patch to the correct size and shape. You should also have a variety of putty knives on hand, including a wide taping knife for smoothing the final coat. Sanding blocks or fine grit sandpaper are necessary for removing any ridges or imperfections in the dried compound. Finally, make sure you have a high quality primer and paint that matches your wall color to finish the job.
- Drywall scrap piece
- Utility knife
- Joint compound
- Taping knives
- Sanding sponge
Step-by-Step Instructions
Preparing the area correctly is the most important part of ensuring the patch stays in place over time. You should start by clearing away any loose debris or crumbling gypsum from the edges of the damaged area. This creates a clean surface for the new materials to bond with and prevents future cracking. Once the area is prepped, you can move on to creating the custom patch that will fill the void. Handydads suggests taking precise measurements to ensure the fit is snug but not overly tight.
- Square off the damaged area using a drywall saw for clean edges.
- Cut a drywall patch that is two inches larger than the hole.
- Score the back of the patch and remove the gypsum to create a paper border.
- Apply joint compound to the wall and press the patch into place.
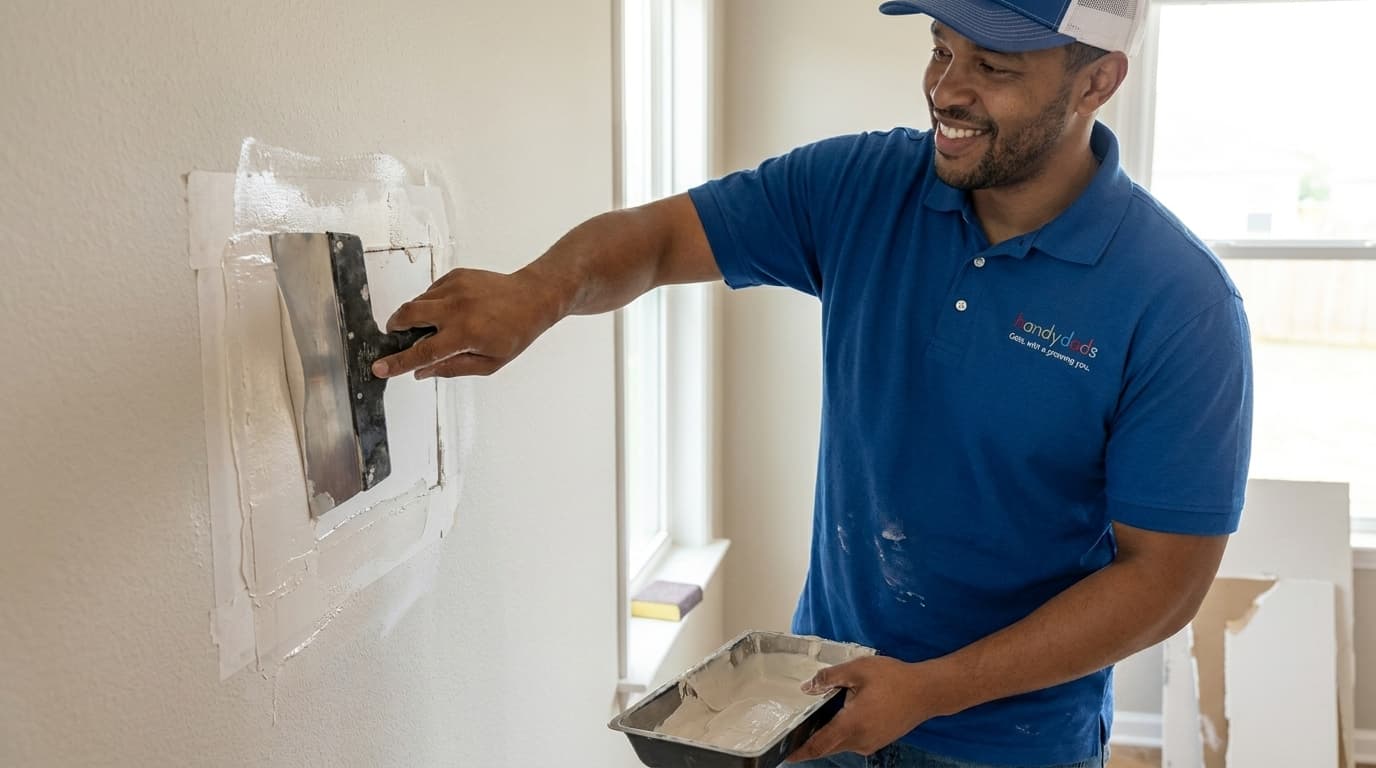
- Feather the edges with a wide putty knife and allow it to dry.
From the Toolbox
Handydads once visited a home where a curious toddler had managed to put a toy truck through the living room wall. The parents were worried about the cost of a full wall replacement, but we were able to show them the patch method. It was a great teaching moment that empowered them to handle future minor repairs on their own. We spent the afternoon showing them how to feather the edges of the compound to make the repair disappear. They were amazed at how simple the process was once they saw it done correctly by a professional.
Top 5 Mistakes
Avoiding common pitfalls will save you a lot of frustration and ensure your wall looks perfect when you are finished. Many people try to rush the process by applying thick layers of mud, which only leads to sagging and cracking. It is vital to allow each layer to dry completely before attempting to add more material or sand the surface. You should also be careful not to over-sand, as this can damage the surrounding paper on the original wall. Handydads recommends checking your work from multiple angles to ensure the surface is truly flat before you begin painting.
- Applying too much joint compound in one coat.
- Skipping the sanding step between layers.
- Not using a primer before applying the finish paint.
- Neglecting to clean the dust off the wall before painting.
- Forgetting to match the wall texture for a seamless blend.
Tool and Material Recommendations
Selecting the right products can make a significant difference in the quality of your finished repair. We recommend using a lightweight joint compound because it shrinks less and is much easier to sand than standard versions. For the patch itself, try to find a scrap piece of drywall that is the exact same thickness as your existing wall. A flexible steel putty knife is better than plastic for getting a smooth and professional finish. Handydads also suggests purchasing a high quality sanding sponge that can be rinsed and reused for future projects.
- Lightweight joint compound
- Flexible steel putty knife
- Fine grit sanding sponge
- Drywall primer
- Professional grade utility knife
Quick Tips and Hacks
There are several tricks you can use to make this project easier and achieve a better final result. If you are in a hurry, you can use a hairdryer on a low setting to speed up the drying time of the compound. You should always hold a work light against the wall at an angle to highlight any bumps or dips that need more attention. Applying a thin coat of primer will seal the patch and prevent the paint from looking duller than the rest of the wall. Handydads suggests keeping a small container of premixed mud in your garage for quick touch ups whenever you notice a small dent.
- Use a hairdryer for faster drying
- Check flatness with a side light
- Prime the patch before painting
- Keep premixed mud on hand
- Feather the edges widely