
Enhancing the security of your home starts with proper lighting that activates whenever movement is detected near your property. Choosing to install a motion sensor outdoor light is a smart way to deter unwanted visitors and provide safe passage for your family at night. This project is relatively straightforward for a weekend DIY enthusiast who is comfortable working with basic electrical wiring. By following our guide, you can save money on professional installation while gaining a valuable new feature for your home exterior. Handydads recommends always prioritizing safety by turning off the power before you begin any work on electrical fixtures.
Project Snapshot
- Time: 1-2 hours
- Difficulty: Intermediate
- Cost: $40 - $100
Tools and Materials
- Motion sensor light fixture
- Screwdriver set
- Wire strippers
- Voltage tester
- Ladder
- Wire nuts
- Silicone caulk
Step-by-Step Instructions
First, you must go to your breaker box and shut off the electricity to the circuit where you will be working. Use a non contact voltage tester to verify that there is no power flowing to the existing light fixture or outlet. Setting up your ladder on a flat and stable surface is essential for ensuring your safety throughout the installation process. Gather all your tools and the new motion sensor unit so that you have everything within reach before you climb up. Handydads suggests having a partner nearby to help hold the ladder or hand you tools as needed.
Carefully unscrew the old light fixture from the mounting bracket while supporting the weight of the unit. Once the fixture is loose, you will need to unscrew the wire nuts and separate the wires from the house wiring. Inspect the existing electrical box to ensure it is in good condition and properly secured to the wall. Clean away any old caulk or debris from the surface of the wall to create a smooth area for the new light. Take note of the wire colors to ensure you can match them correctly when installing the new motion sensor unit.
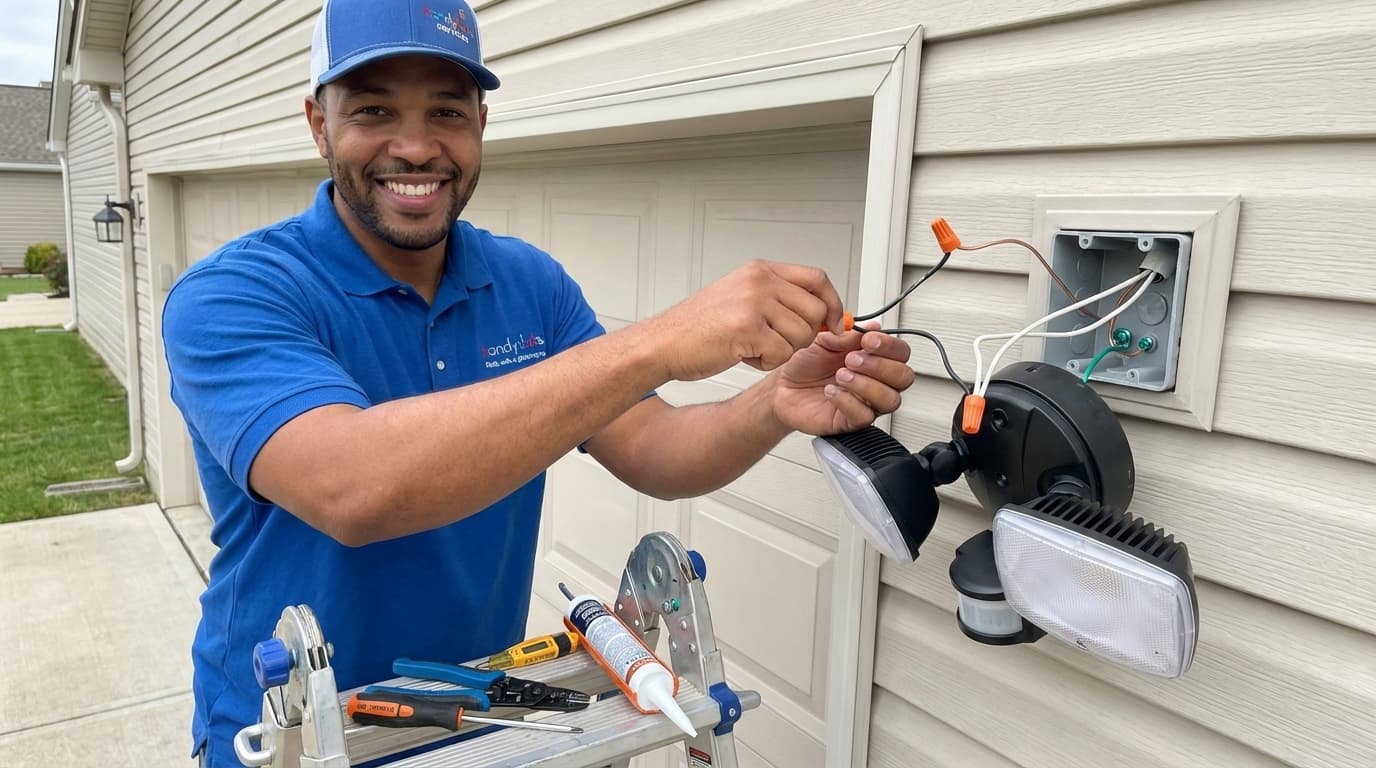
Attach the new mounting bracket provided with your motion sensor light to the electrical box using the included screws. Connect the white neutral wire from the house to the white wire on the light fixture using a wire nut. Connect the black hot wire from the house to the black wire on the light fixture in the same manner. Ensure the copper or green ground wire is securely attached to the ground screw on the mounting bracket or the fixture. Once the wires are connected, carefully tuck them into the electrical box and secure the fixture to the mounting bracket.
Turn the power back on at the breaker box and set the motion sensor to test mode for initial calibration. Walk in front of the sensor to verify that the light triggers correctly and adjust the sensitivity settings as needed. You should also adjust the timer to determine how long the light stays on after movement is detected. Aim the light heads and the sensor itself to cover the specific areas of your yard or driveway that require illumination. Handydads recommends performing a final check at night to ensure the light provides the desired coverage and brightness.
From the Toolbox
Last summer, I helped a neighbor who was constantly worried about neighborhood cats triggering his old security lights all night long. We spent a Saturday afternoon upgrading his system to a high quality motion sensor light with adjustable sensitivity zones. After we finished the installation, we spent some time fine tuning the sensor to ignore small animals while still catching any human movement. He called me a week later to say his sleep had improved significantly now that the lights were not flashing every five minutes. It was a great reminder that the right settings are just as important as the physical installation itself.
Top 5 Mistakes
- Forgetting to turn off the power at the main breaker before starting work.
- Failing to use a voltage tester to confirm the wires are dead.
- Pointing the sensor too high or too low, which results in poor motion detection.
- Neglecting to seal the edges of the fixture with silicone caulk to prevent water entry.
- Overtightening the mounting screws, which can crack the plastic housing of the sensor unit.
Tool and Material Recommendations
- LED Motion Sensor Light Fixture: Look for units with adjustable dual heads for better coverage.
- Non-Contact Voltage Tester: A must have safety tool for any electrical project you undertake.
- Weatherproof Wire Nuts: These provide extra protection against moisture in outdoor electrical connections.
- Exterior Grade Silicone Caulk: Use a clear or color matched caulk to seal the fixture to the wall.
- Sturdy Extension Ladder: Ensure your ladder is rated for your weight and the height of the installation.
Quick Tips and Hacks
- Clean the sensor lens regularly with a damp cloth to maintain its range and accuracy.
- Apply a small amount of electrical tape over the wire nuts for extra security against vibration.
- If your light is triggered by wind blown branches, try trimming the nearby foliage to reduce false alarms.
- Use LED bulbs to save energy and reduce the frequency of bulb replacements over the years.
- Mark the circuit breaker with a label so you can quickly find it for future maintenance tasks.