
A beautiful wooden deck provides the perfect outdoor space for family gatherings and weekend relaxation. Over time, exposure to harsh sunlight and heavy rain can leave your wood looking gray and weathered. At Handydads, we believe that regular maintenance is the key to preserving the structural integrity and aesthetic appeal of your outdoor living area. Restoring a deck is a rewarding DIY project that can significantly increase the value of your home. By following the right steps and using quality products, you can transform a tired surface into a stunning backyard feature that lasts for years to come.
Project Snapshot
This project is perfect for a weekend when the weather forecast shows clear skies and moderate temperatures. You should expect to spend about two days on the process including the drying time for the wood. The difficulty level is intermediate because it requires some physical labor and attention to detail. Most homeowners can expect to spend between one hundred and three hundred dollars on quality supplies. Handydads recommends planning ahead to ensure you have all the necessary equipment ready for the first day.
Tools and Materials
You will need a few specific items to ensure this project goes smoothly from start to finish. A pressure washer with a wide fan tip is necessary for deep cleaning the wood fibers without damage. You should also purchase an oxygen-based wood cleaner that is safe for surrounding plants and your lawn. A random orbital sander with various grits of sandpaper will help you achieve a smooth surface for the finish. High-quality wood stain and a natural bristle brush are the most important investments for a long-lasting look. Lastly, make sure you have safety gear like gloves and eye protection to stay safe while working.
Step-by-Step Instructions
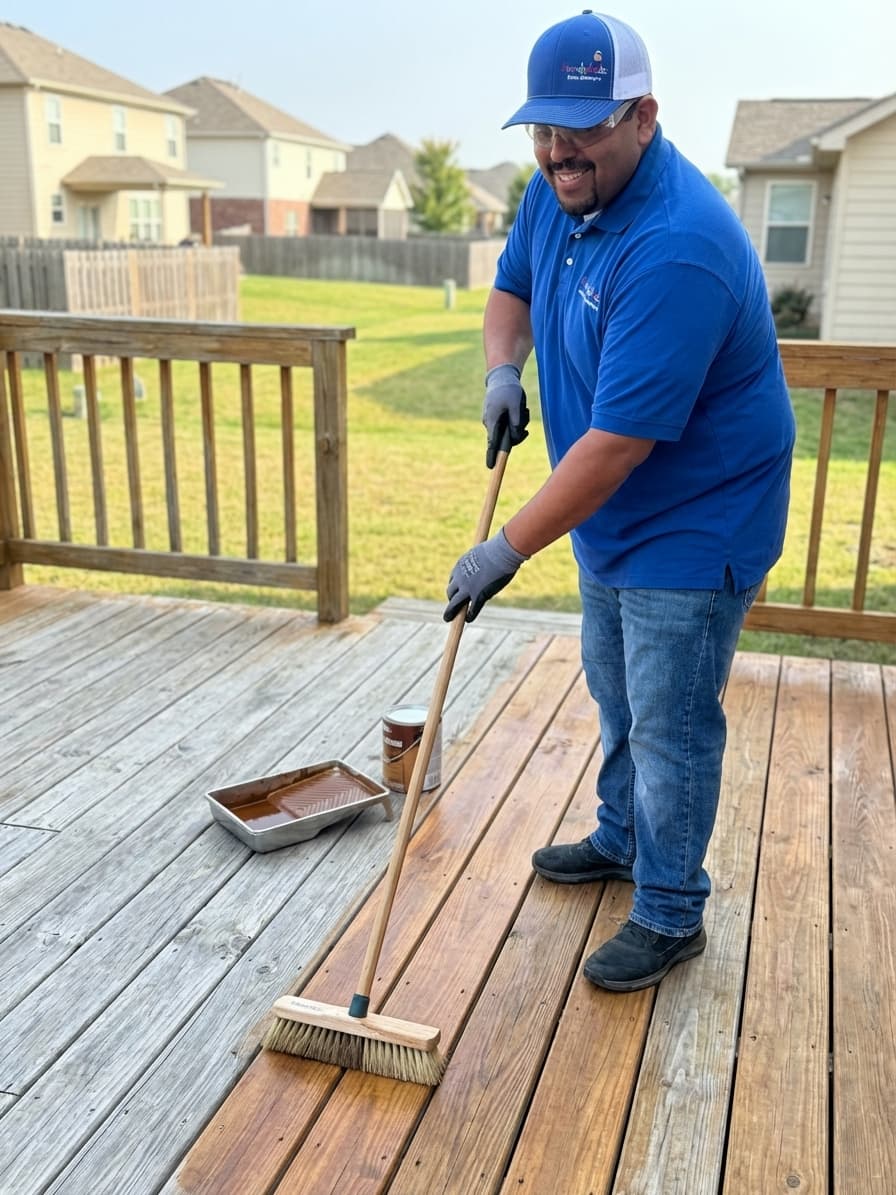
First, you must remove all furniture and sweep away loose debris like leaves and dirt from the surface. Apply a high-quality wood cleaner to the boards and allow it to sit for fifteen minutes to break down old finishes. Use a pressure washer with a wide fan tip to rinse the wood while following the grain to prevent damage. After the deck has dried for at least forty-eight hours, sand the surface with sixty-grit paper to remove any remaining imperfections. Finally, apply a thin and even coat of stain using a dedicated deck brush to protect the wood from the elements.
From the Toolbox
I remember helping a neighbor whose deck had become so slippery with moss that it was a safety hazard. We spent a long Saturday morning cleaning every square inch until the natural cedar color finally started to peak through. Seeing his kids safely playing on the restored boards during a cookout the following weekend made all that hard work feel worth it. Handydads thrives on these moments where a little elbow grease turns a neglected space into a center for family memories. It just goes to show that proper care can breathe new life into almost any outdoor structure.
Top 5 Mistakes
There are several common pitfalls that homeowners should try to avoid when they are restoring an outdoor deck. First, using a pressure washer with a narrow tip can easily gouge the wood and leave permanent scars on the surface. Second, many people make the mistake of staining the wood before it has had enough time to dry completely after cleaning. Third, skipping the application of a wood brightener can lead to a finish that looks dark or muddy instead of vibrant. Fourth, applying too many coats of stain will create a film that eventually peels and flakes off in the sun. Finally, working in direct sunlight causes the stain to dry too quickly and creates unattractive lap marks.
Tool and Material Recommendations
Selecting the right products can make the difference between a one-year fix and a five-year solution. We recommend using an oil-based penetrating stain for older decks because it feeds the wood from within. For the cleaning phase, a chemical sprayer is much more efficient than using a bucket and brush. If you have a large area to cover, a pole-mounted applicator pad will save you a lot of time and physical strain. Handydads suggests choosing a stain with high UV protection to prevent the color from fading in the summer sun.
Quick Tips and Hacks
A few simple tricks can help you achieve a much more professional result during your next deck restoration project. You should always test your chosen stain color on a small and hidden area to see how it reacts with your specific wood type. Using a leaf blower is the fastest way to remove every bit of dust after you have finished sanding the surface. If you see water soaking into the wood instead of beading up, you know it is time for a new coat of sealer. Small foam brushes are perfect for reaching the narrow gaps between deck boards where larger applicators cannot go. Maintaining a wet edge while you work will ensure that your stain looks smooth and consistent across the entire deck.