
Handydads experts know that a weathered deck can quickly become an eyesore for homeowners during the peak of the social season. Your outdoor space serves as an extension of your living room during the warmer months of the year. Properly cleaning and staining the wood will protect your investment from harsh UV rays and moisture damage. Taking the time to perform this maintenance now ensures that your deck remains structurally sound and visually appealing. Follow these professional steps to achieve a finish that looks like it was done by a master craftsman.
Project Snapshot
This project is considered an intermediate level task that most homeowners can accomplish over a long weekend. You should expect to spend roughly two to three days on the job to allow for proper drying times between the various steps. The total cost is generally moderate depending on the square footage of your outdoor living space and the quality of stain selected. Handydads suggests checking the weather forecast to ensure there is no rain expected for at least forty-eight hours after application. Having the right tools on hand will make the process much smoother and produce a more durable finish for your home.
Tools and Materials
You will need a pressure washer equipped with a wide fan tip to clean the wood without causing permanent surface damage. An oxygen-based deck cleaner is necessary to lift dirt and graying fibers from the surface safely without killing surrounding plants. For the preparation stage, acquire an orbital sander with various grits of sandpaper to smooth the wood for better stain absorption. A high-quality semi-transparent or solid stain will provide the color and protection your deck needs to survive the winter. Finally, gather synthetic brushes, a long-handled roller, and plenty of drop cloths to keep the surrounding area clean during the application process.
Step-by-Step Instructions
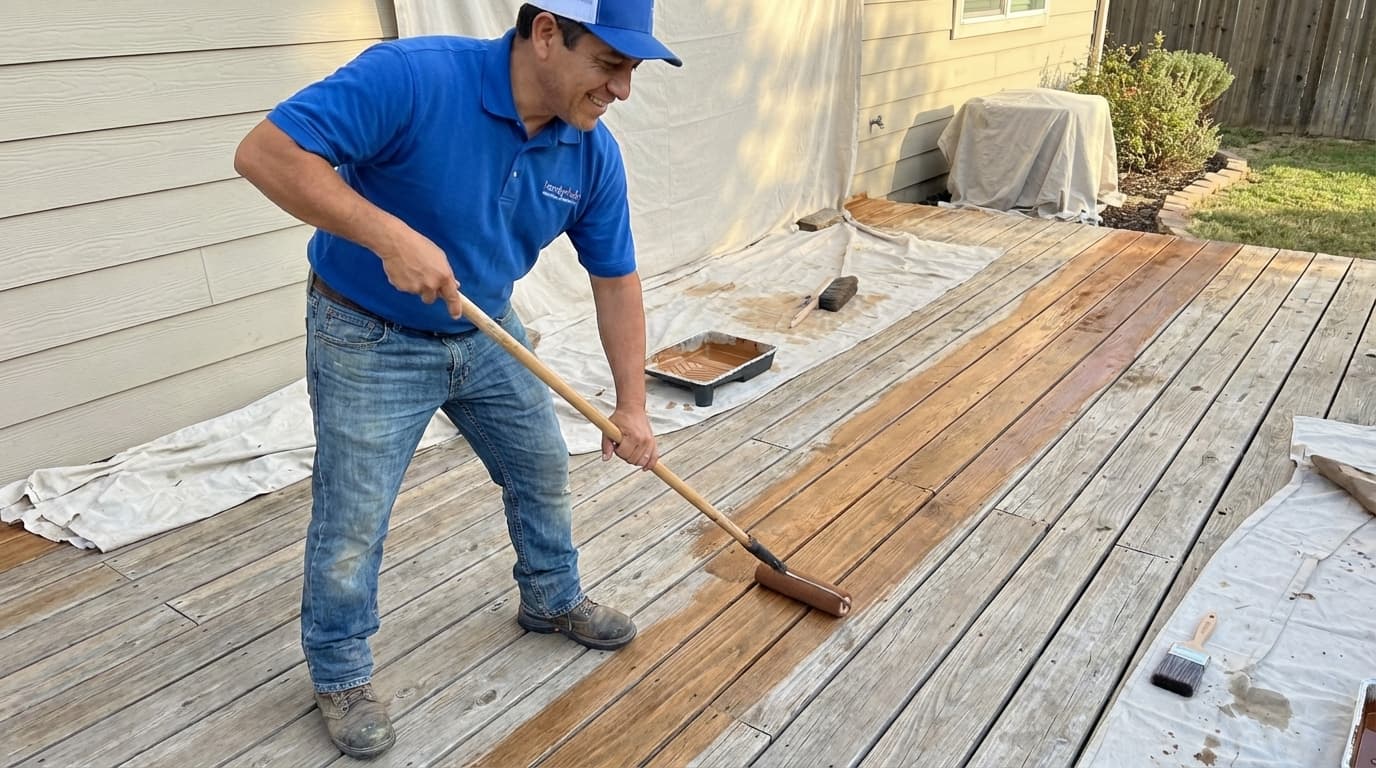
The first step involves clearing all furniture and debris from the deck surface to ensure a clean work area. You should then apply a wood cleaner to break down the old finish and remove deep-seated dirt from the wood fibers. Handydads recommends letting the cleaner sit for about fifteen minutes before you begin the scrubbing process with a stiff brush. Use a pressure washer carefully on a low setting to avoid gouging the wood while rinsing away the chemical cleaner. Once the wood is completely dry, you must sand the entire surface to smooth out raised grains and open up the pores for staining. Finish by applying the stain in thin, even coats to achieve a professional appearance across the entire deck floor.
From the Toolbox
Last summer we visited a client who had tried to stain their deck during a very humid afternoon. The finish was peeling and sticky because the moisture in the air prevented the stain from curing correctly on the surface. We had to spend several hours stripping the old product before we could start the restoration process from scratch. It was a great lesson for the homeowner about the importance of checking the weather forecast before starting any outdoor project. Handydads always waits for a clear three-day window of dry weather to ensure the best possible results for our clients.
Top 5 Mistakes
One common error is using a high-pressure setting on the power washer which can splinter the wood surface permanently. Many homeowners also make the mistake of applying stain in direct midday sunlight which causes the product to dry too quickly and leave lap marks. Skipping the sanding phase after washing the deck often leads to a rough texture that is uncomfortable for bare feet. Another frequent issue is failing to check for loose boards or protruding nails before starting the staining process. Finally, over-applying the stain can create a tacky surface that attracts dirt and never seems to dry properly regardless of the temperature.
Tool and Material Recommendations
We suggest using a high-quality oil-based stain for the best penetration into the wood grain. Synthetic brushes are ideal for applying the stain because they hold their shape better when working with thick liquids compared to natural bristles. You should also invest in a quality pole sander to save your back and knees during the intensive preparation phase. Handydads prefers using oxygen-based cleaners over bleach because they are much safer for surrounding plants and grass. Make sure you have plenty of drop cloths on hand to protect your siding and landscaping from accidental splashes or spills.
Quick Tips and Hacks
Always test your chosen stain color on an inconspicuous corner of the deck before committing to the whole area. If you find that the wood is absorbing the stain unevenly, you might need to apply a wood conditioner first to even things out. Use a leaf blower to quickly clear off dust after sanding instead of using a broom or water which might delay your staining time. You can keep your brushes fresh between coats by wrapping them tightly in plastic wrap to prevent the stain from drying out. Handydads suggests working in small sections of two or three boards at a time to maintain a wet edge and avoid unsightly lap marks.